


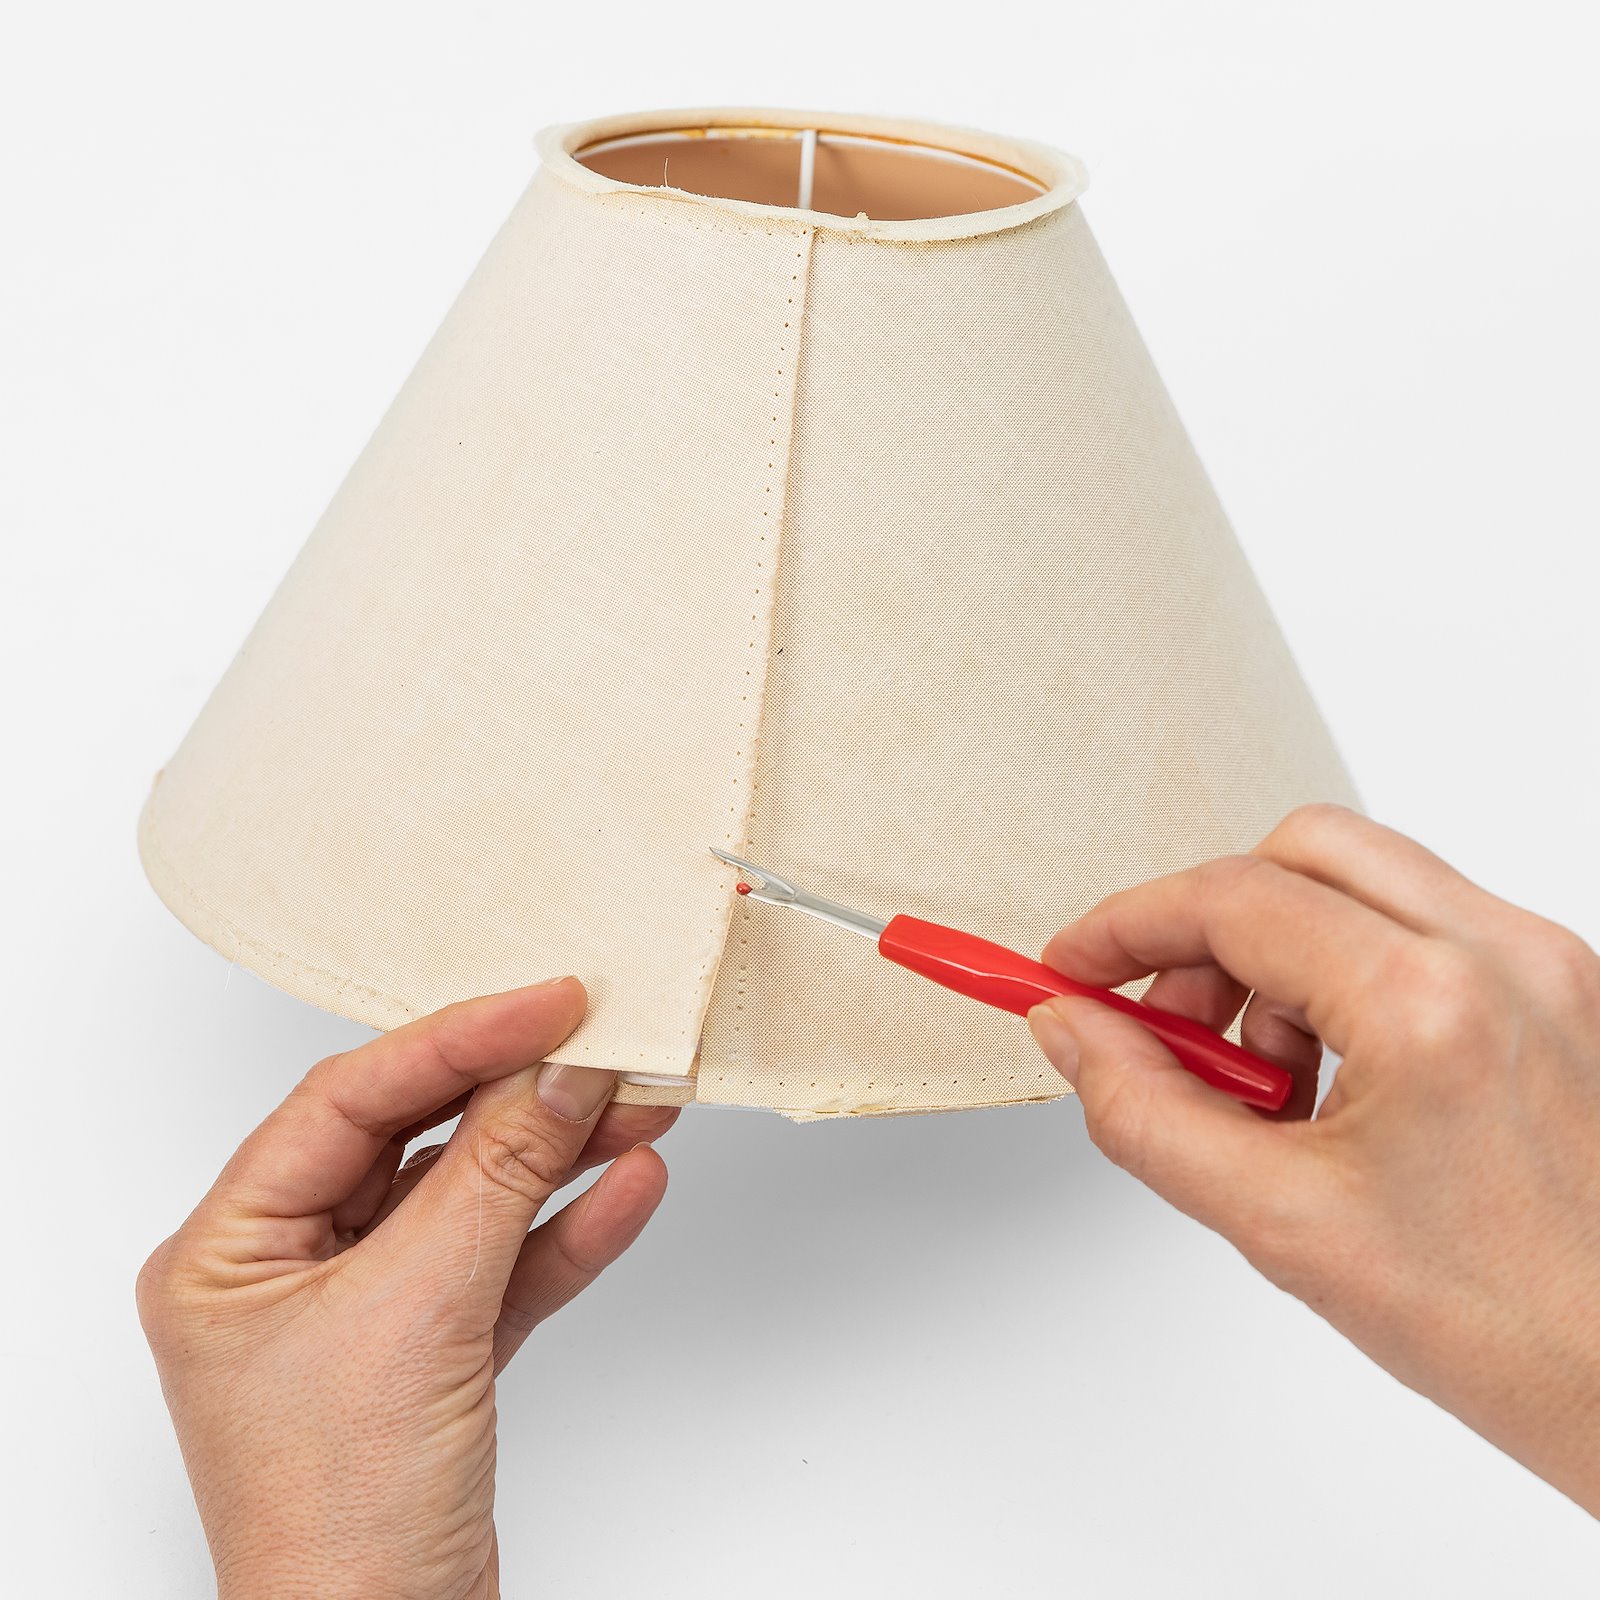
1.Rip the stitching on the vintage lampshade. Dismantle the parts and use the old lamp foil as a template. Put both metal rings to one side. 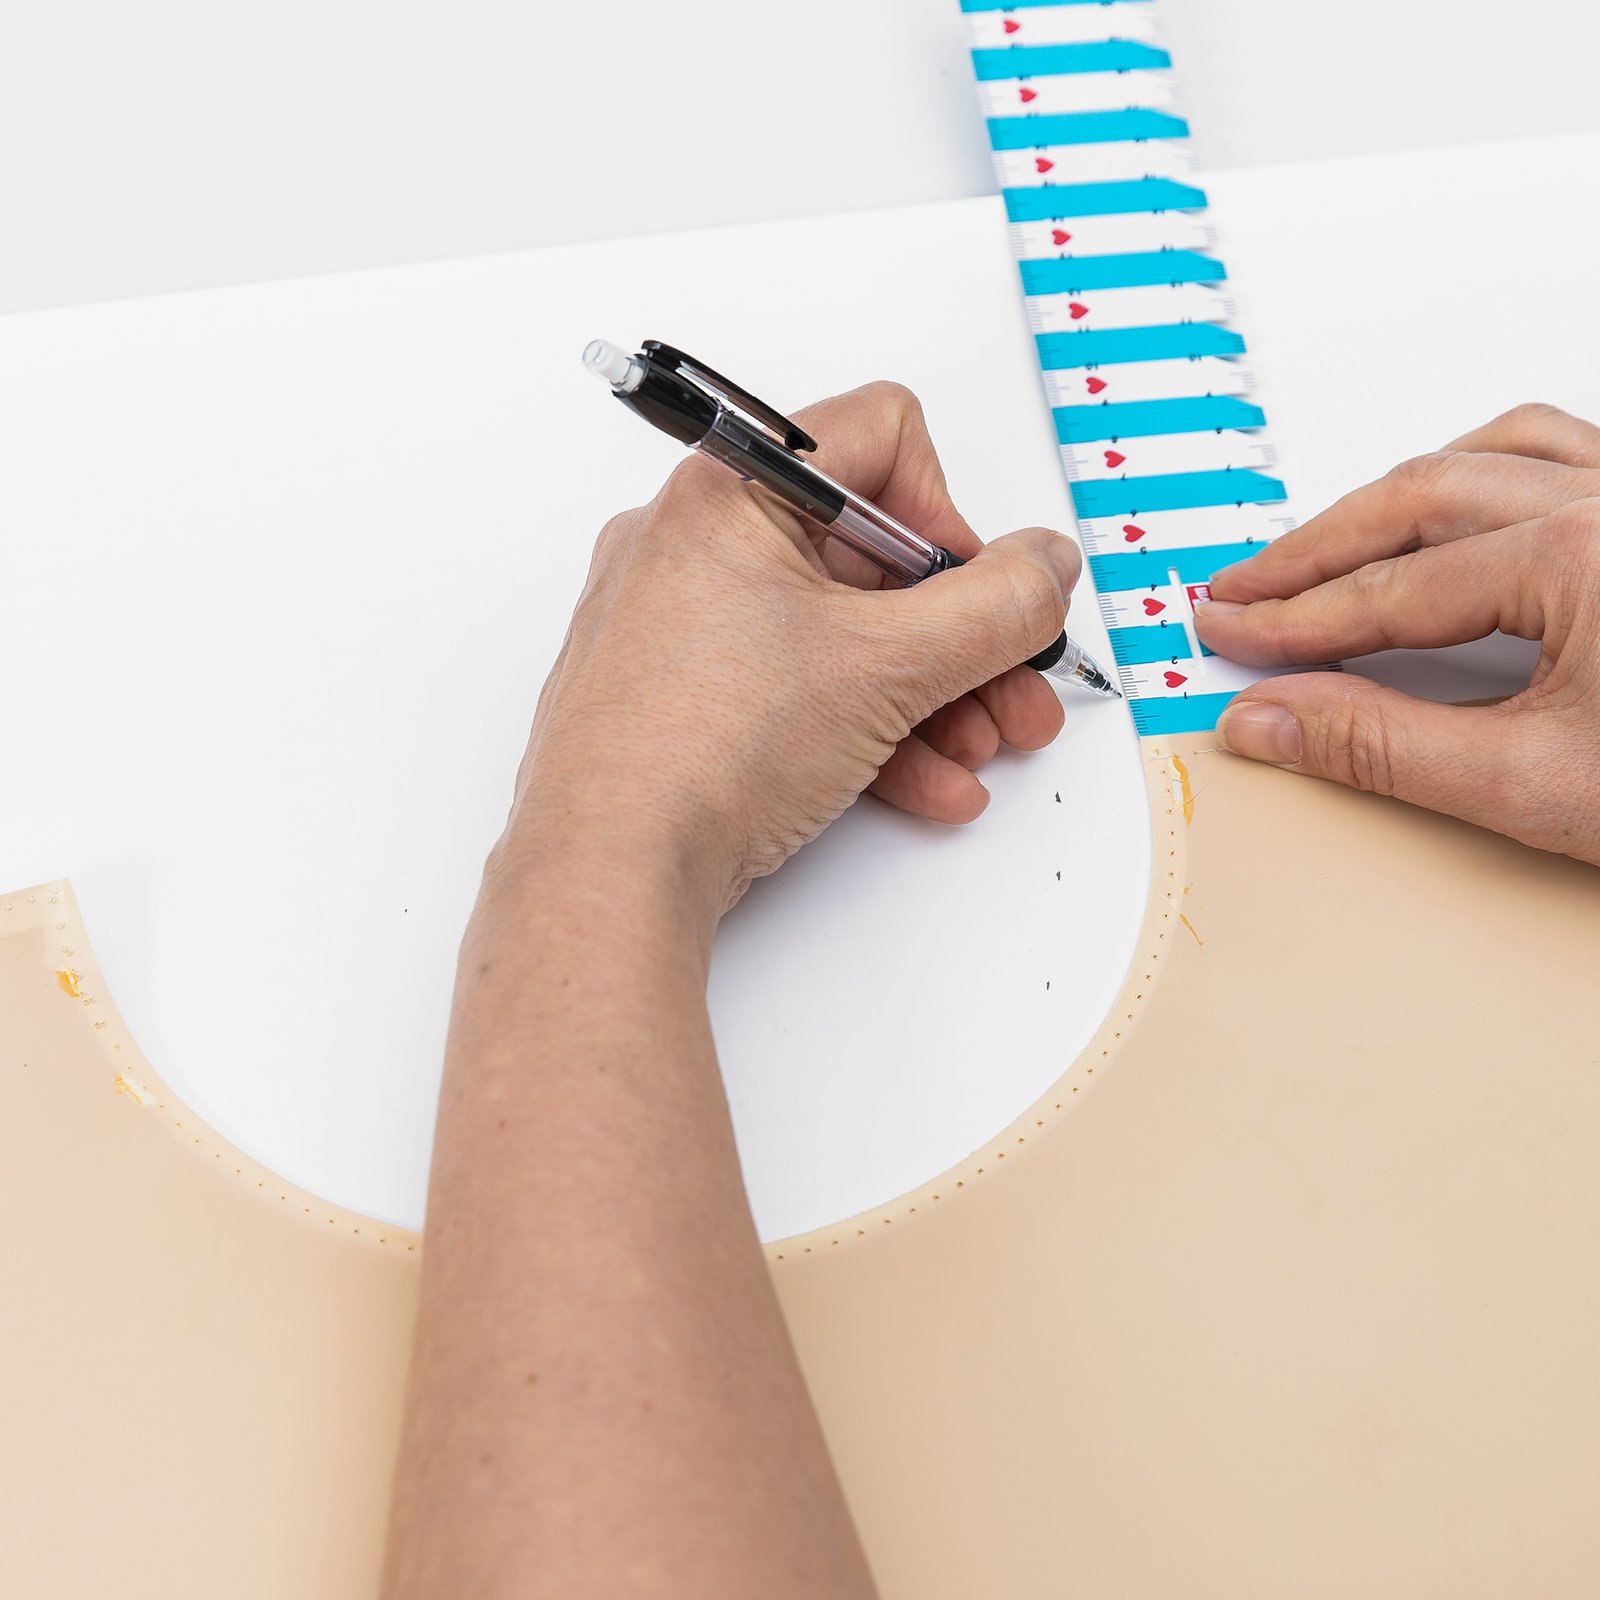
2.Roll out the new lamp foil with the backing paper face down. Place the template on the foil (+ 13 mm seam allowance on top, bottom and one side). Measure with seam gauge and mark with pencil. Cut along pencil line. 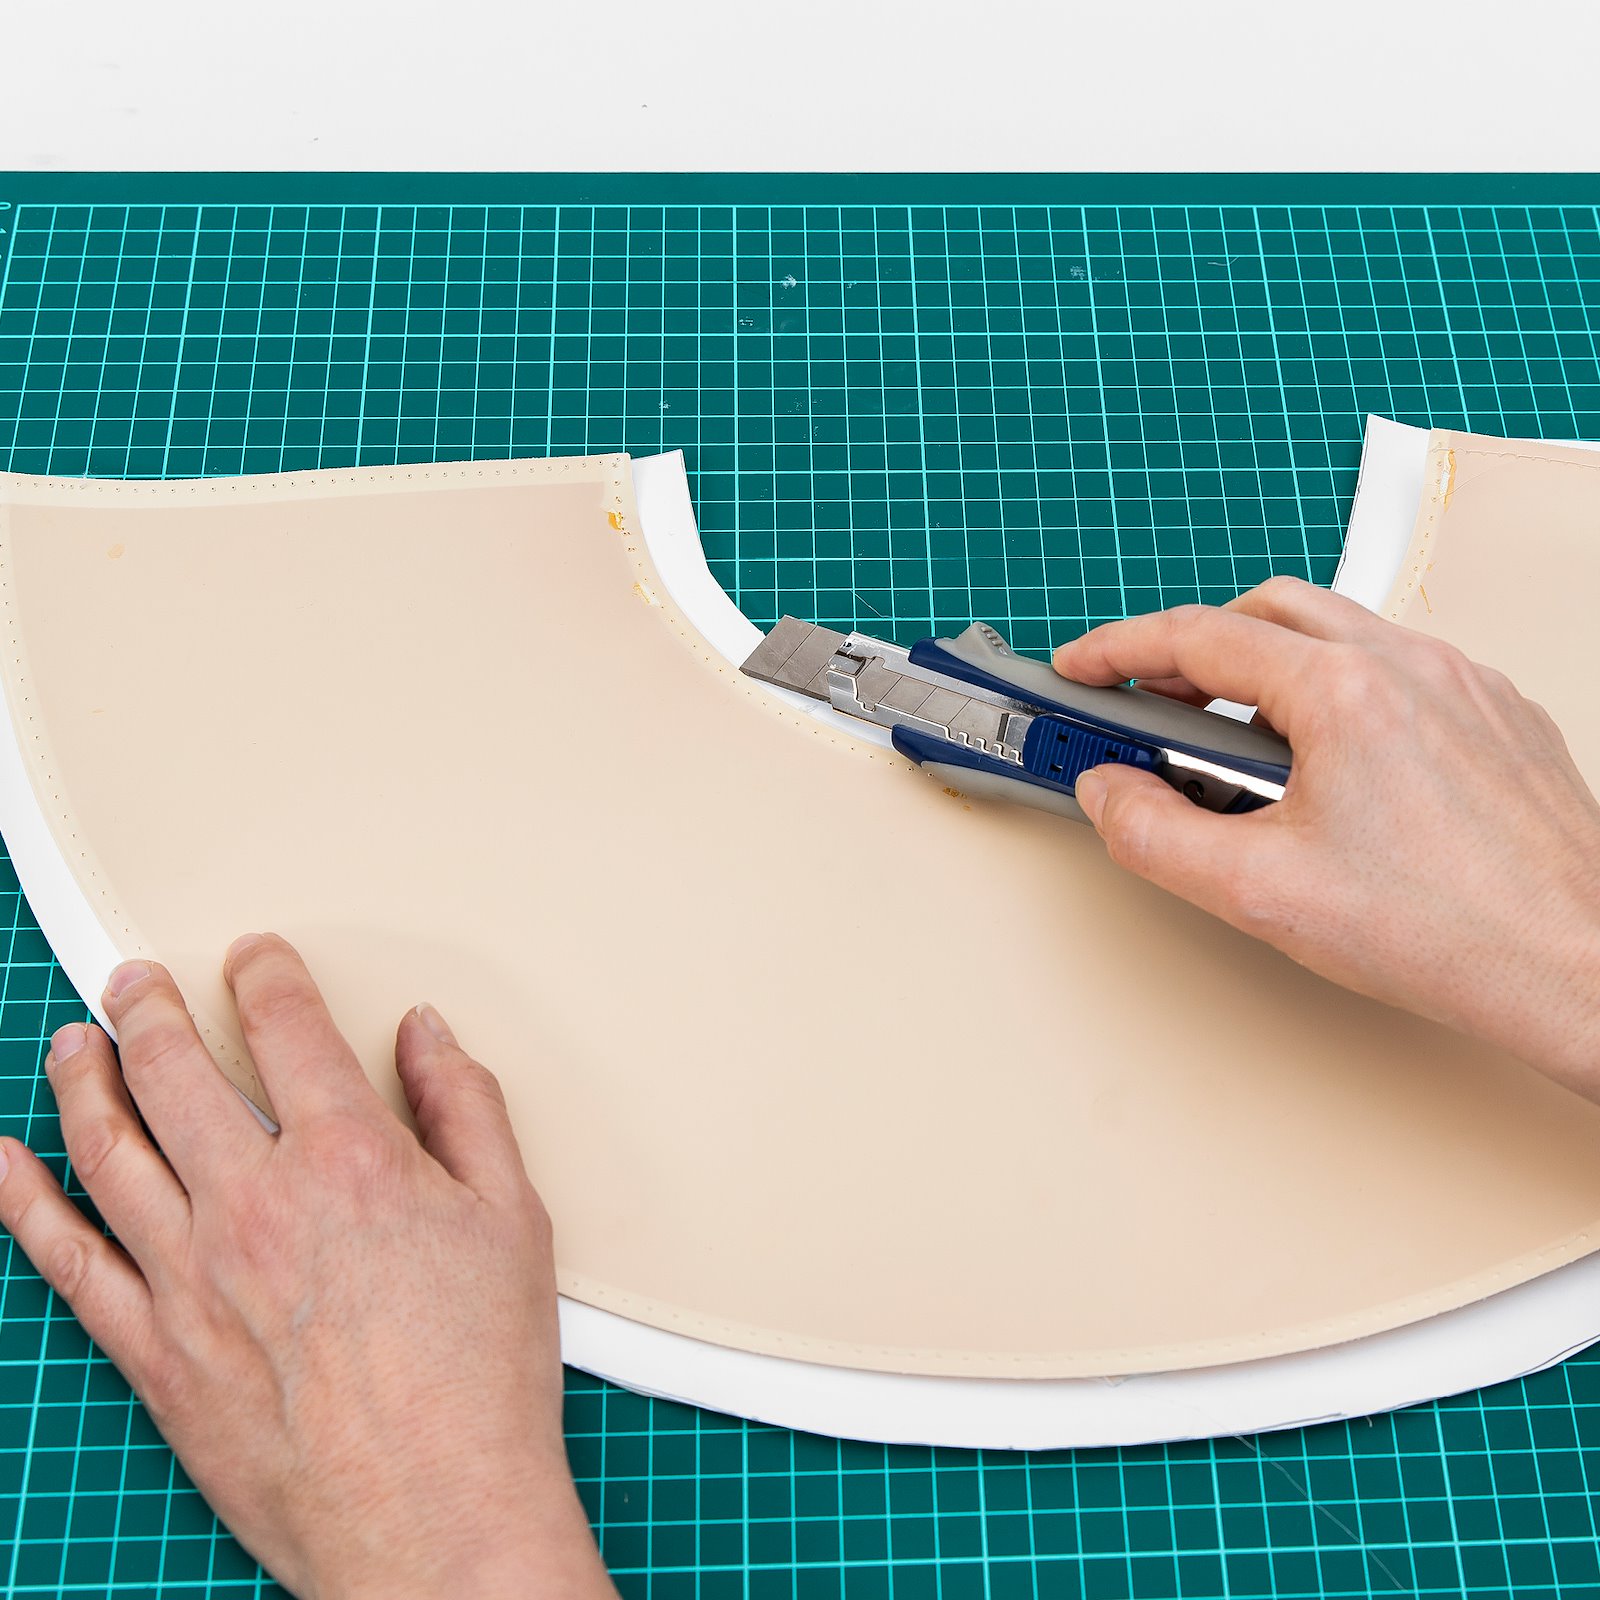
3.Place template over foil and carefully cut top and bottom using the template. Use a cutting board. NB: Cut through the foil only, not the backing paper. 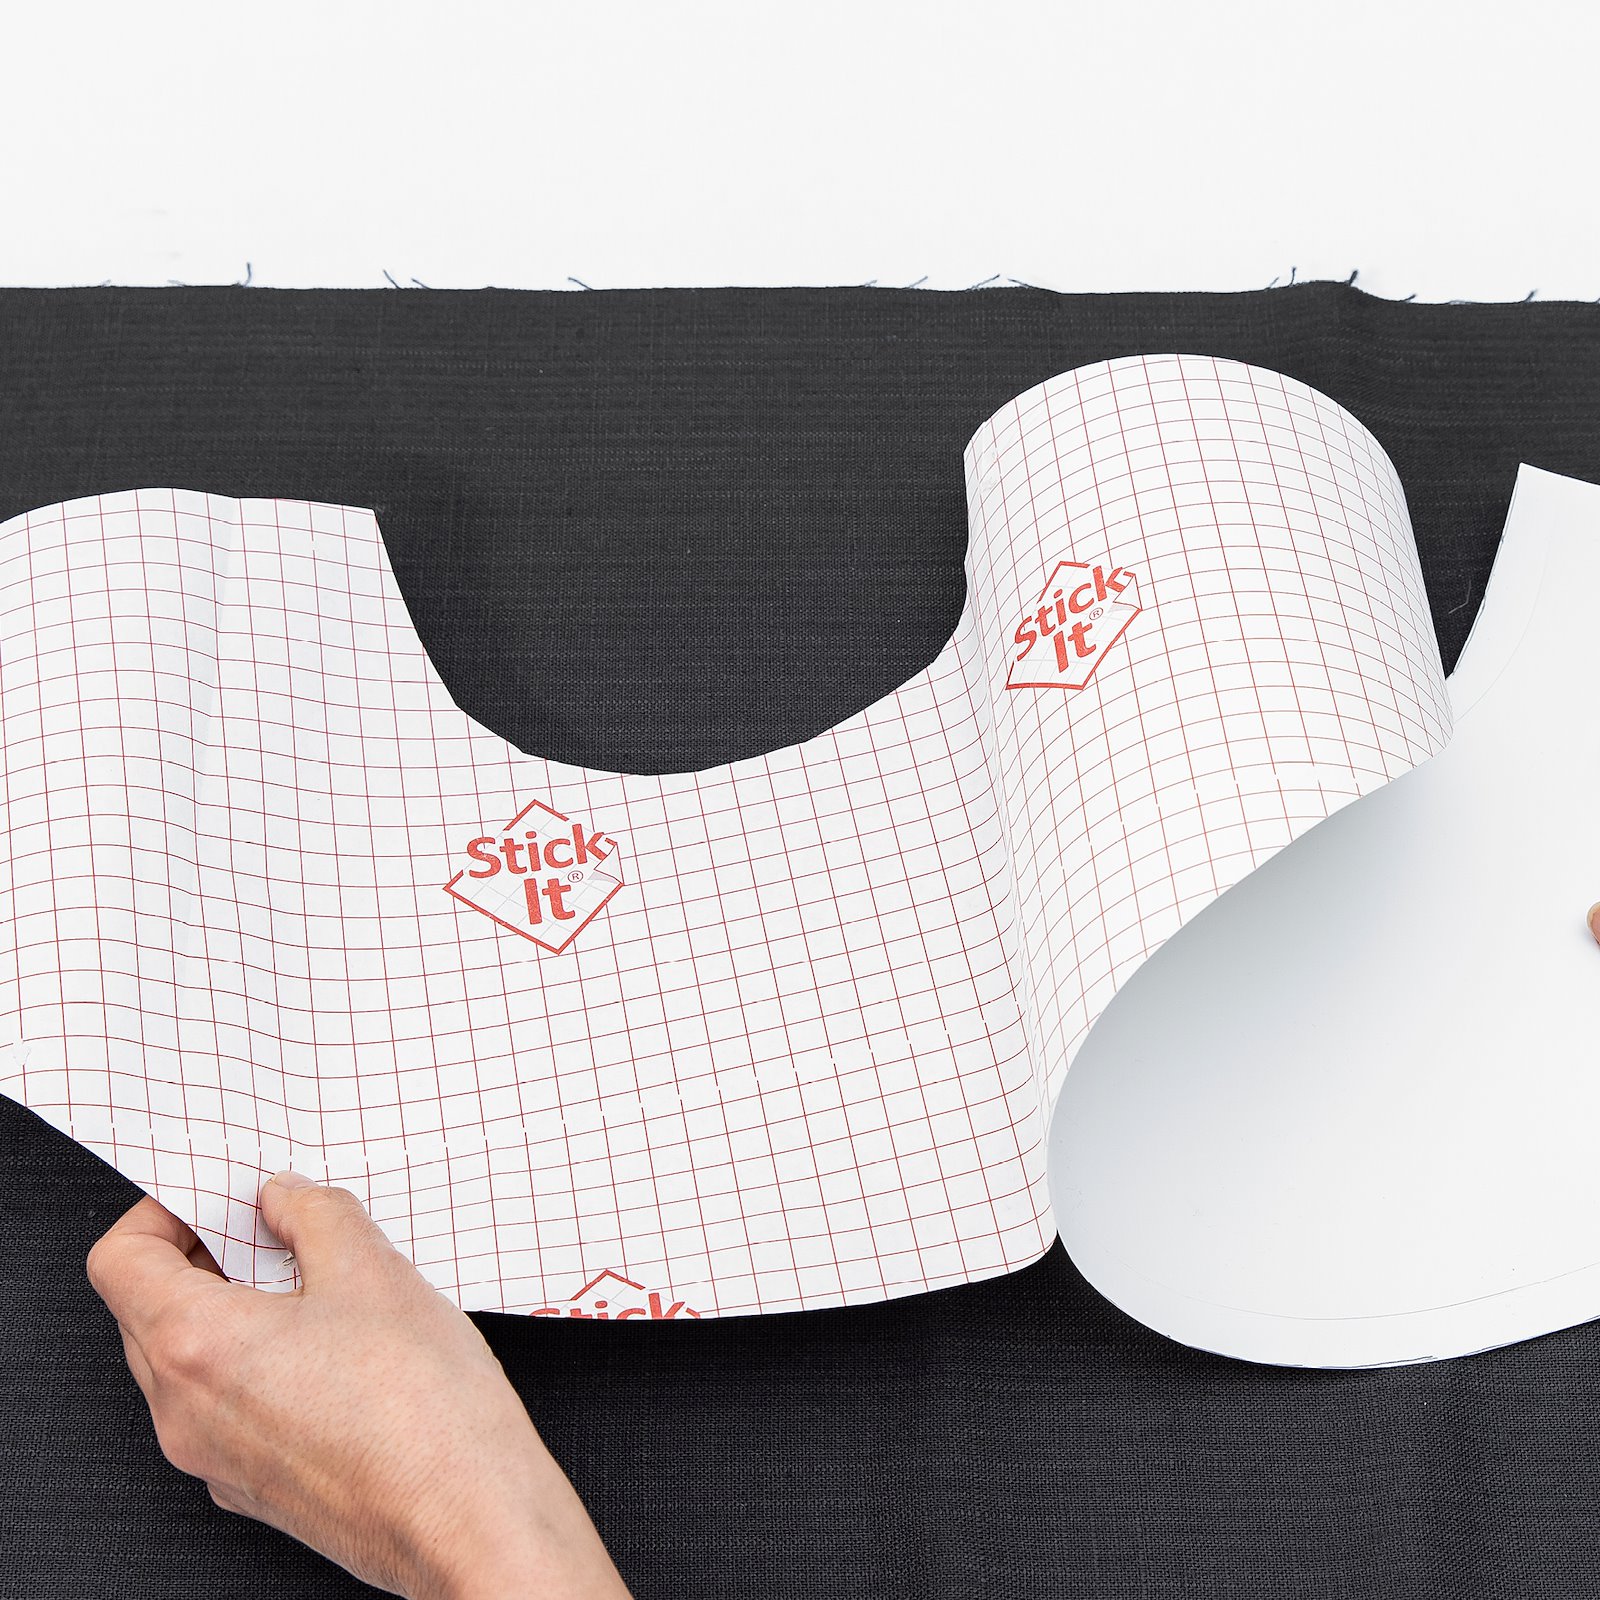
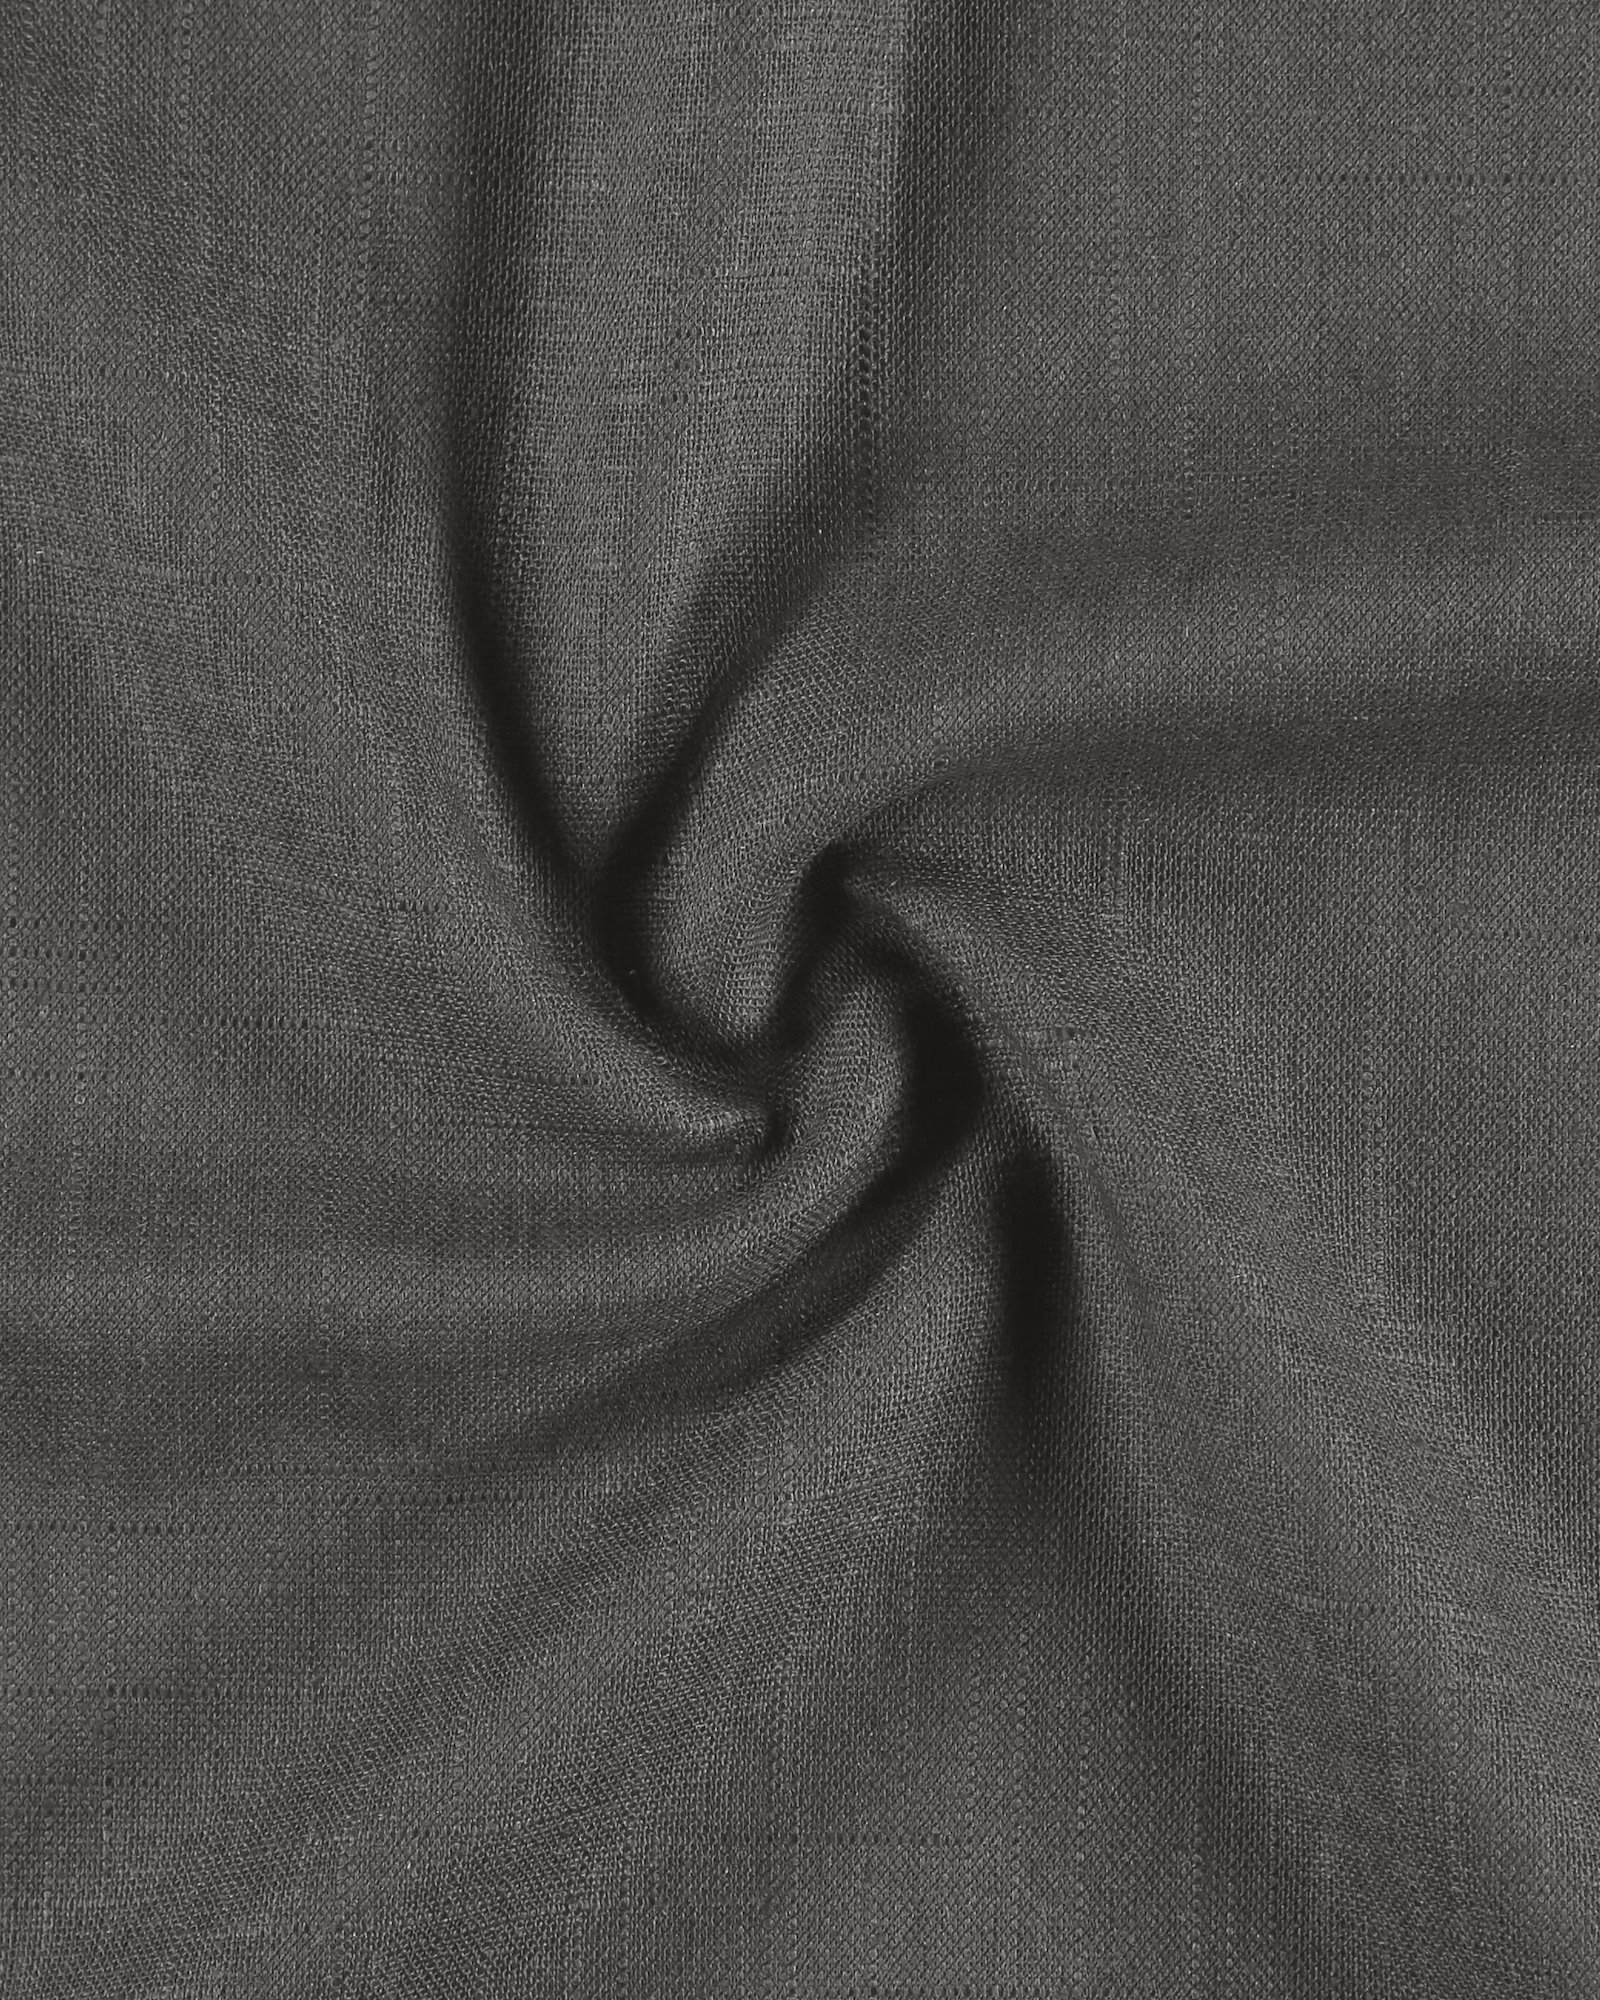
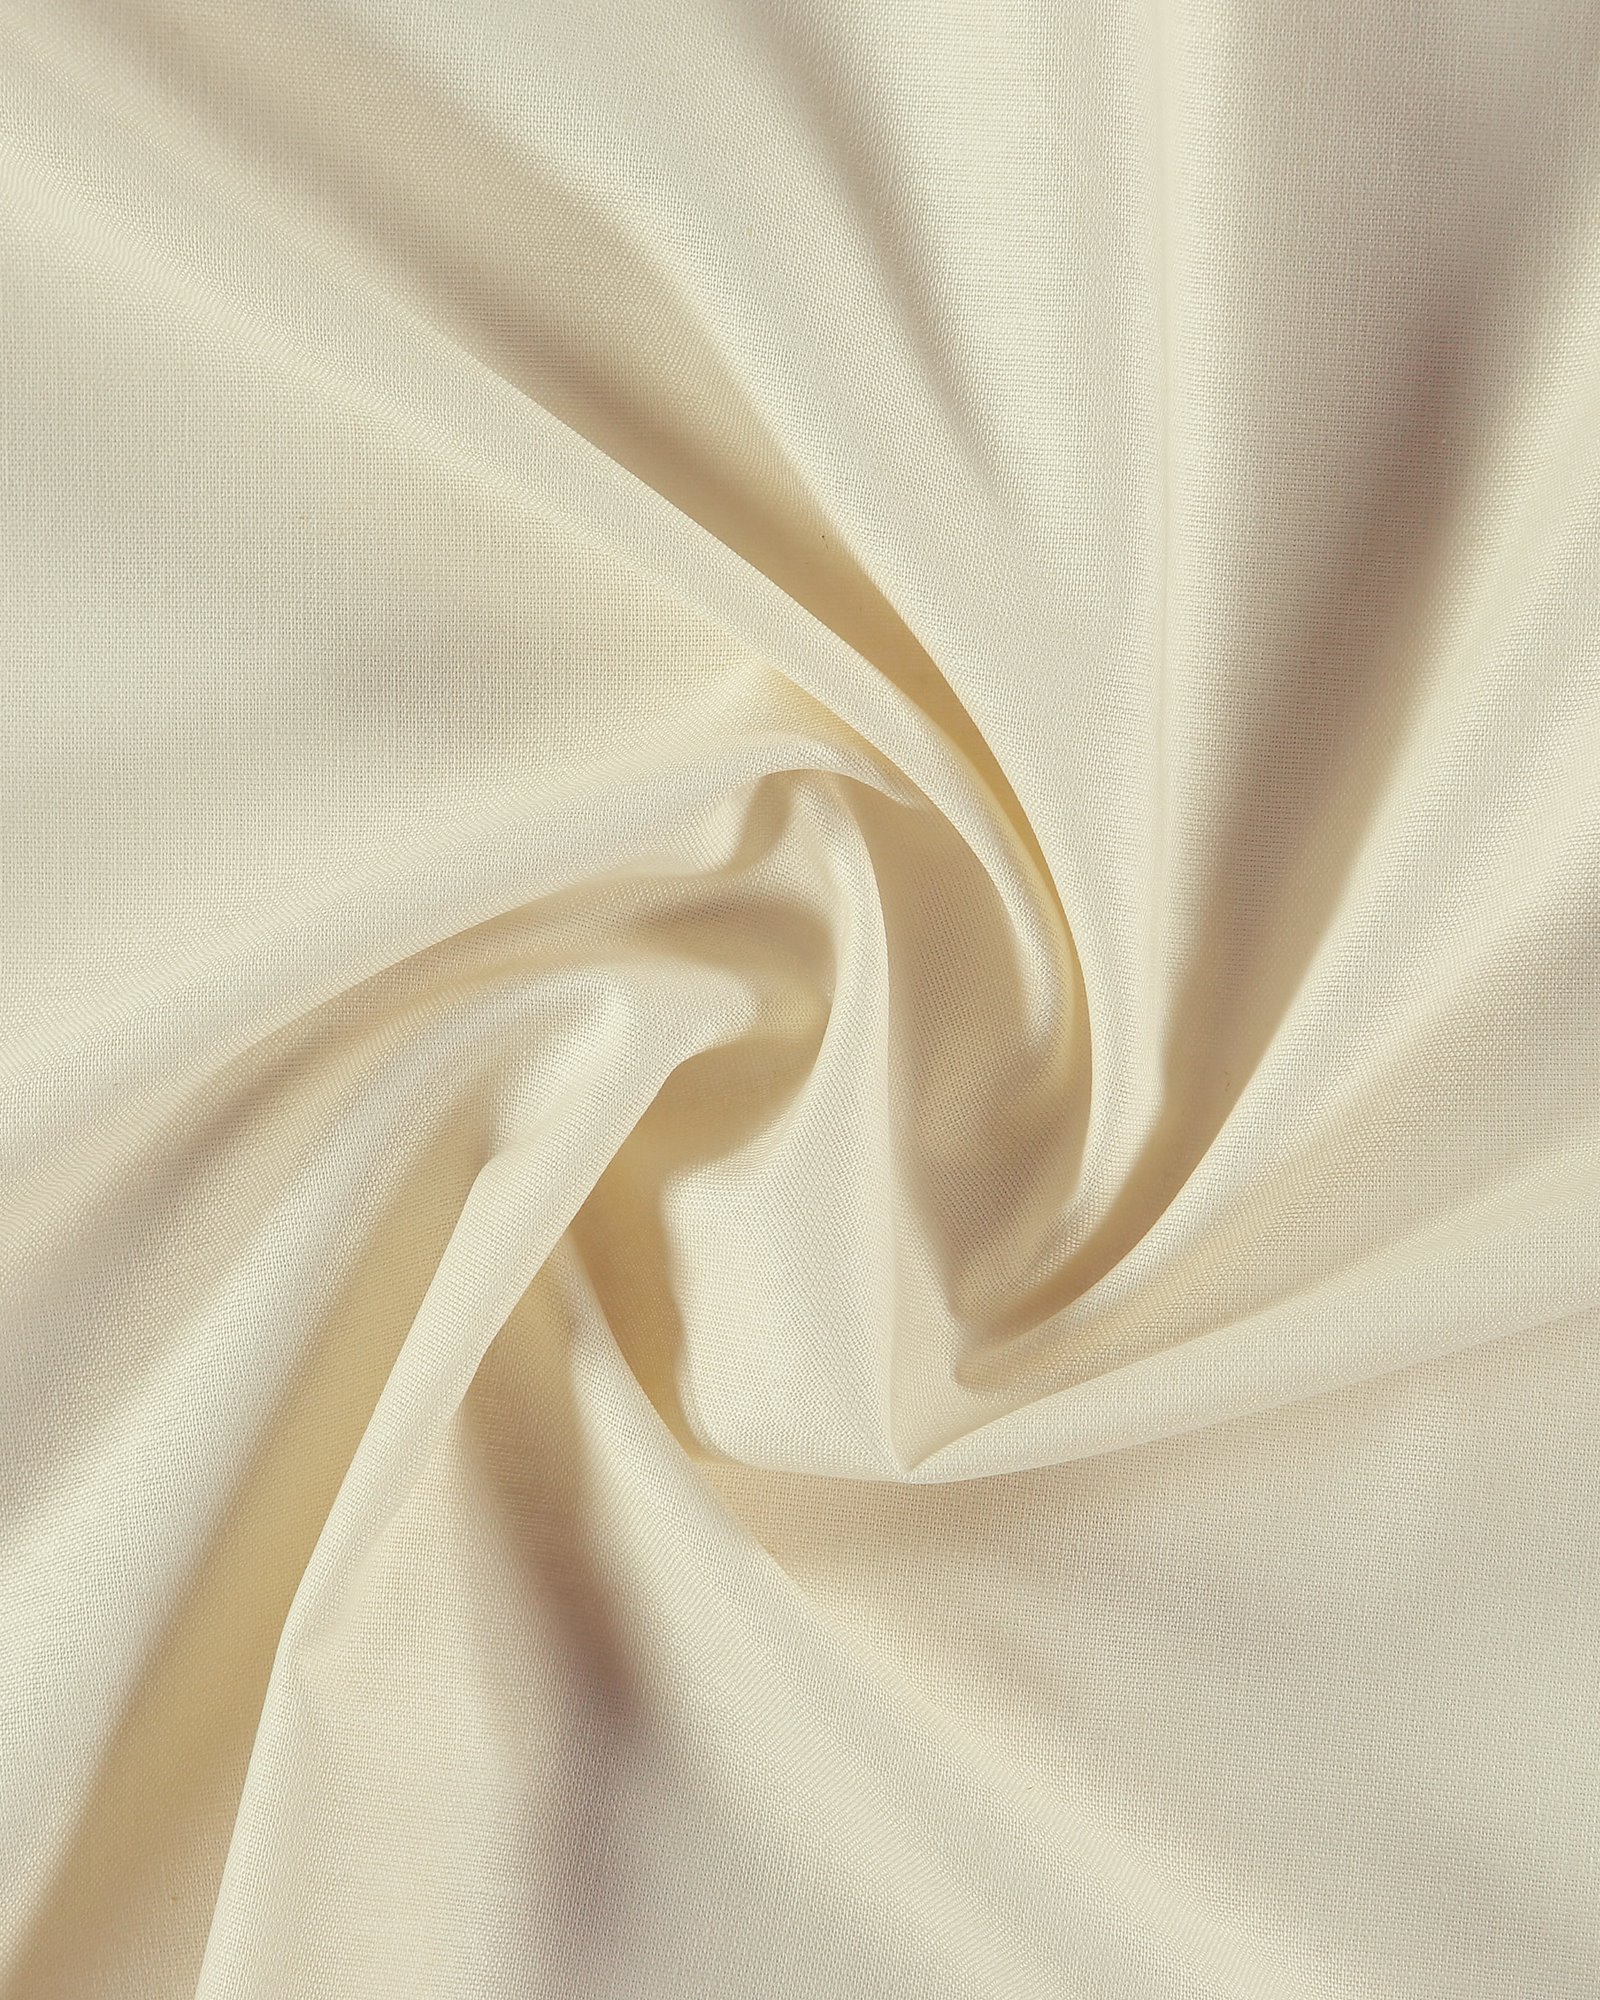
4.Iron the fabric and spread it out wrong side facing upwards. Remove the backing paper. Press foil until it sticks firmly. 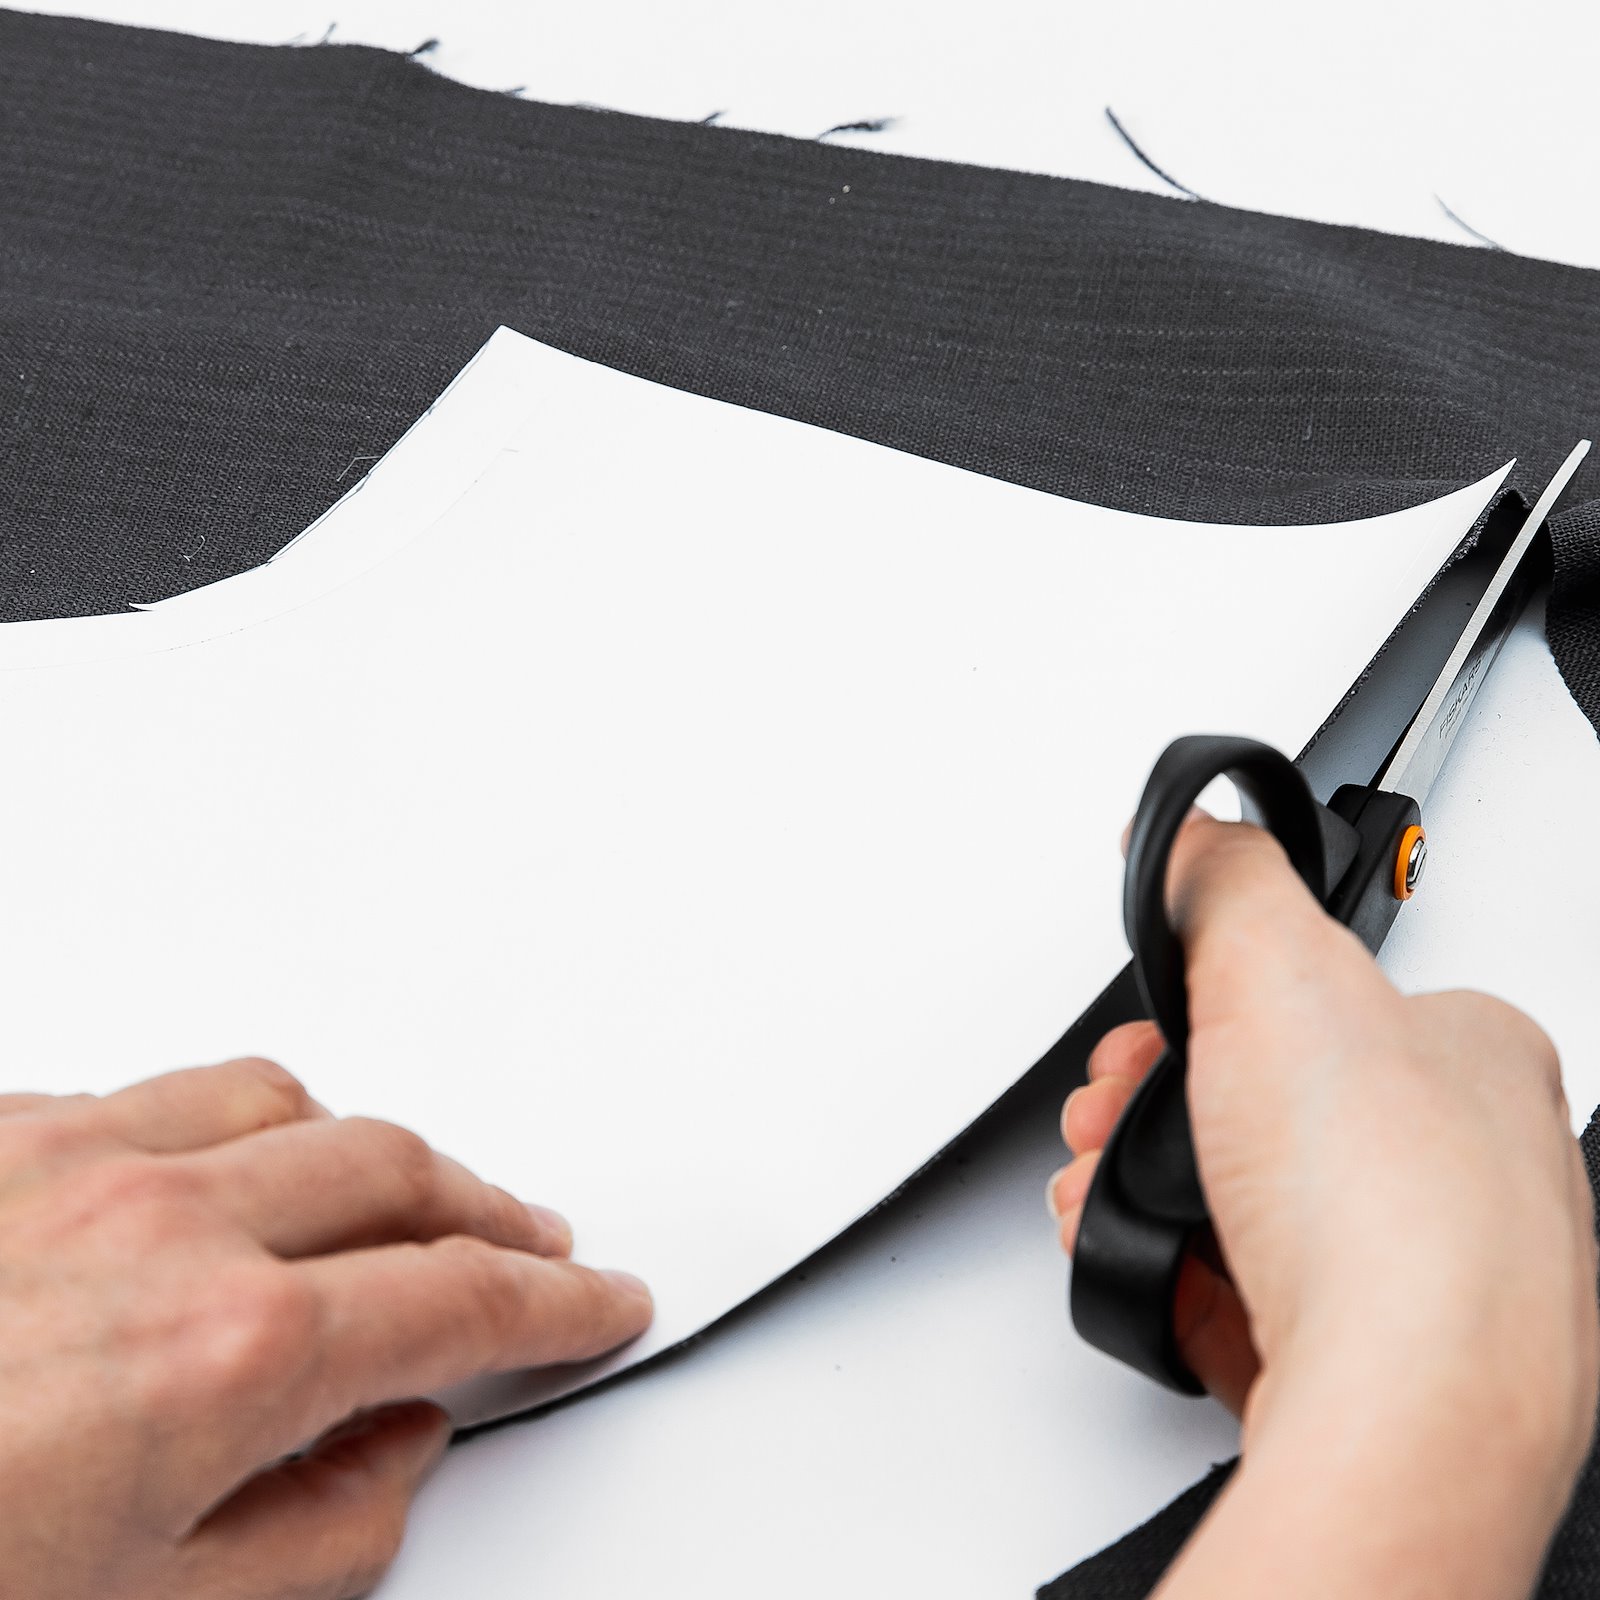
5.Cut along the edge of the foil. 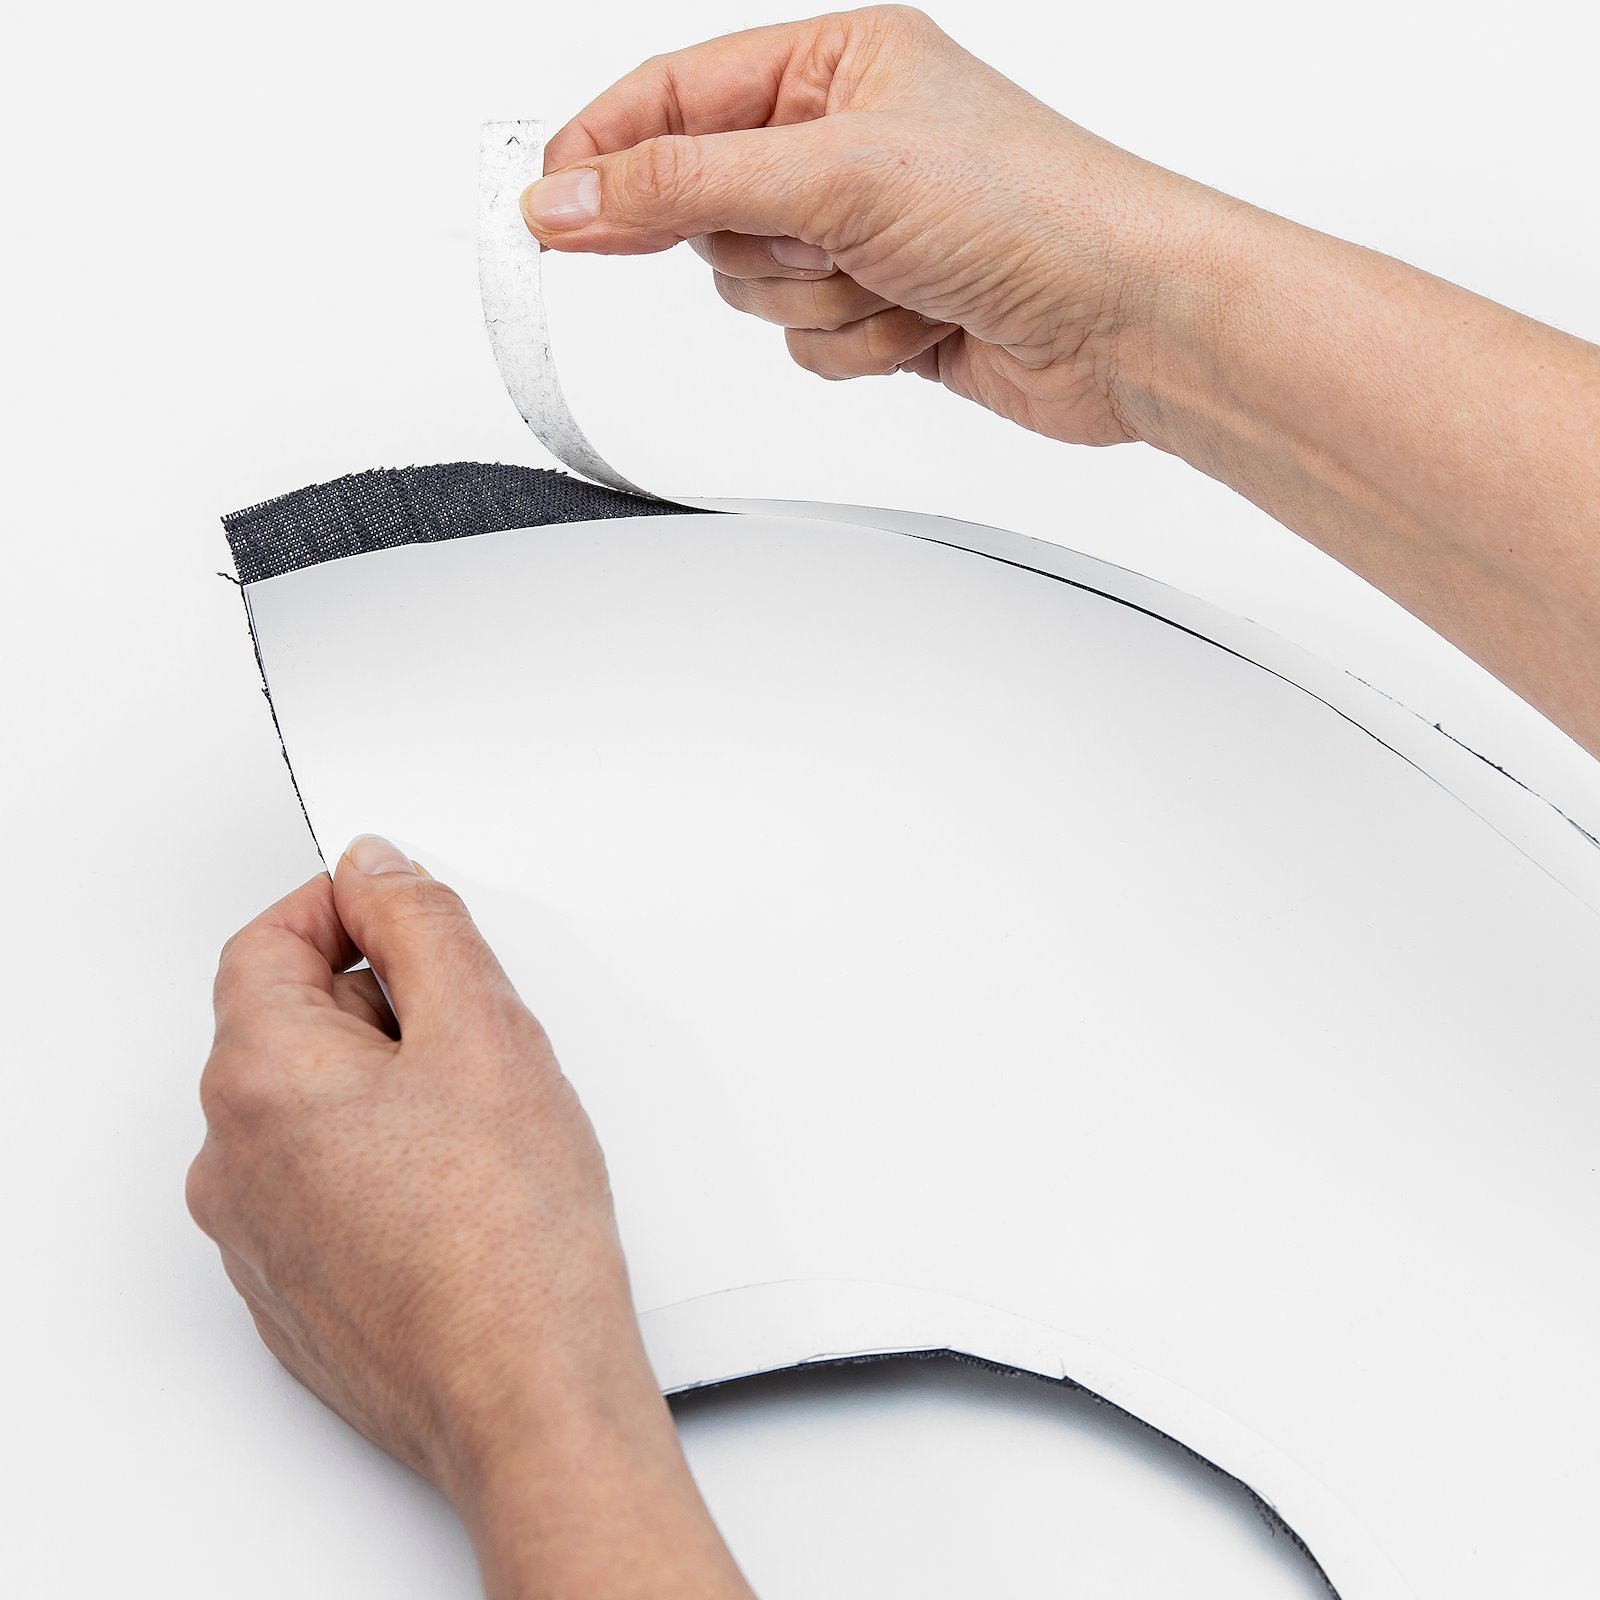
6.Bend the foil over the seam. Tear off excess foil at the top and bottom. NB: If the fabric frays, affix Wonder Tape to the edges. 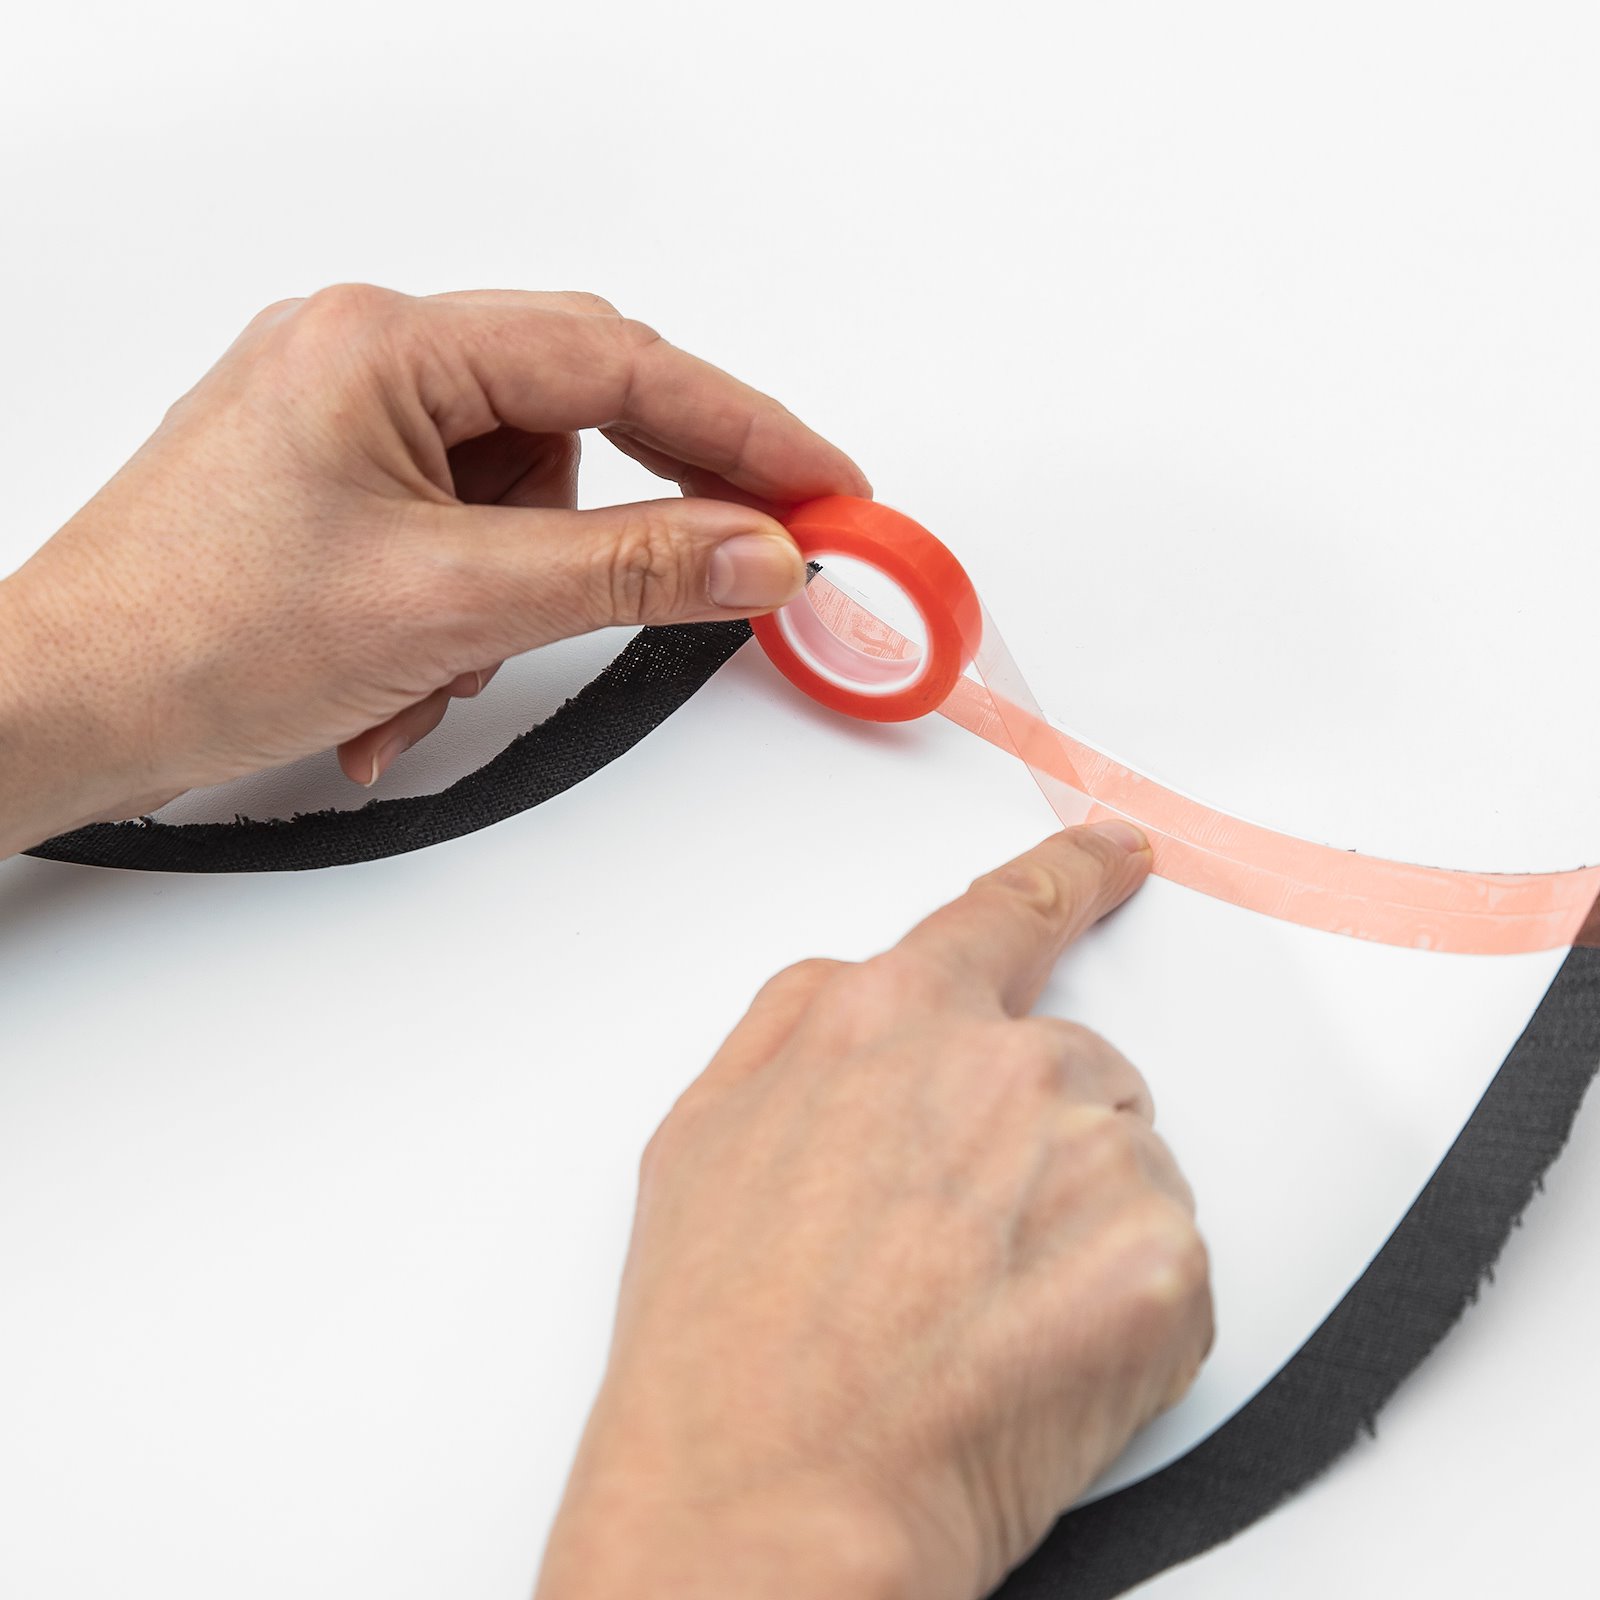
7.Affix 2 parallel lengths of Power Tape to inside of foil on the edge with no seam allowance. Remove red layer. 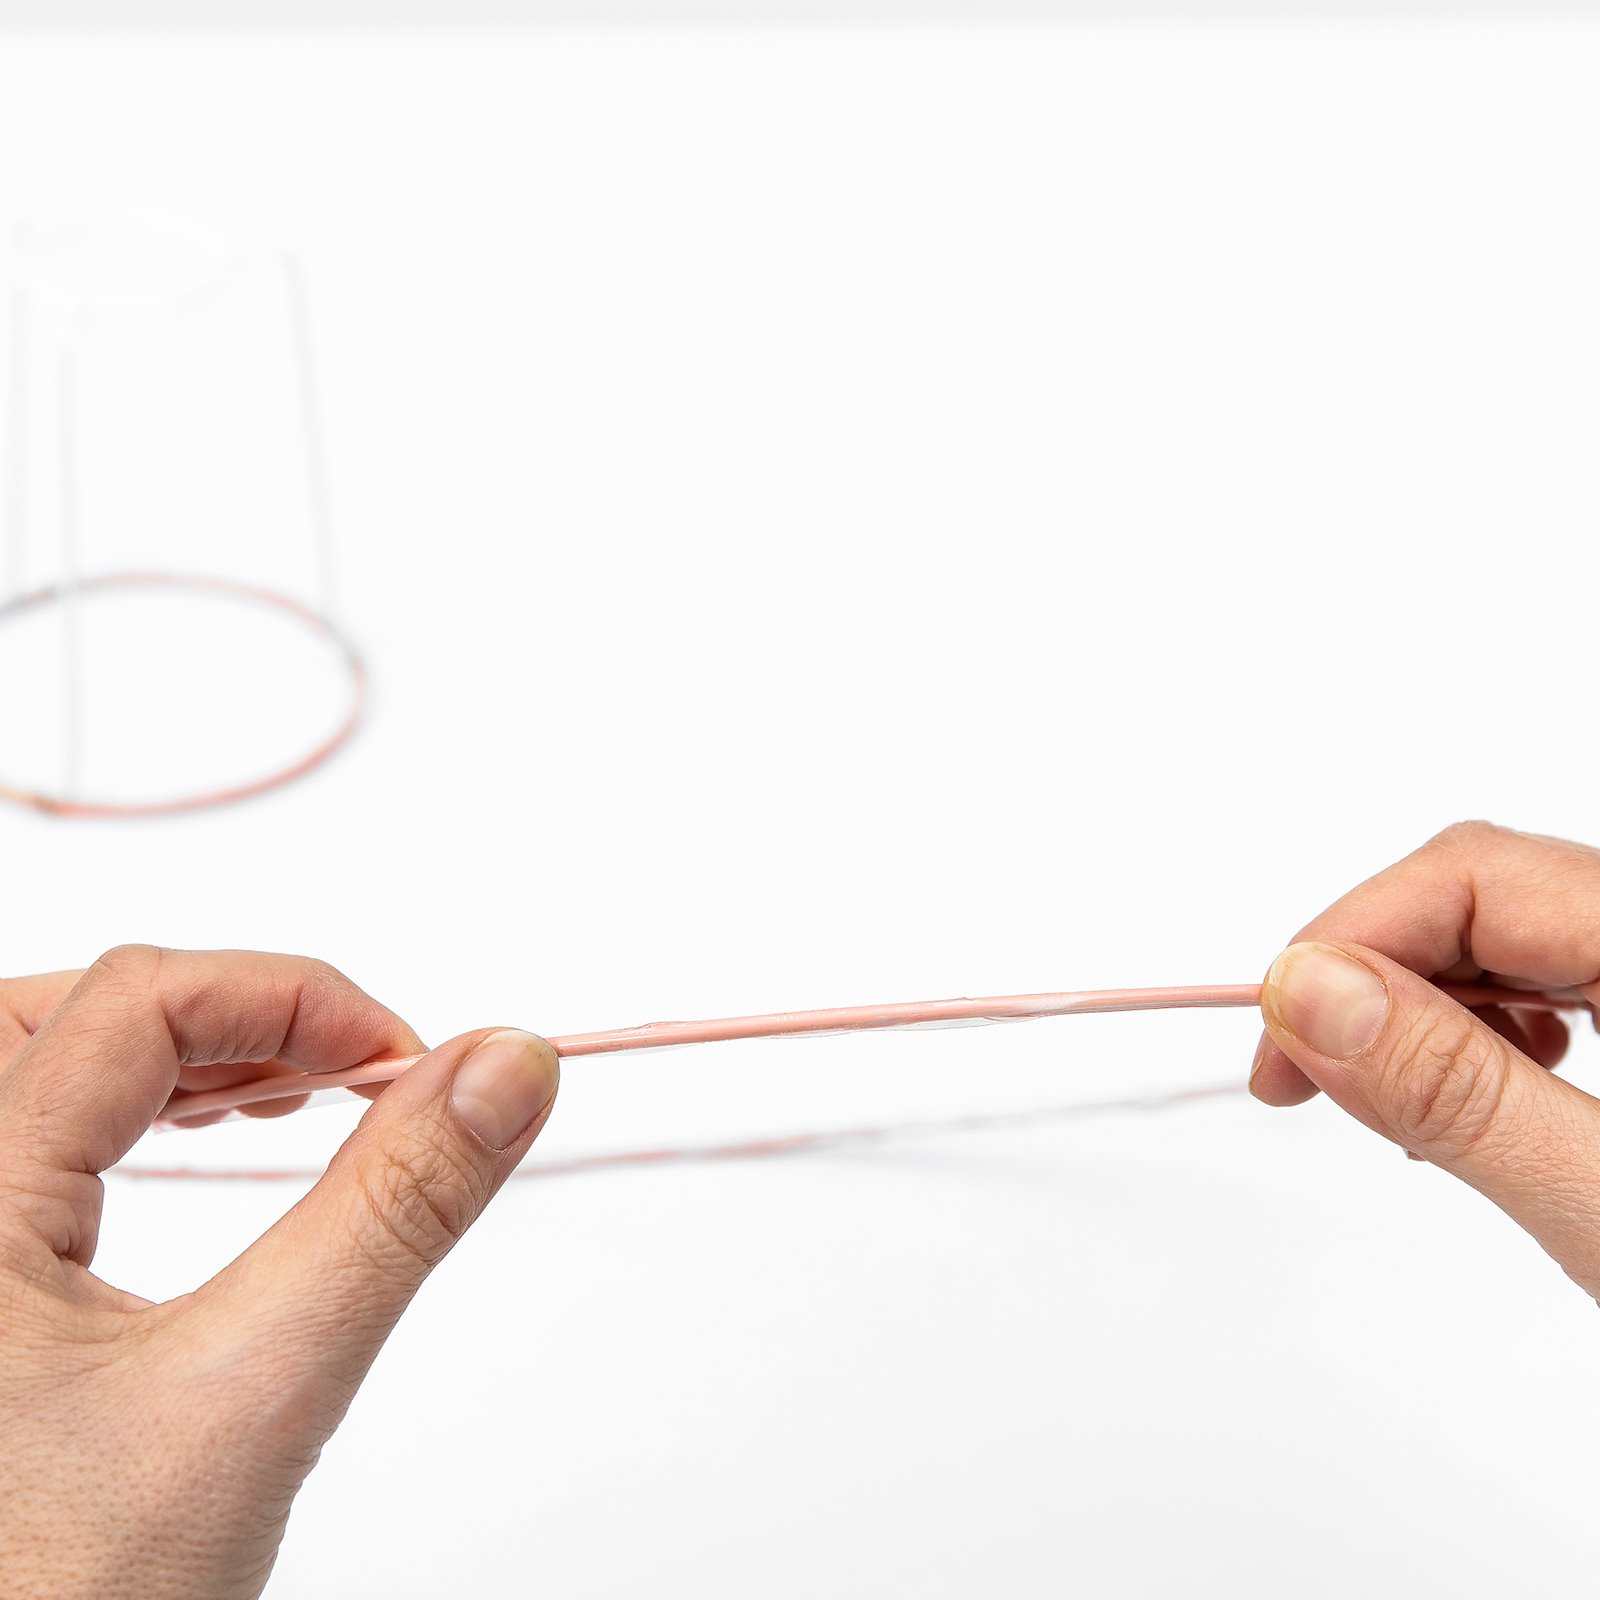
8.Affix Power Tape around the metal rings. Press foil until tape sticks firmly. Then remove red layer. 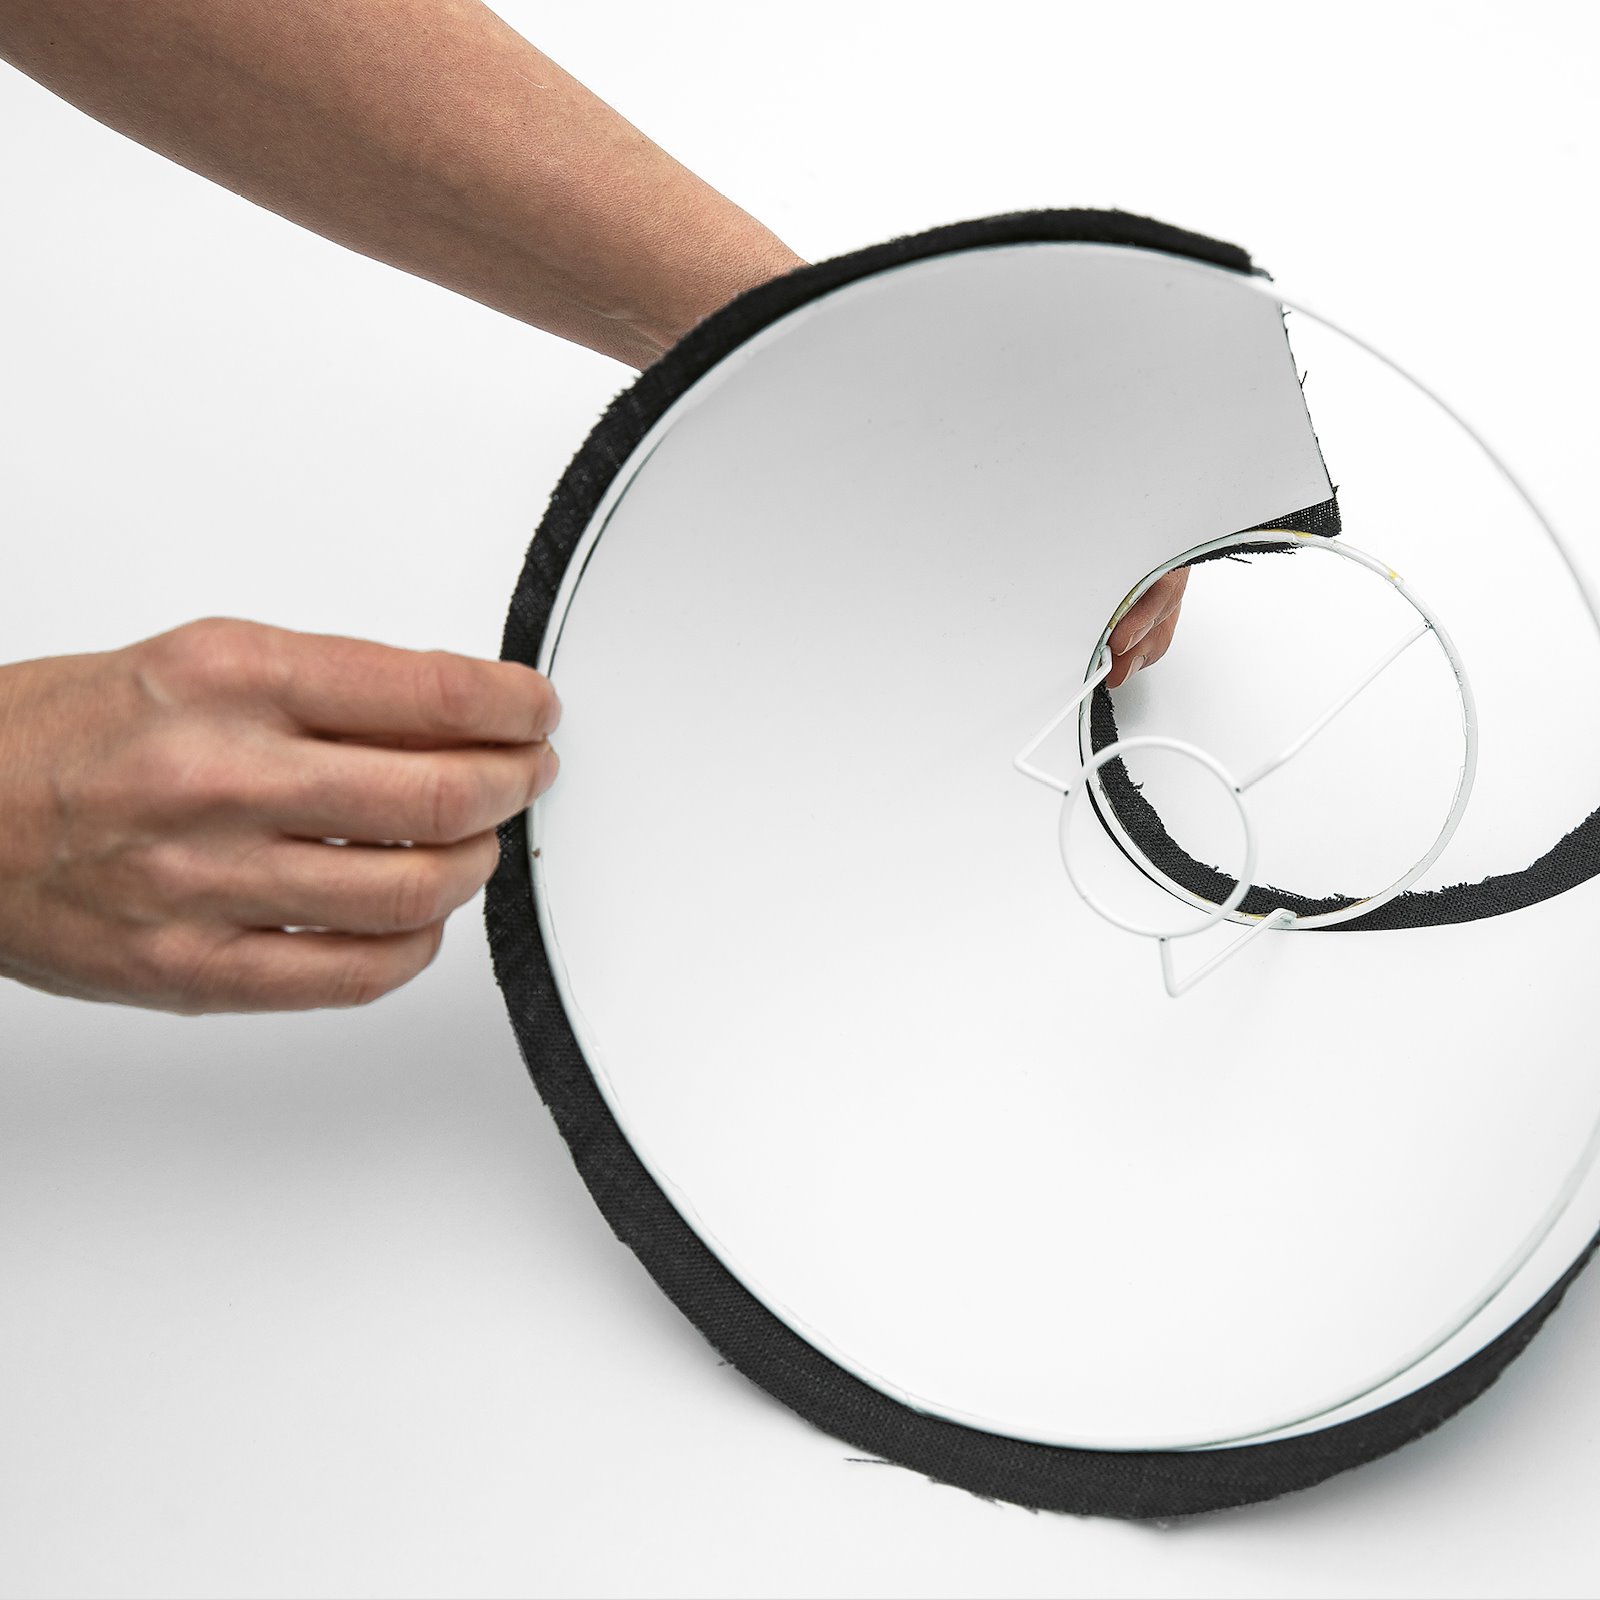
9.Roll metal rings into place, parallel with foil edge and fabric. 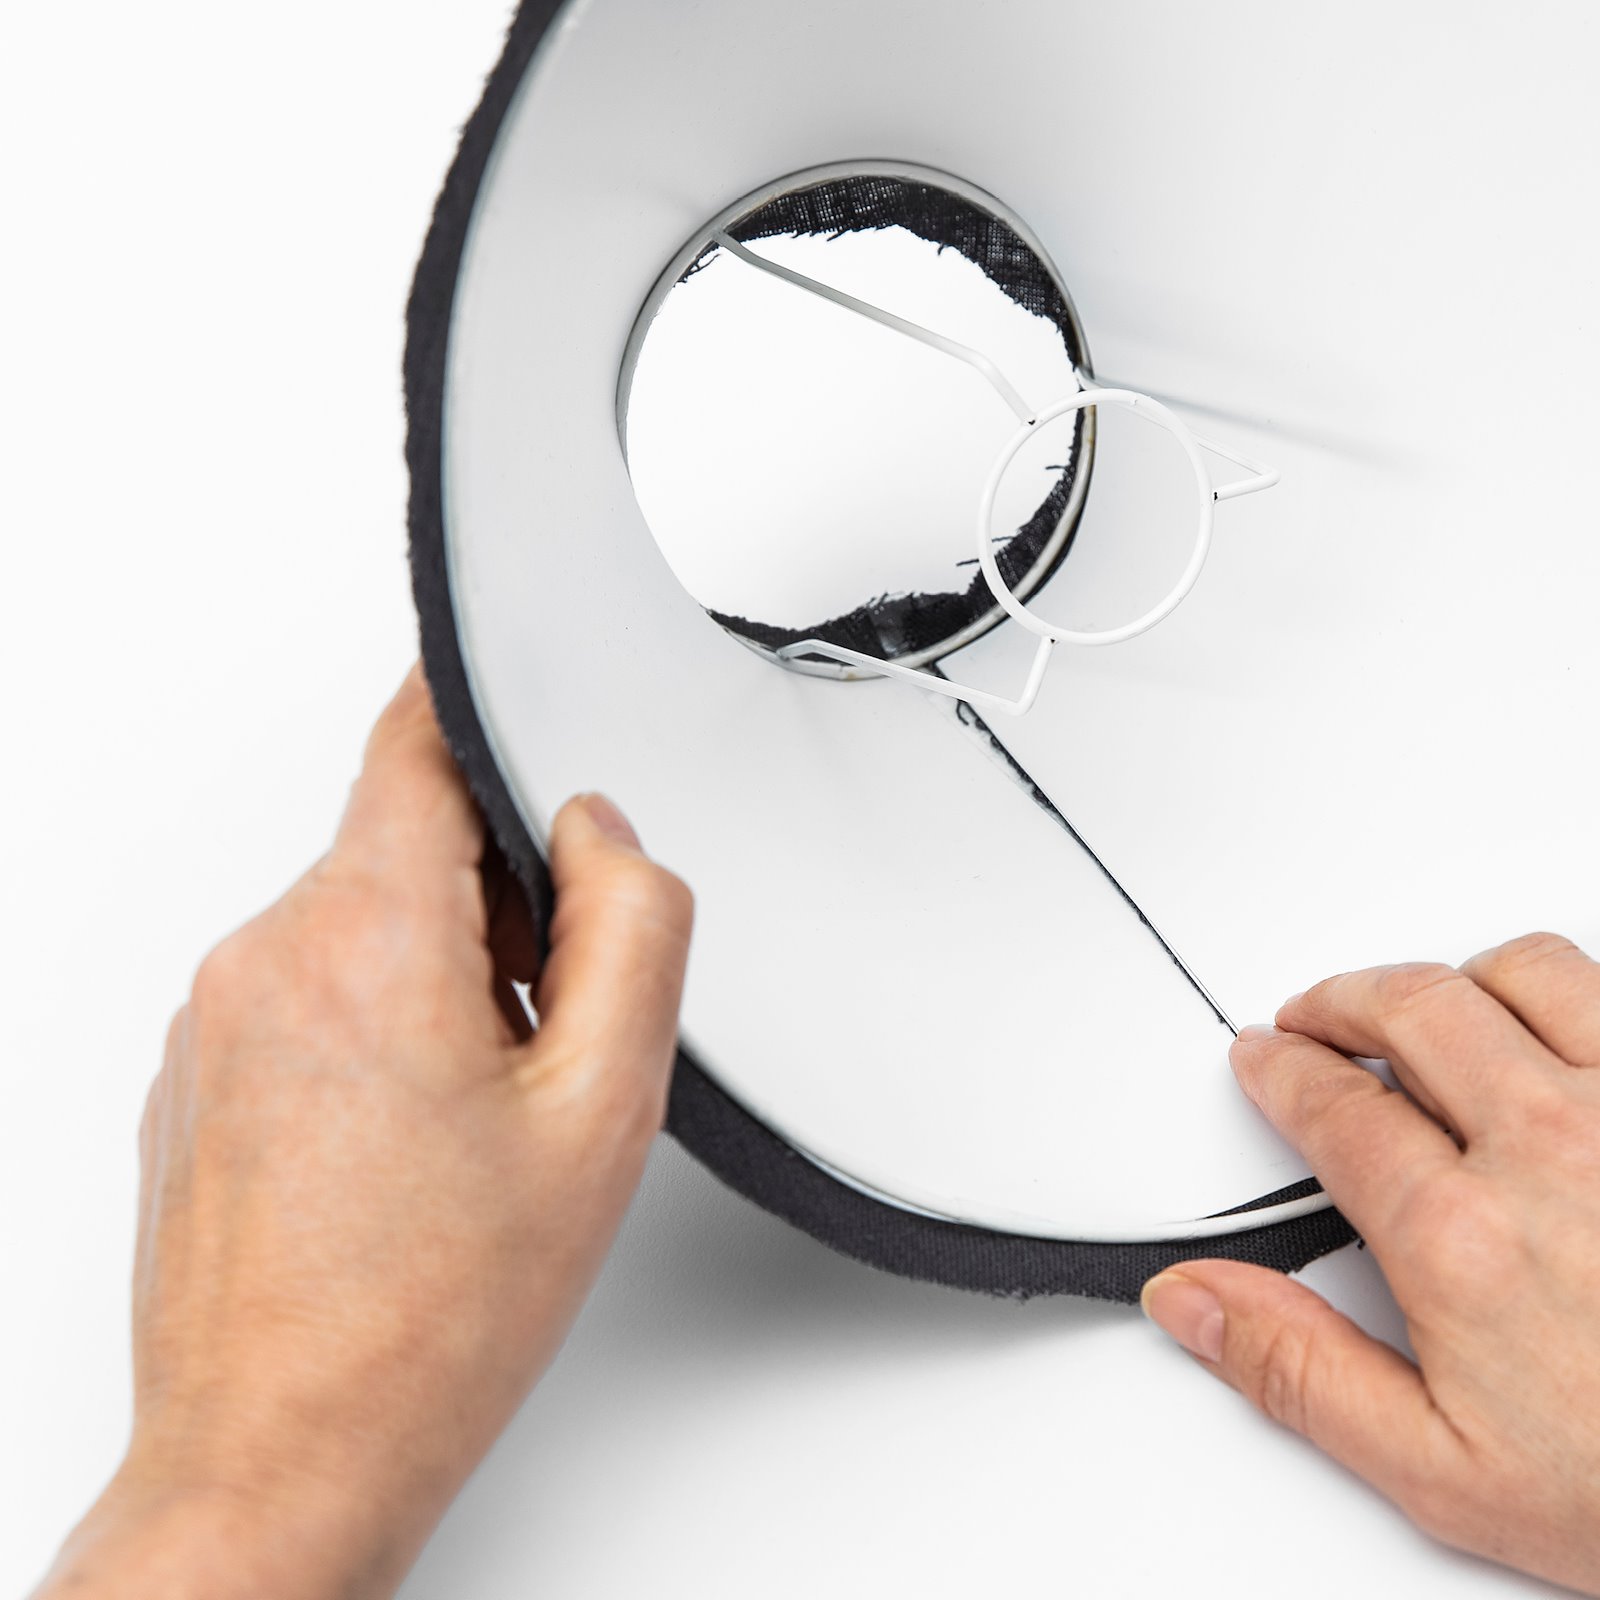
10.Press joins firmly. 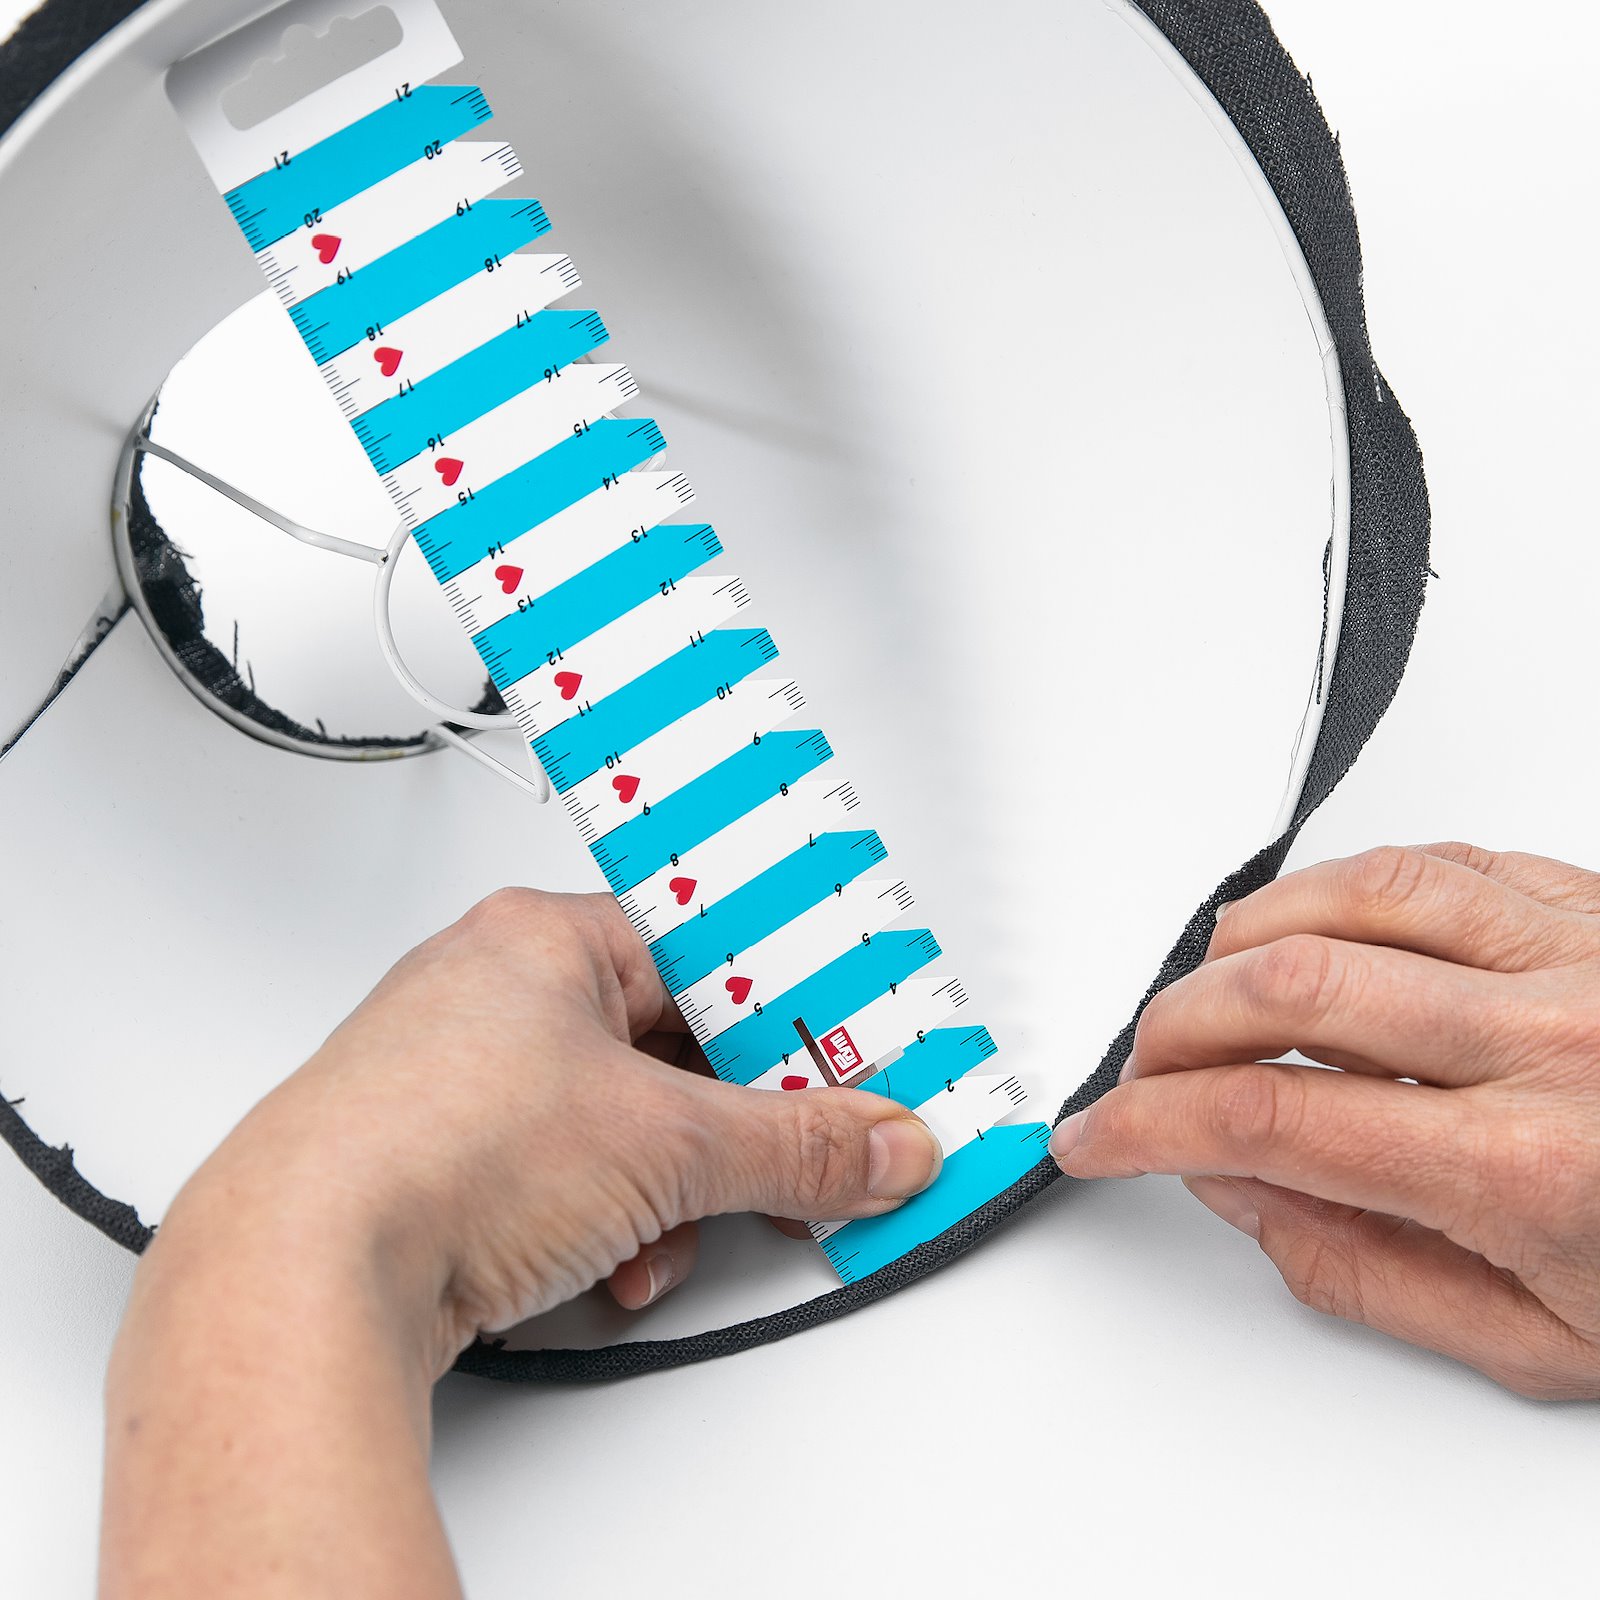
11.Fold the fabric around the metal rings with your fingers. Fasten the fabric between foil and rings. Use overlock tweezers (item no. 74700) or flexible plastic seam gauge (item no. 41046). Cut off any loose threads with sharp scissors. TIP: If Power Tape is not sufficient to fix your choice of fabric (e.g. velvet) to the rings, use jewellery glue or glue gun. 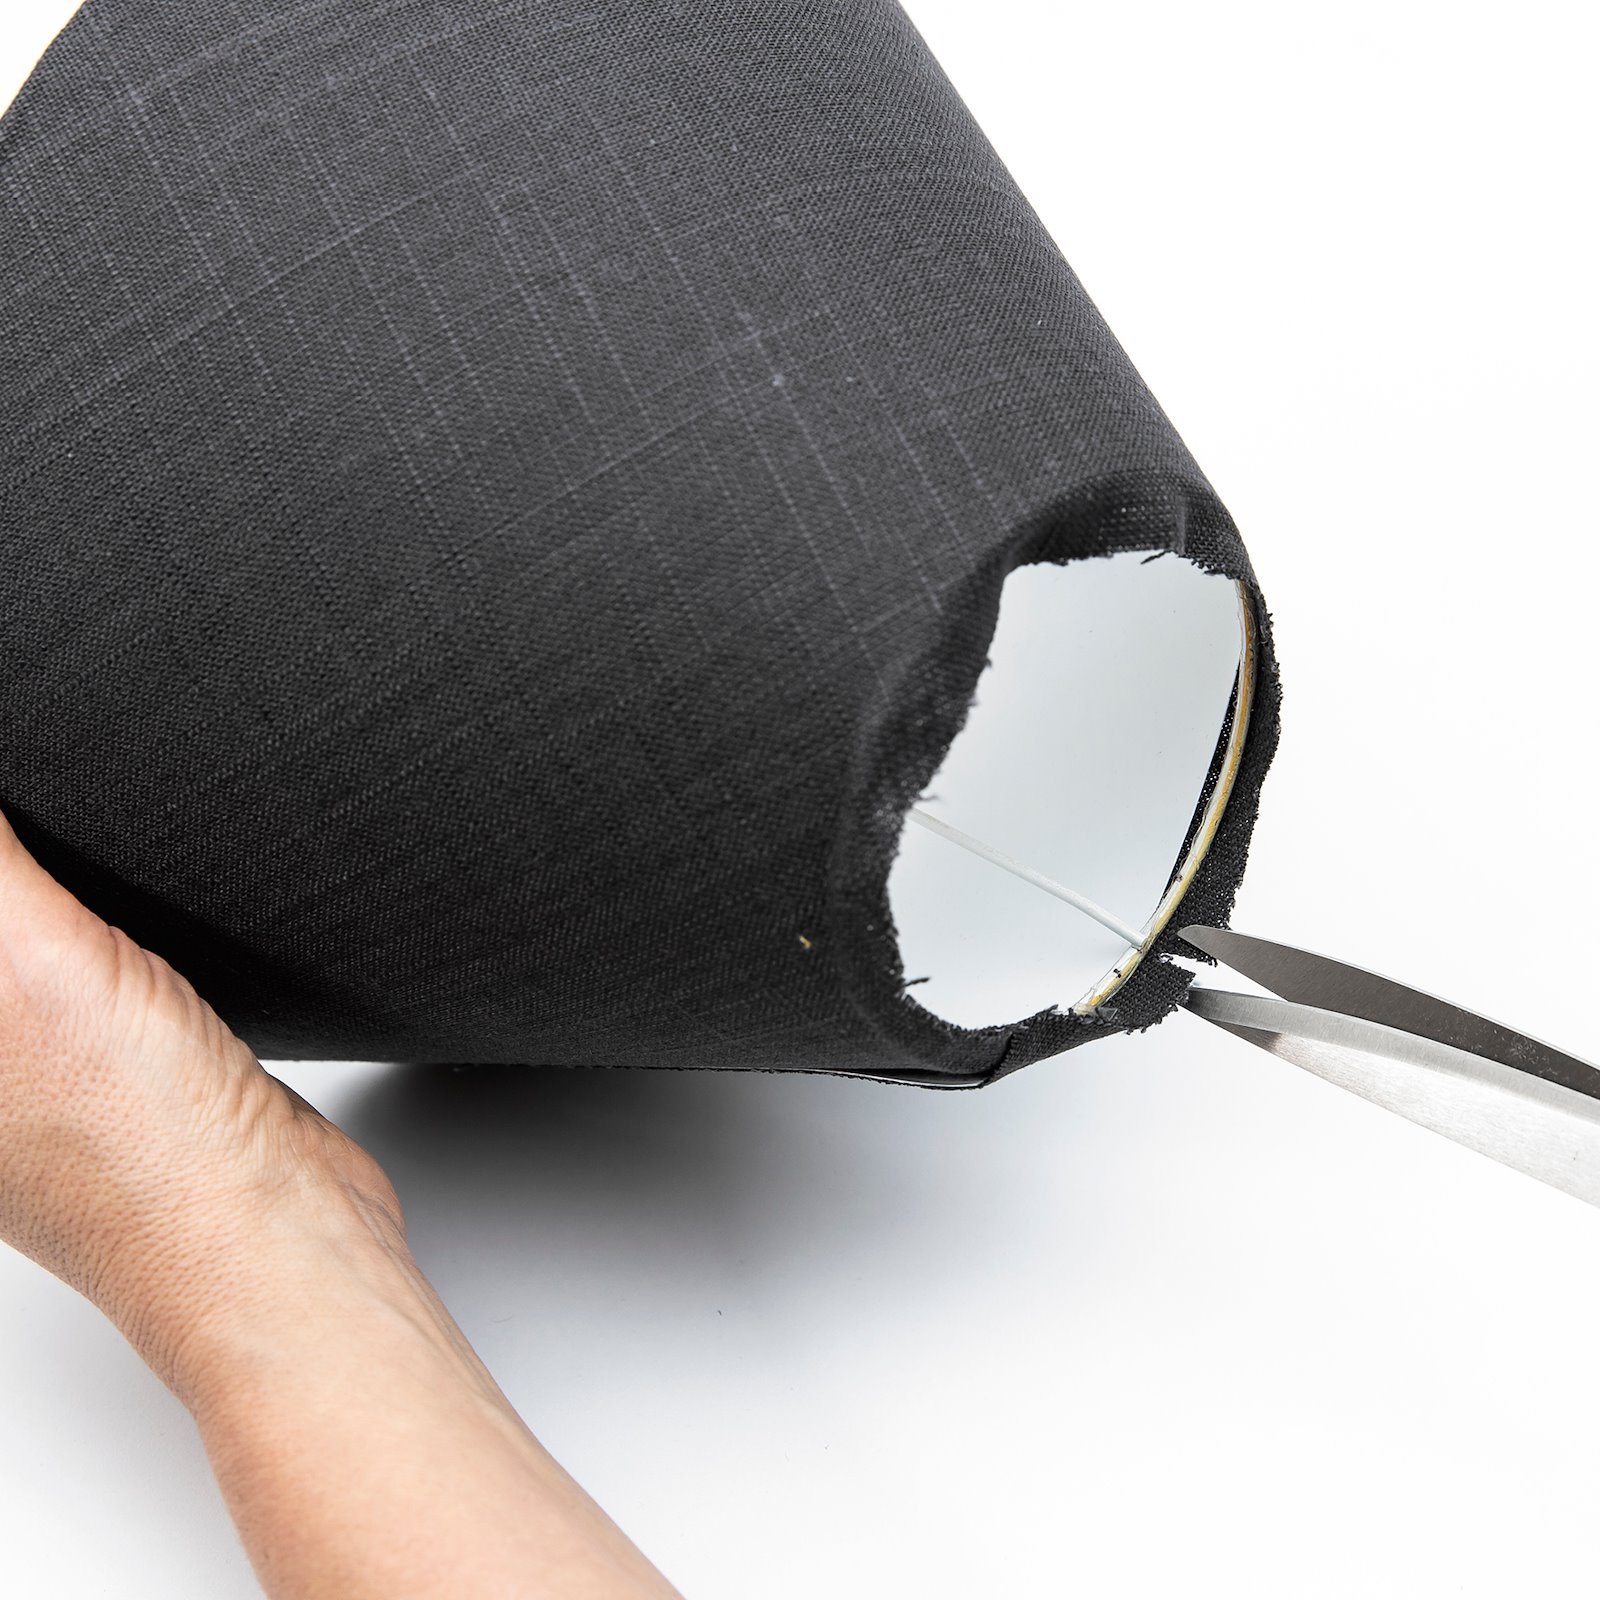
12.Cut a notch with scissors to mark where metal rods intersect the outer metal rings before folding the fabric firmly.
