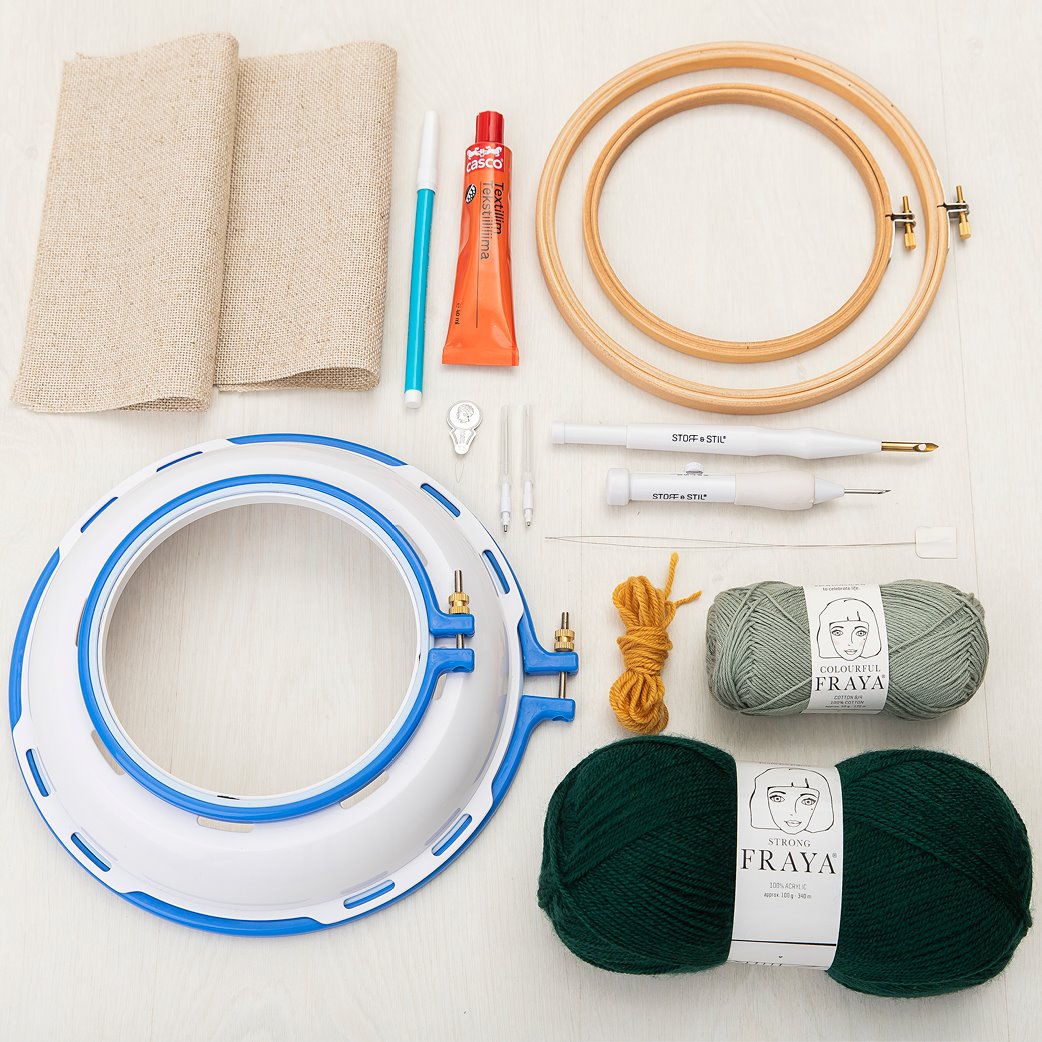
1.Make sure you have all the punch needle tools you need for this project. Cut a piece of canvas in the desired dimensions. 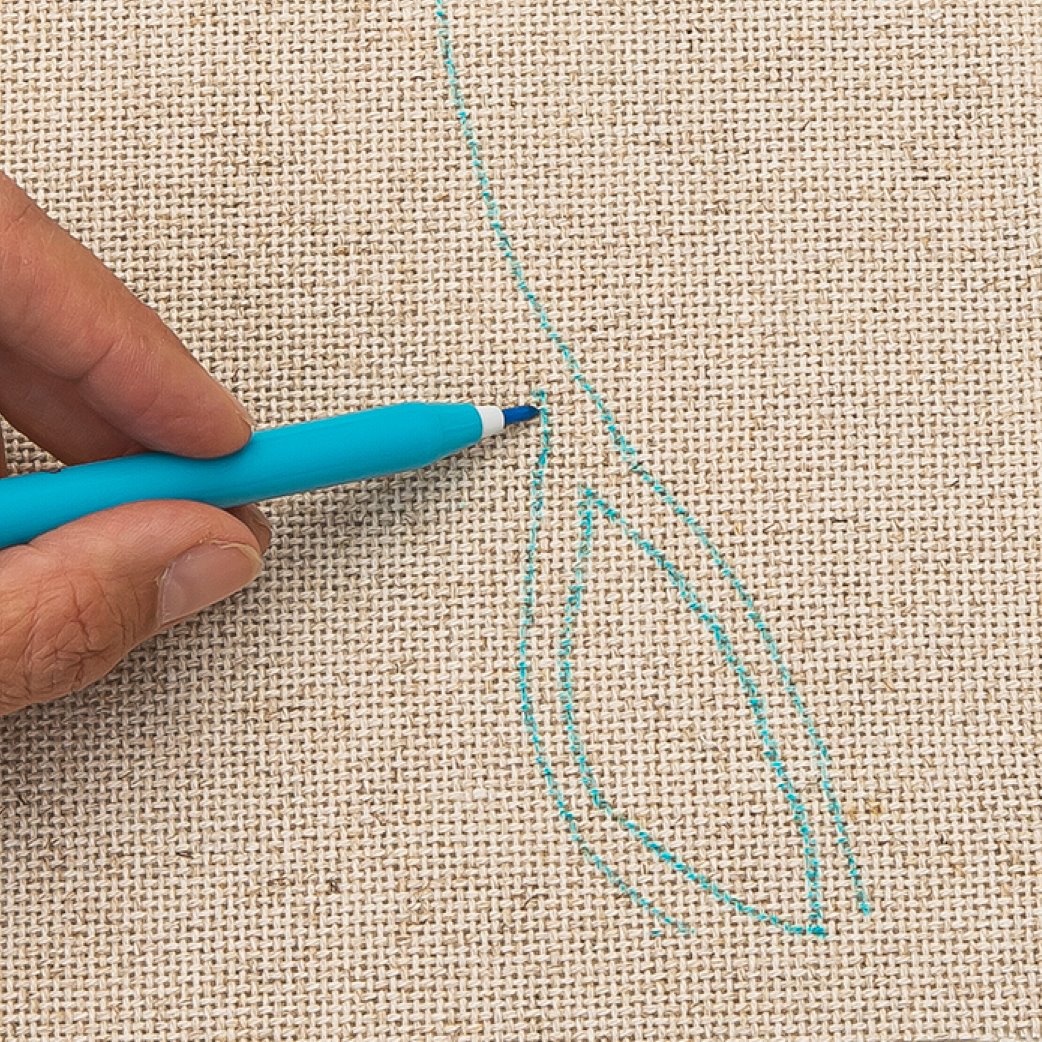
2.Draw your pattern up with a marker pen. Be imaginative! The marker washes off in water. 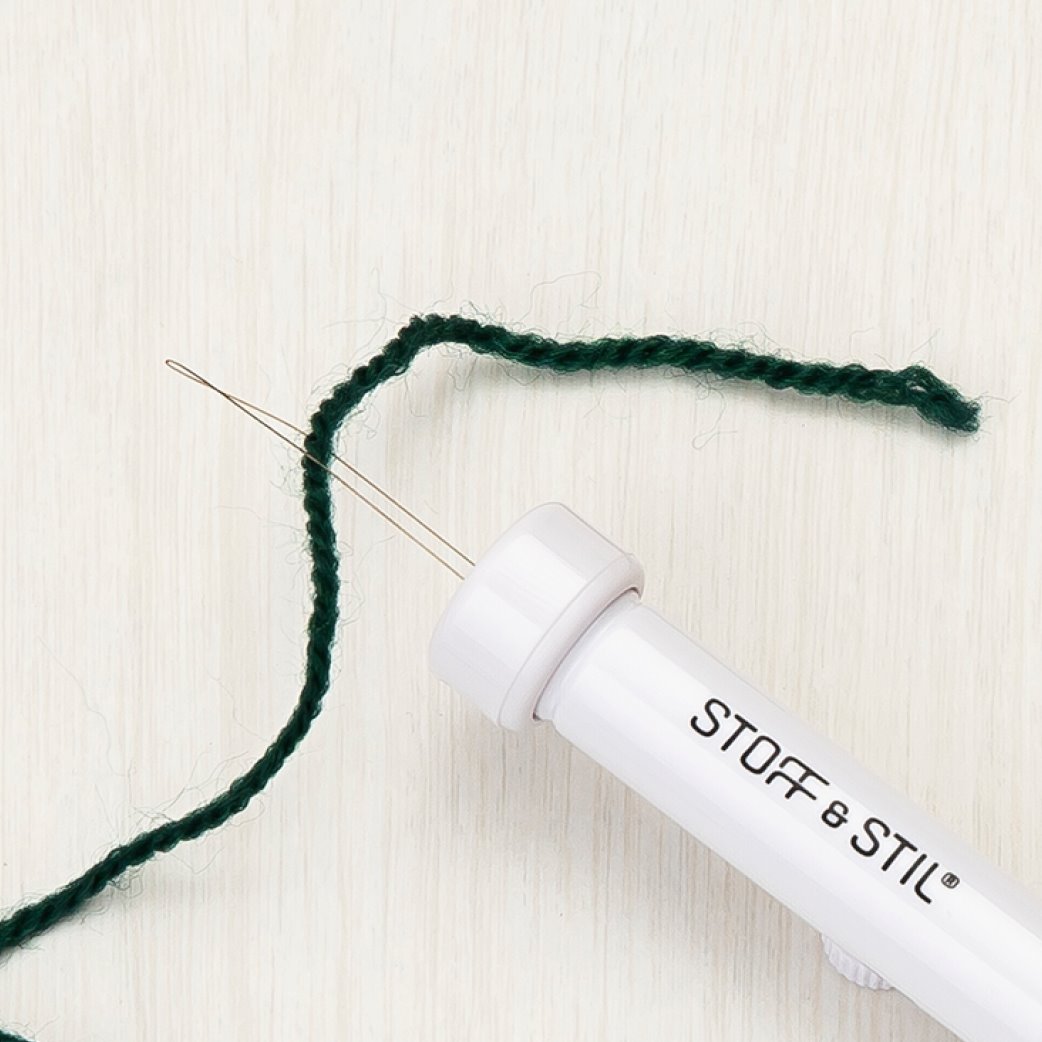
3.Here we use the largest needle from our small punch needle set (with needles in sizes 1.3, 1.6 and 2.2 mm). 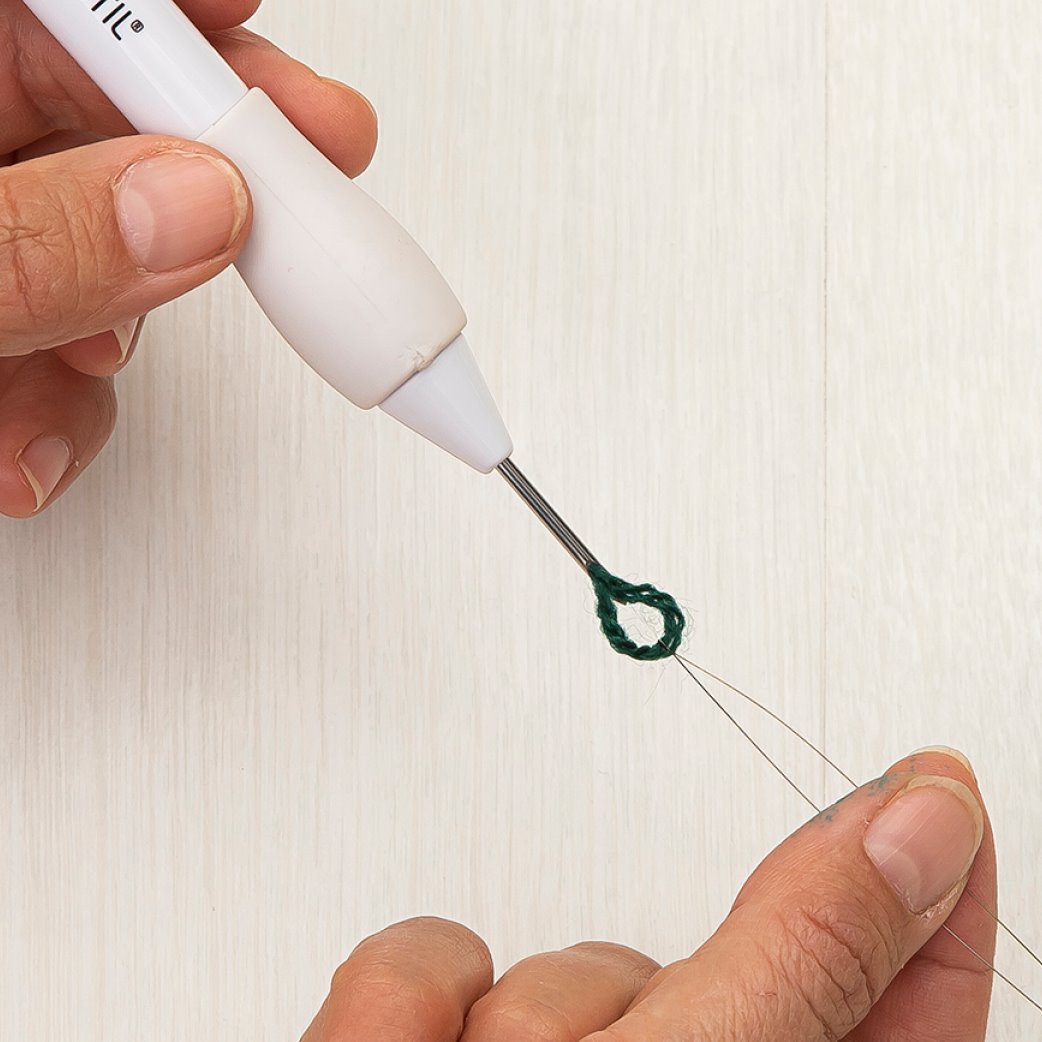
4.Thread the needle as shown on the pack PACKAGING INSTRUCTIONS. 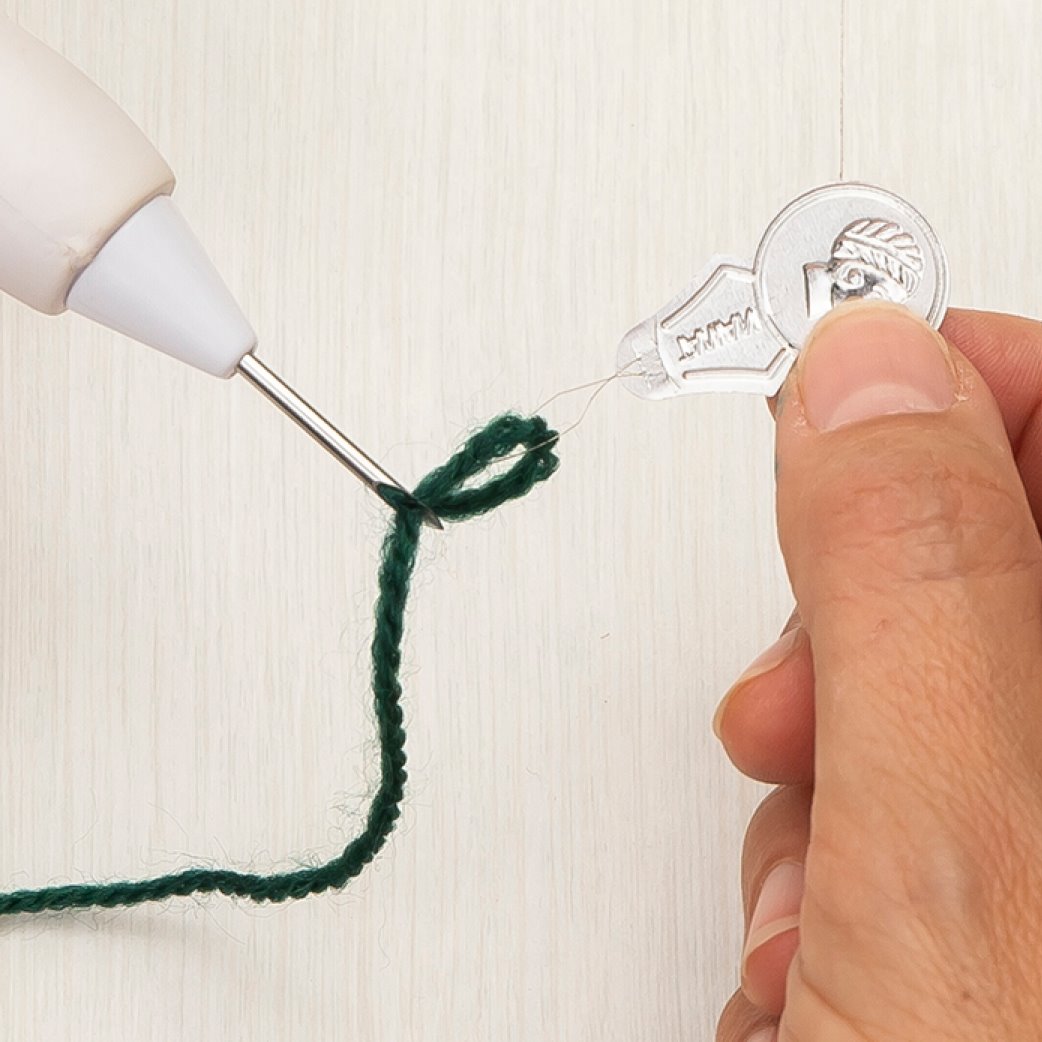
5.If necessary, use a needle threader to pull the yarn through the eye of the needle. 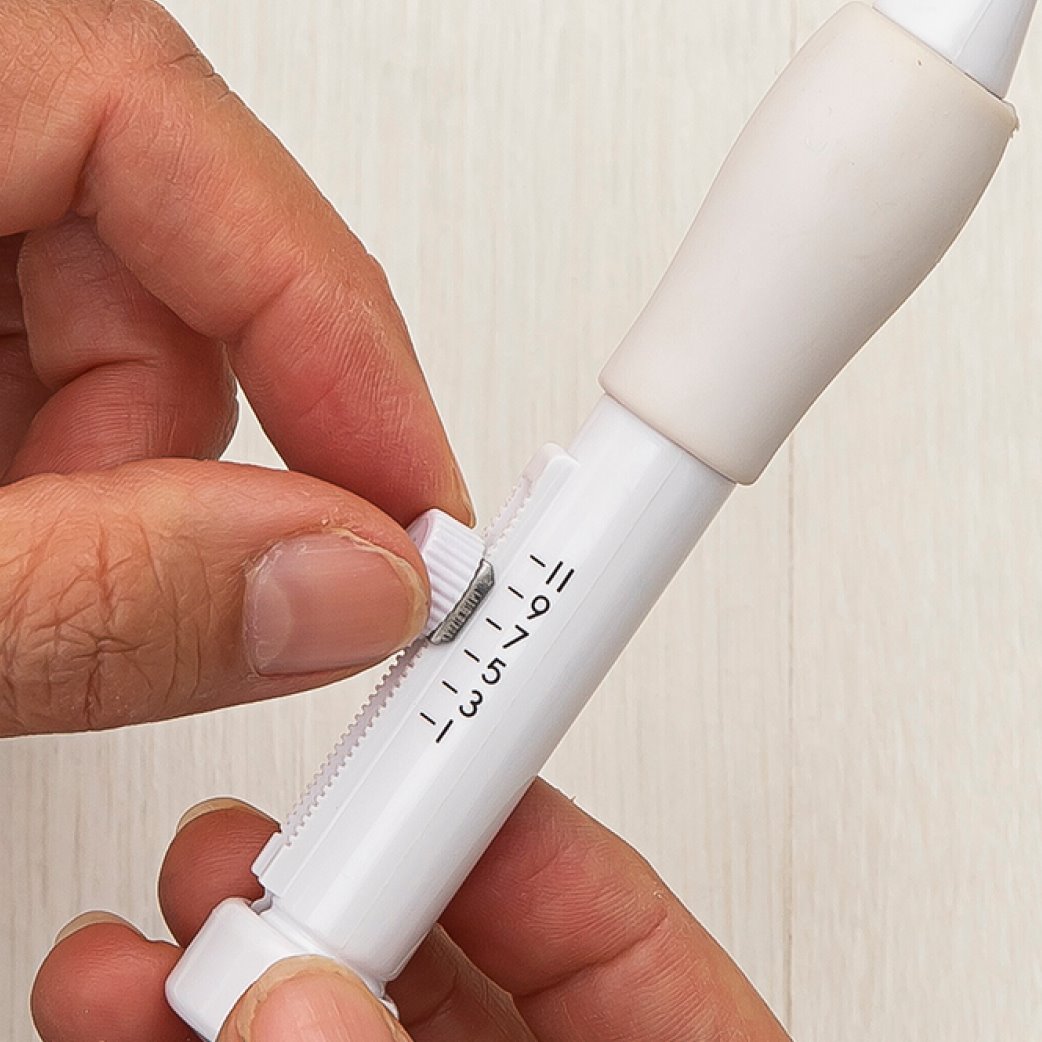
6.Set the needle to the length you wish the loops to be. If you wish, you can vary the loop lengths. 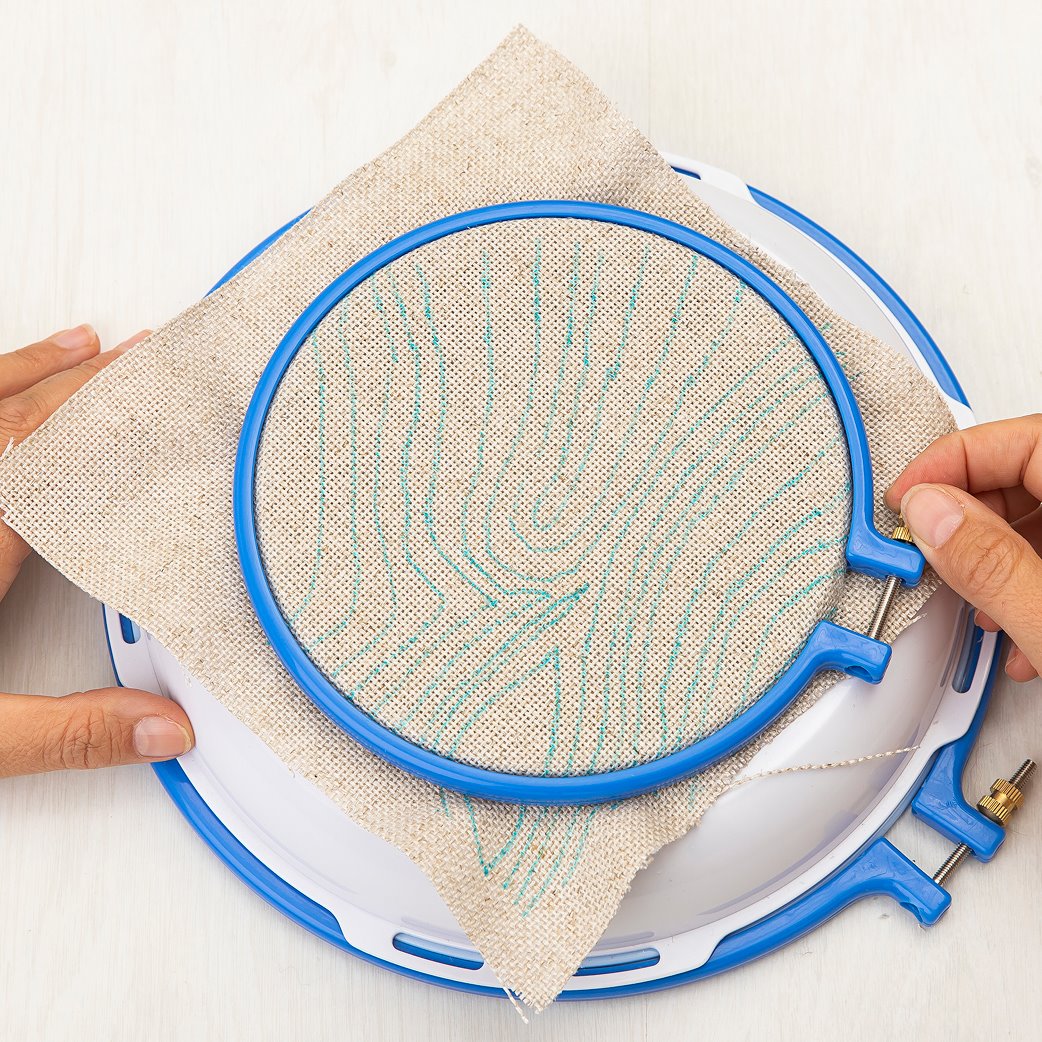
7.Place the fabric into the embroidery ring. The fabric must be taut as you work. 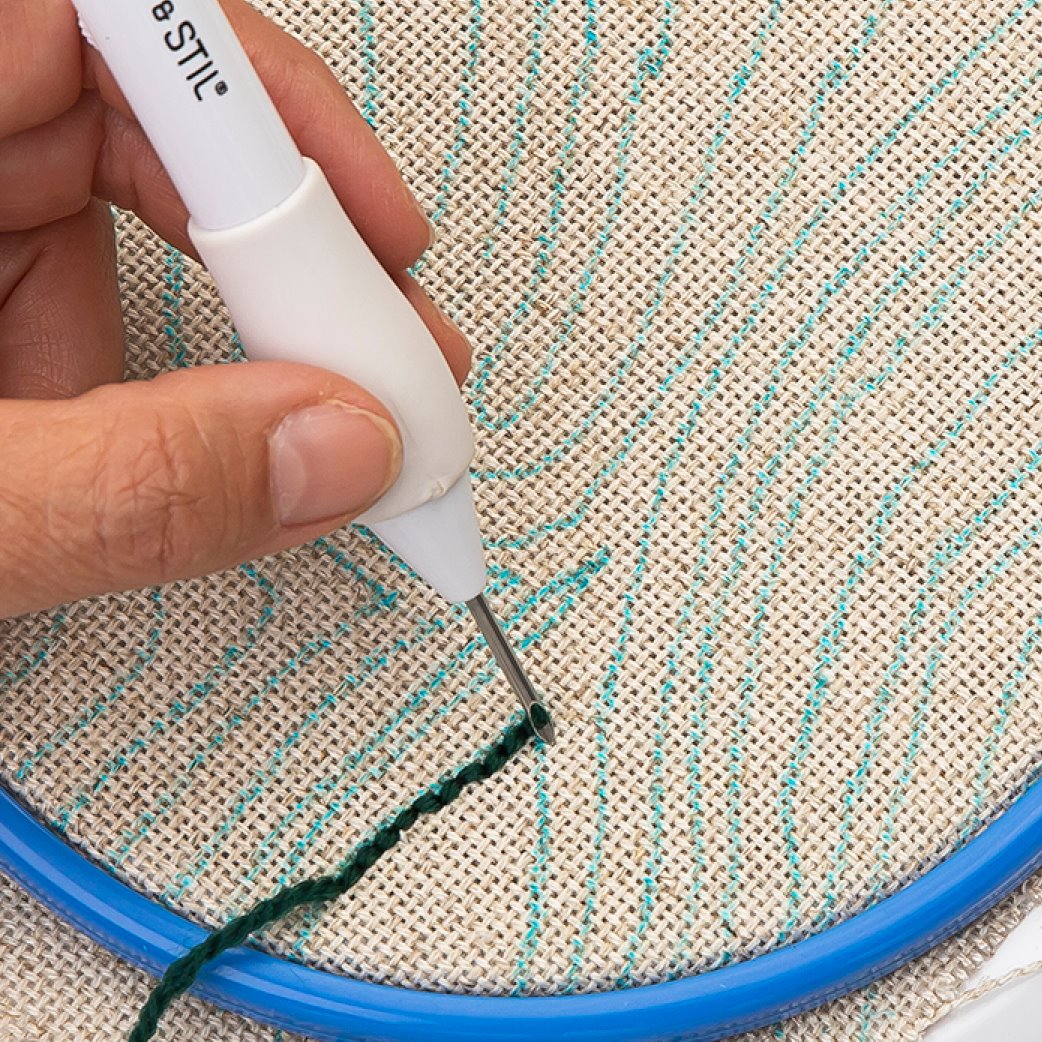
8.Flip the needle forward with the hole facing in the direction you intend to work. Hold the needle at right angles to the fabric and make sure that you push it right to the bottom before pulling it gently up again. 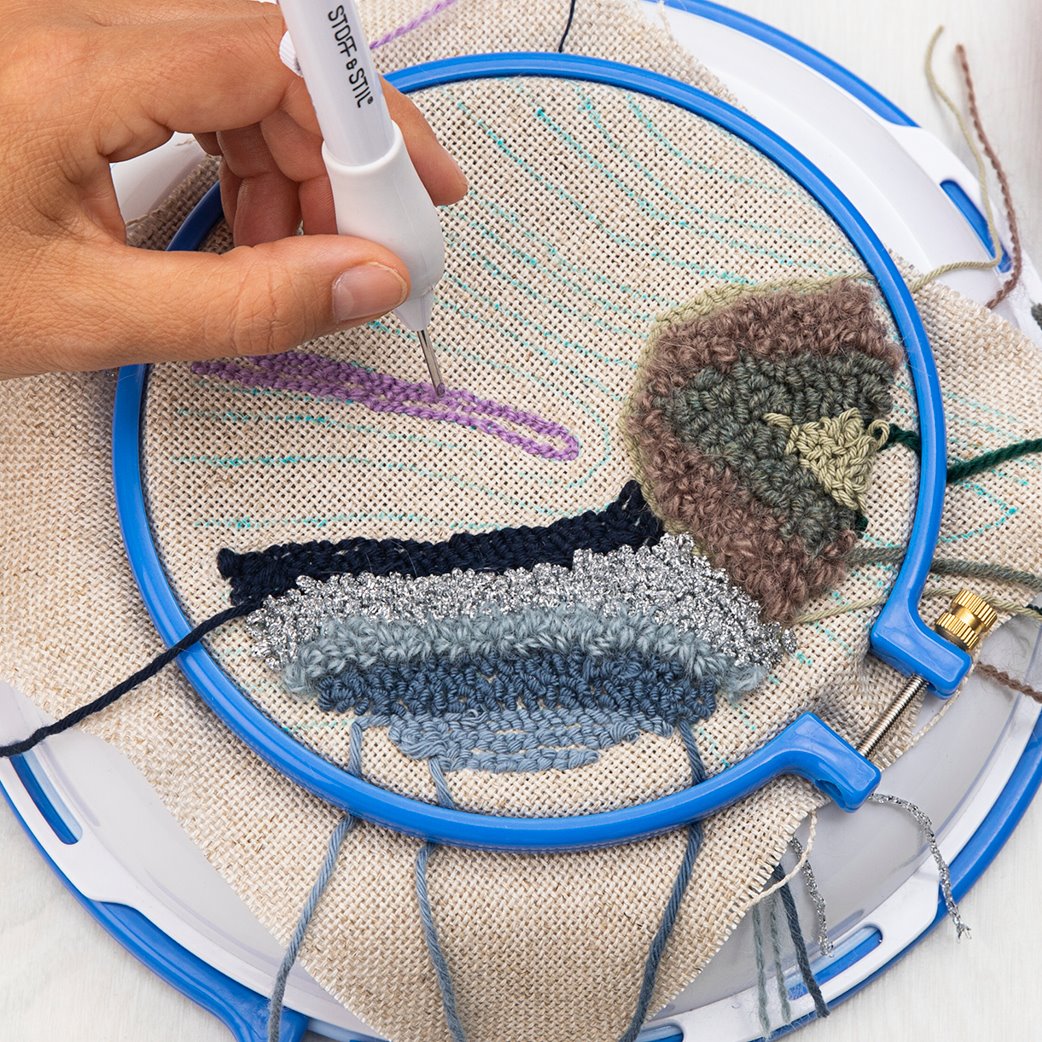
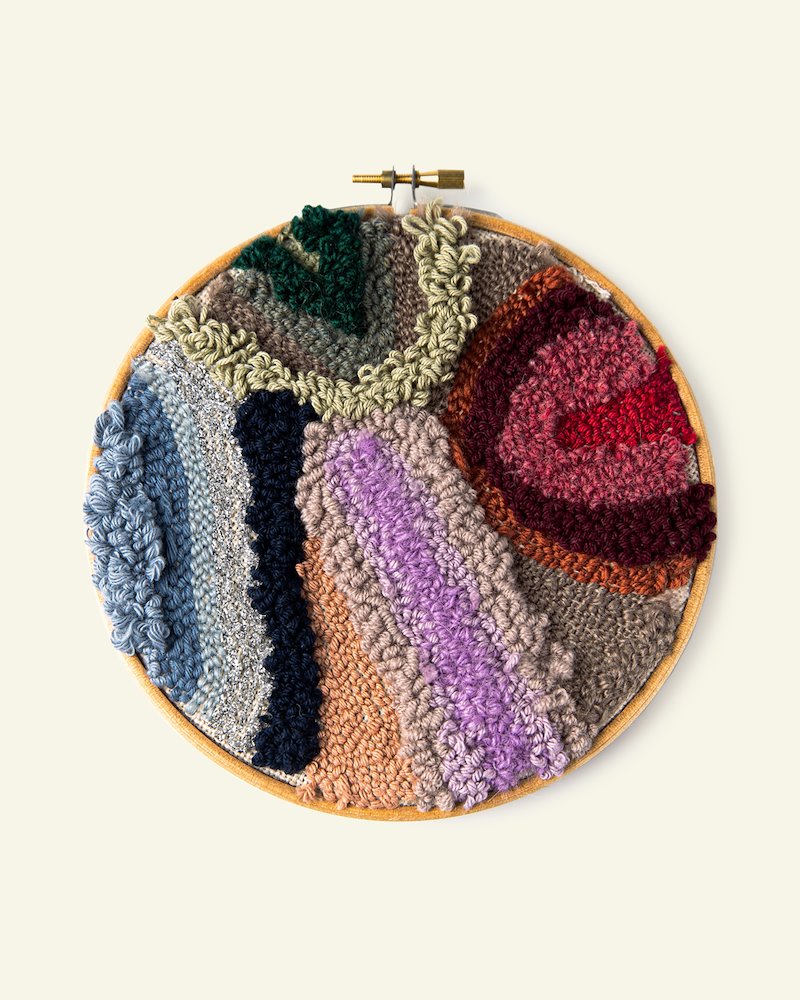
9.Repeat the process. In this DIY pattern, both sizes of punch needles are used to create variation in the design. 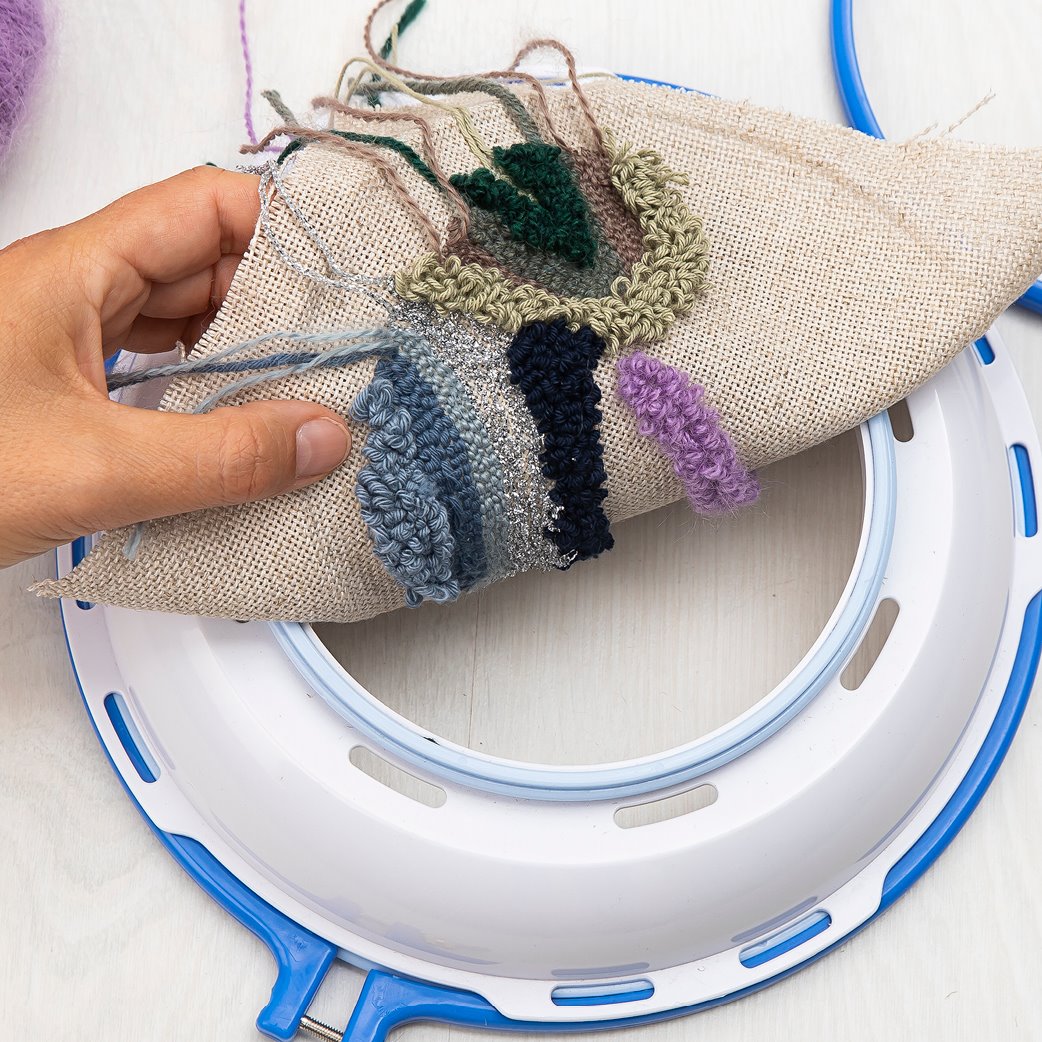
10.Turn the fabric and work from the other side during the process. This creates a nice 3D effect. To finish, cut all loose ends. 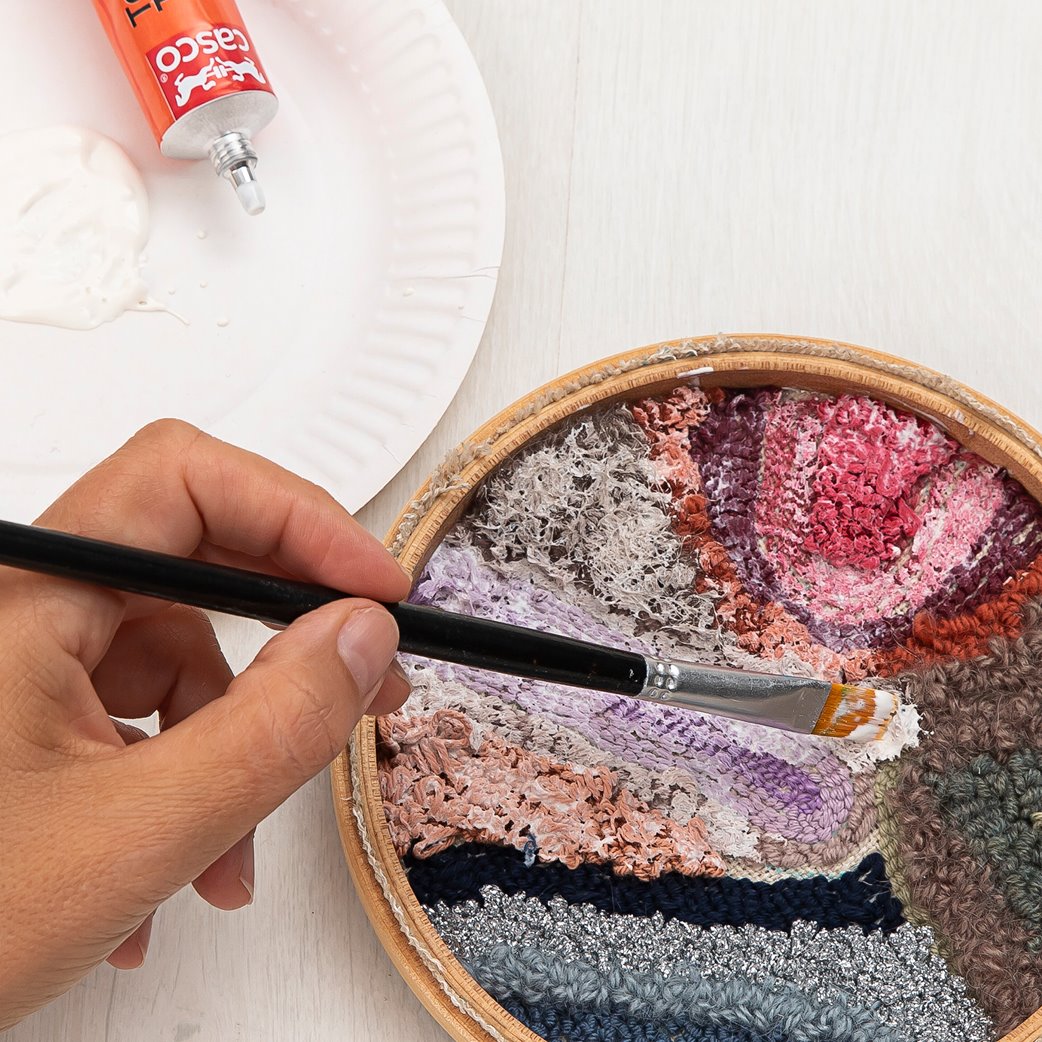
11.Place your work in the wooden embroidery hoop. Cut off any excess fabric. If necessary, apply textile glue to the back to prevent fraying.


