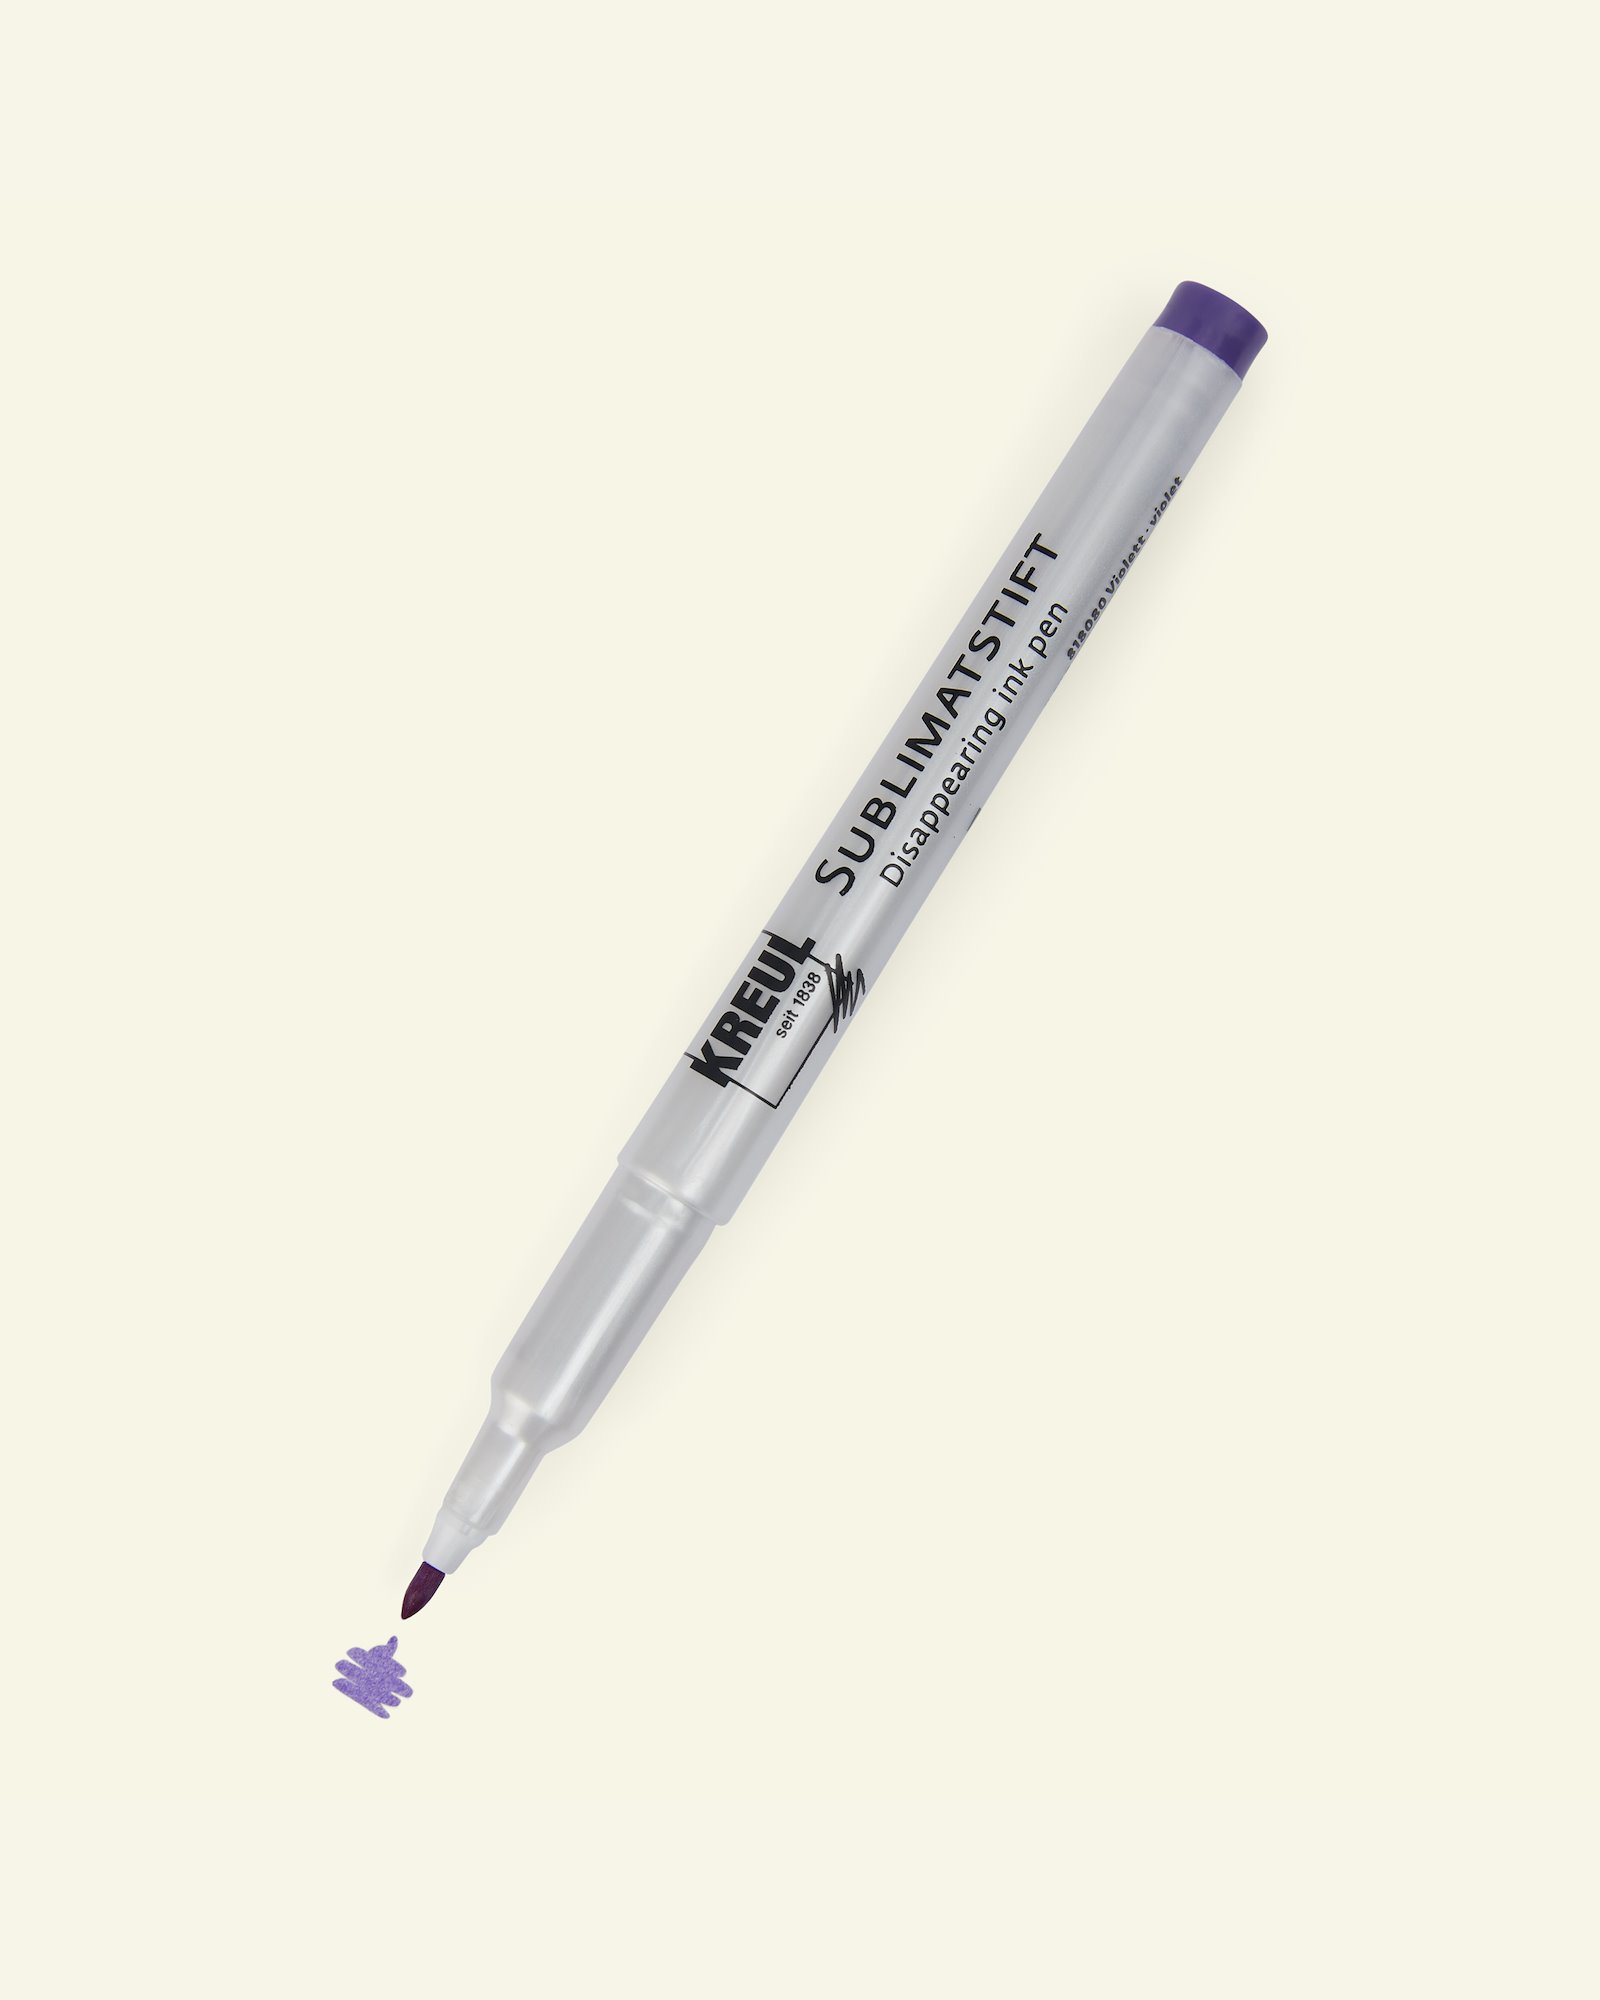

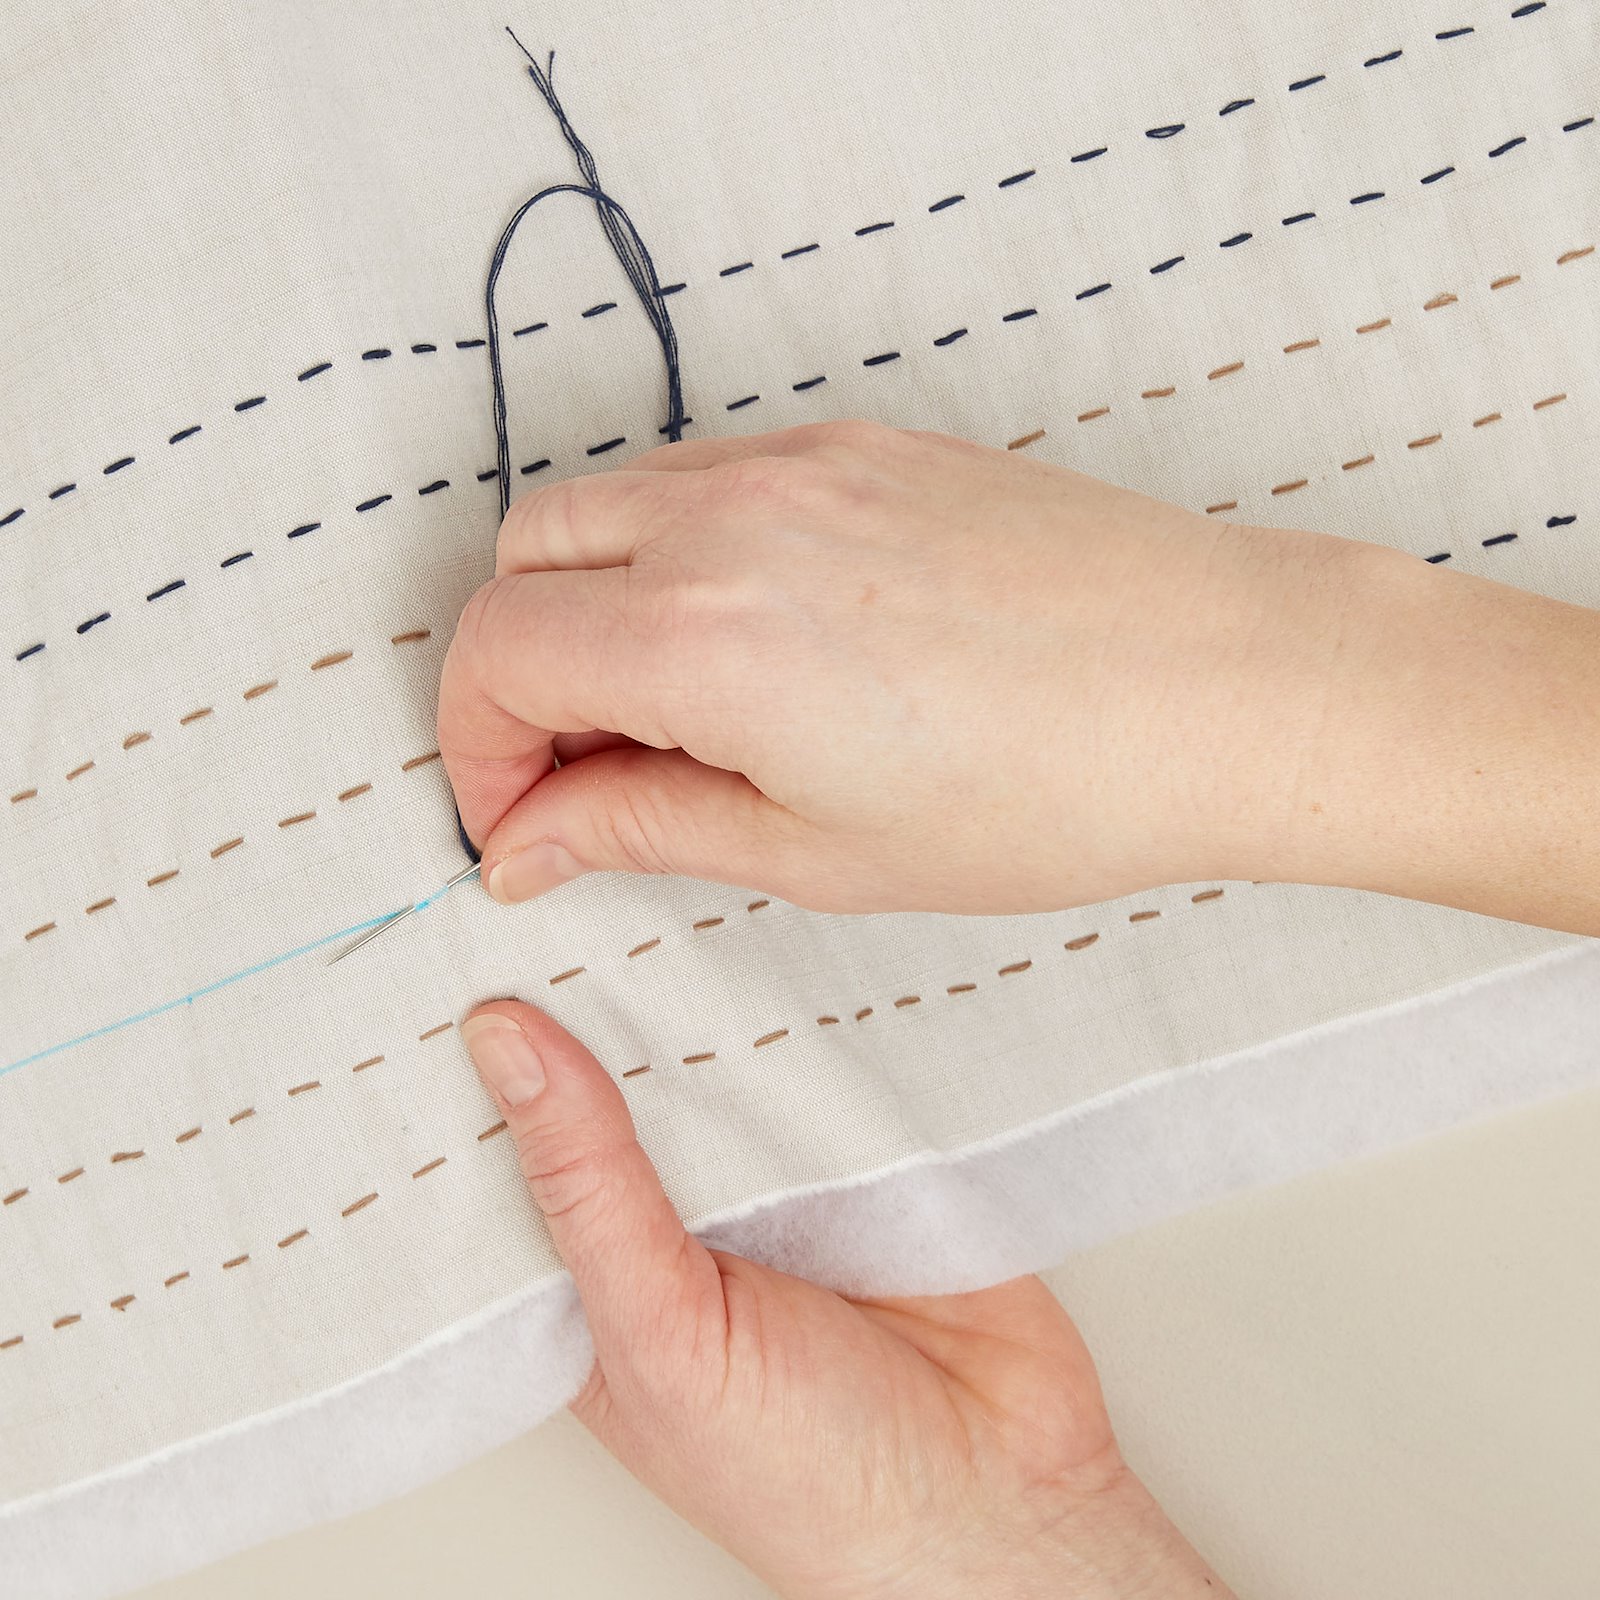
1.Using tailor’s chalk or a marker pen, draw sewing lines. You decide for yourself how close to draw the lines. We embroidered parallel lines with 2 cm gaps between them. 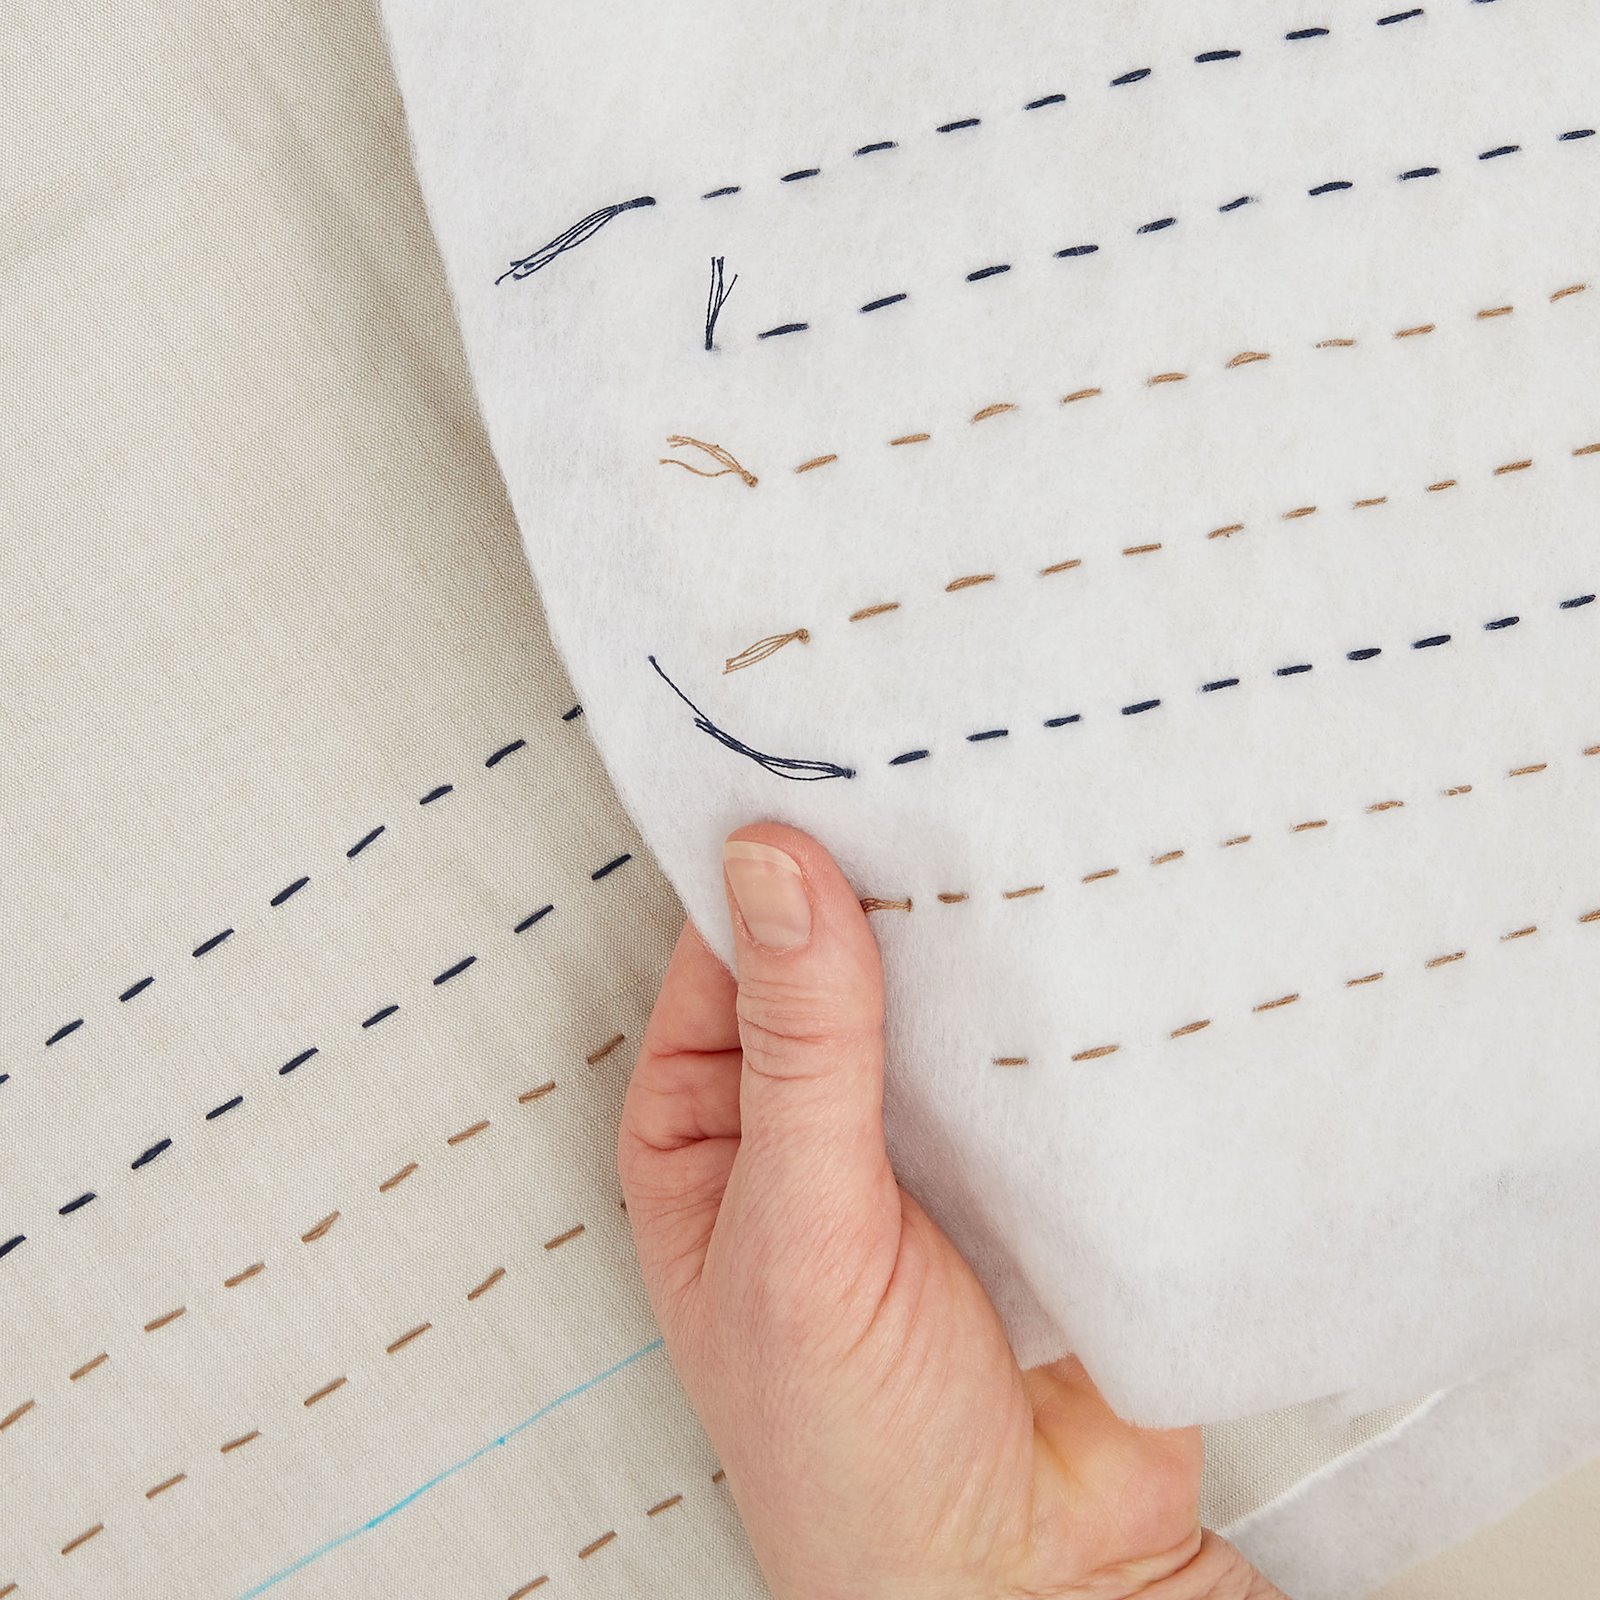
2.When you embroider on a piece of fabric with volume interfacing on the wrong side, you can secure your thread on the back. 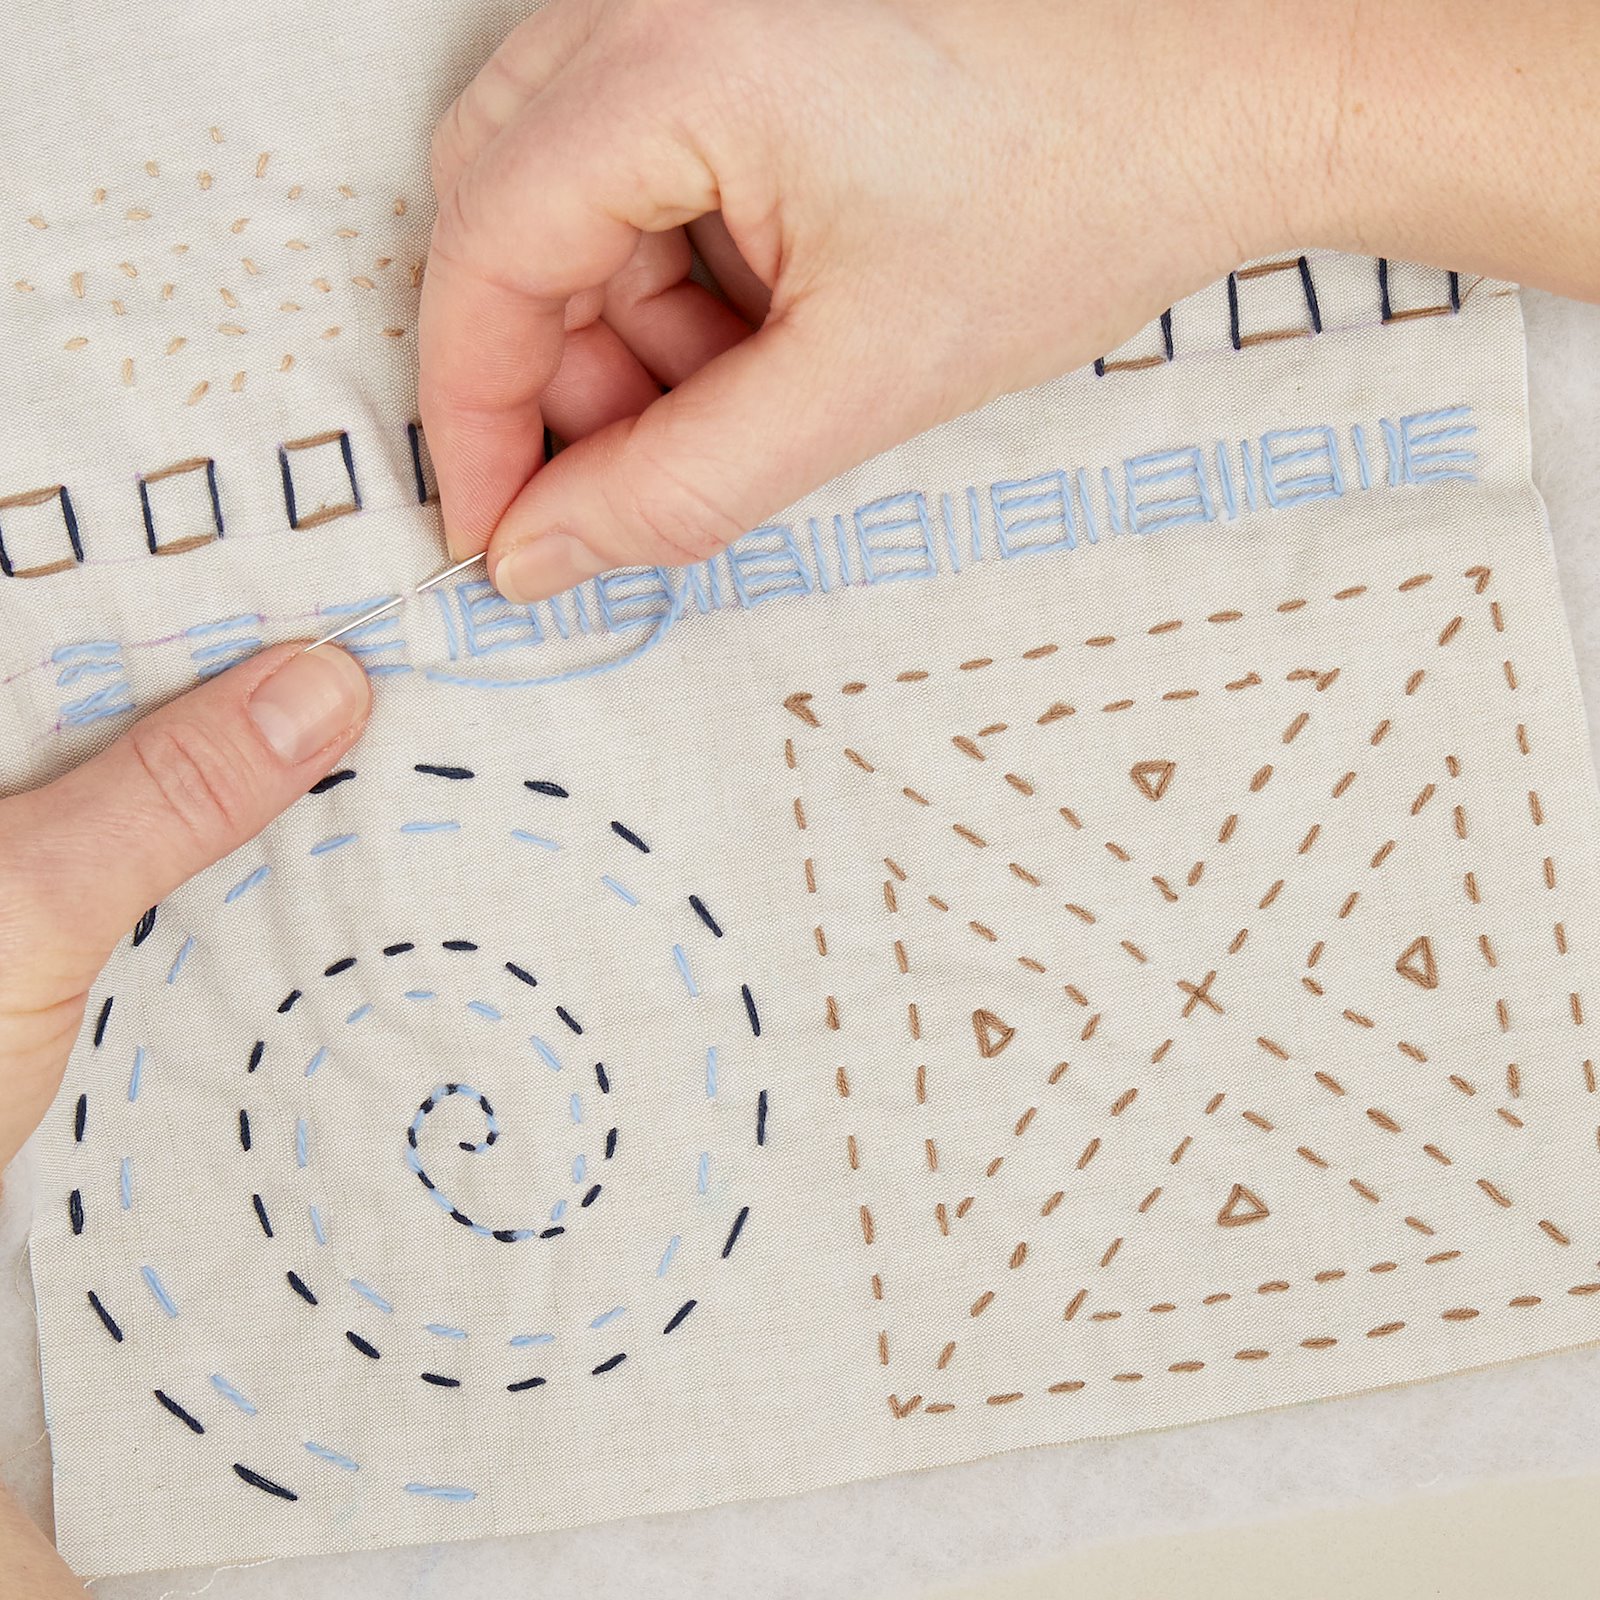
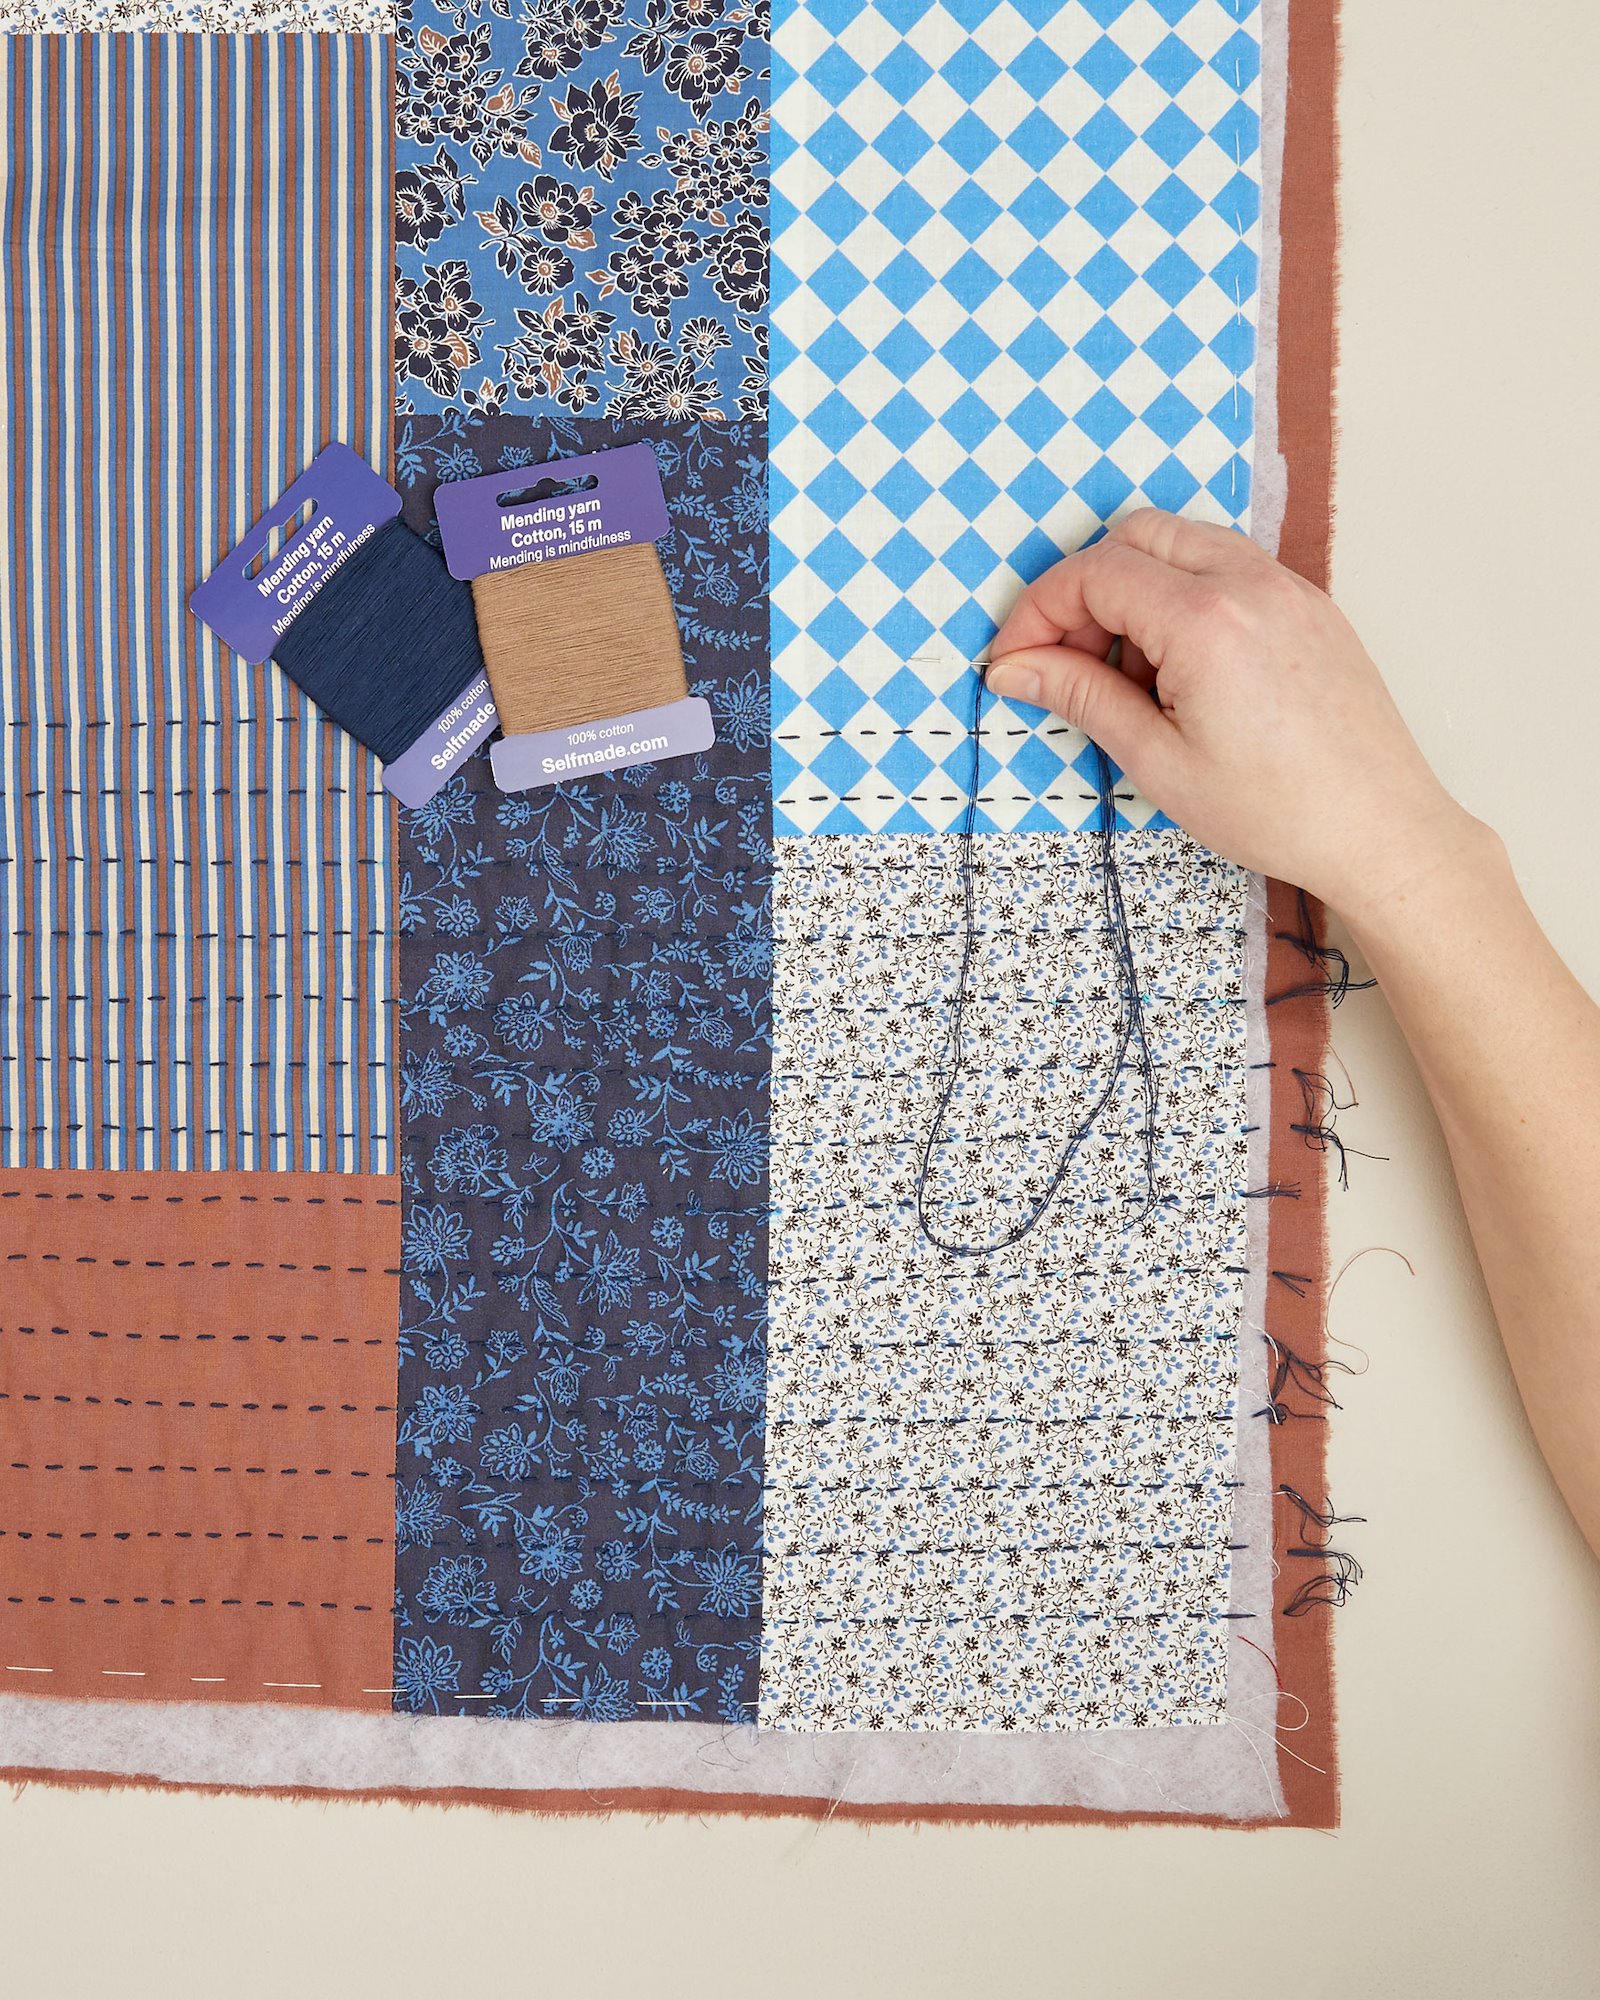
3.Vary stitch length as you wish. Long or short, both look good. In photo 1., our stitches are 0.5 cm long. You sew a simple running stitch, sticking the needle up and down through all the layers of fabric. You can sew to form a stitched pattern, or you can stitch around e.g. a printed leaf, circle or squares.


