There are a few things you should know about sewing in satin. So, follow these tips and get your satin sewing project off to a good start.
What is satin fabric?
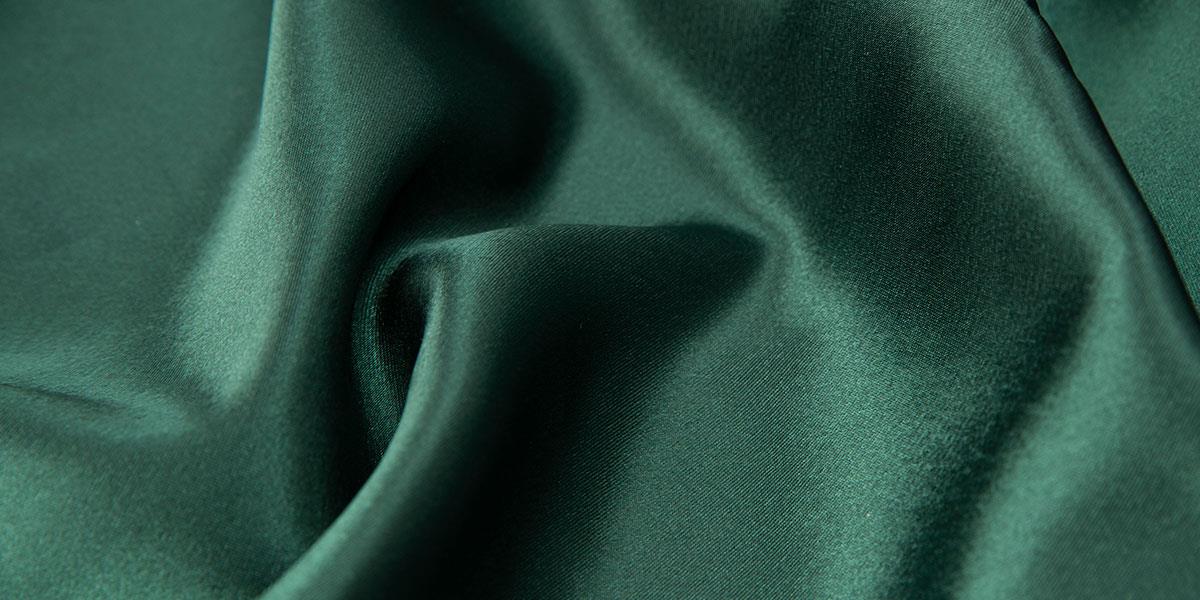
There isn't just one kind of satin. Satin refers to how the fabric is woven. A satin weave makes one side of the material smooth and lustrous. But this effect can be achieved with all kinds of fibres, such as silk, cotton, polyester, and even wool.
Different fibres need to be handled differently on your sewing machine, so make sure you know your satins from your silks before you start.
Satin-Sewing-Tip No. 1:
Cut one layer at a time
No matter which fibre was used to create your satin fabric, they all tend to have one thing in common: satin fabric is slippery! So, we advise you not to cut multiple layers at once.
Satin-Sewing-Tip No. 2:
Use suitable needles
Satin weaves are pretty unforgiving when it comes to needle marks. As satin can easily snag on a barbed needle, you should always start your sewing project with fresh needles.
You might even want to change needles in the middle of your sewing project if your fabric starts to snag. And once pull marks appear in your material, there is no way to disguise them.
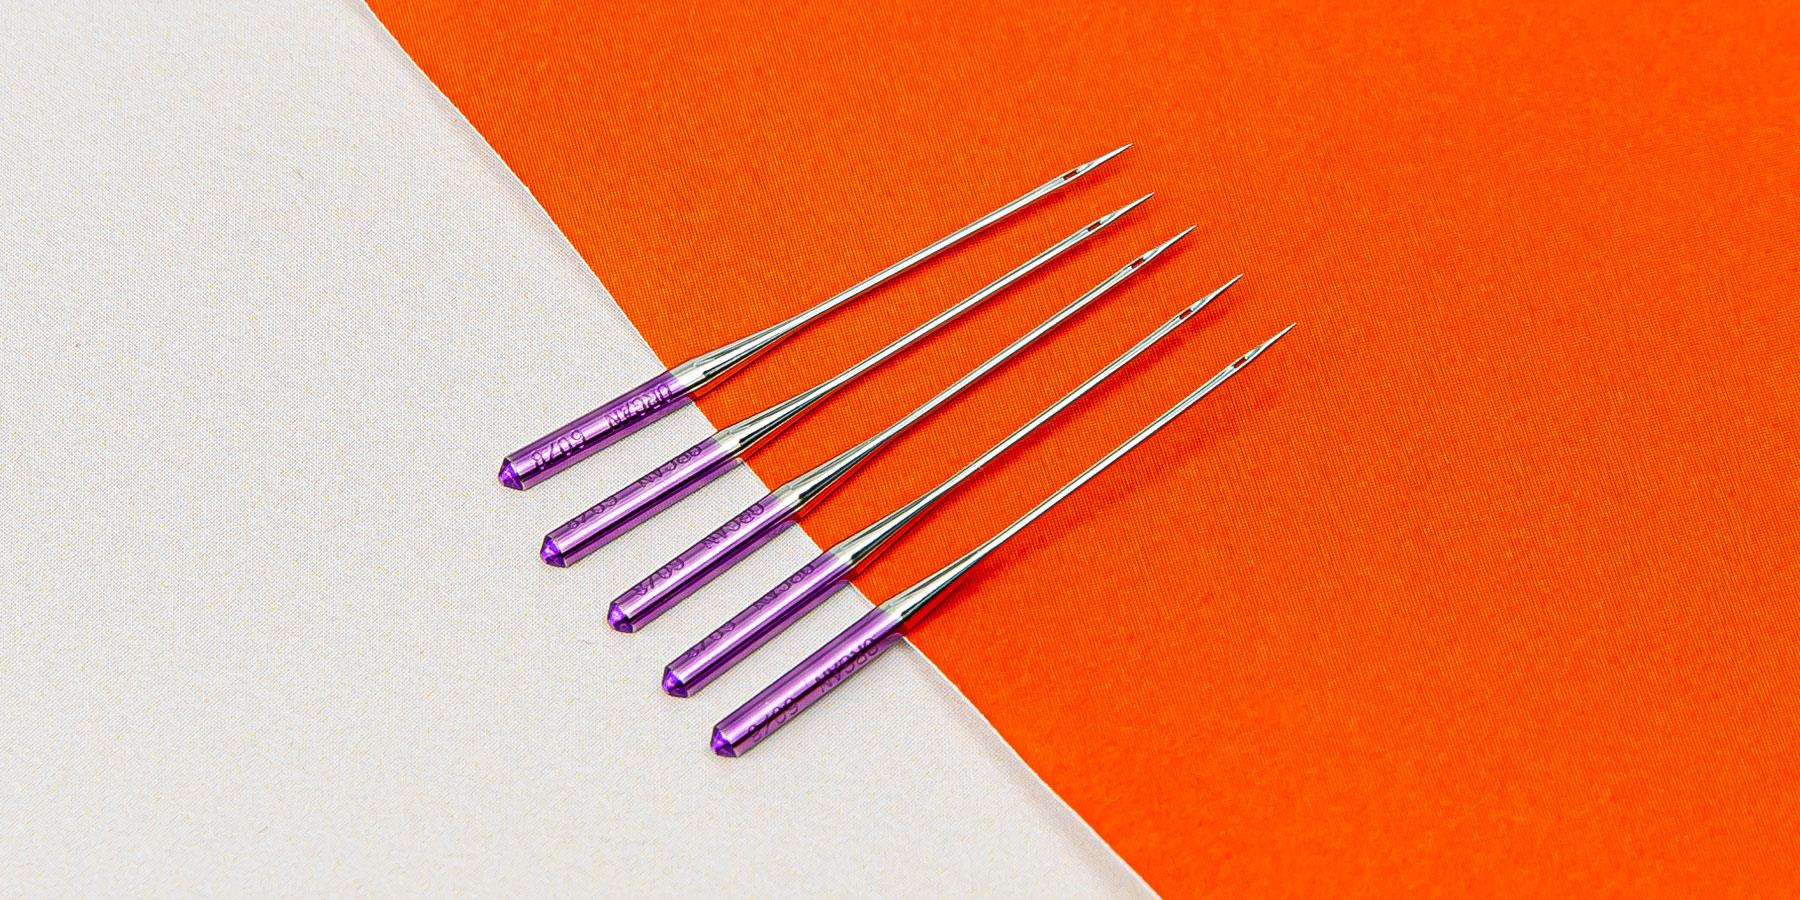
Use microtex needles for satin
We recommend you use ultrafine sewing machine needles, no thicker than 60 or 70. Ideally, you would use microtex needles specially designed for delicate fabrics.
Microtex needles are very thin and have a narrow tip that slides easily through fragile, delicate fabrics without pulling stitches/threads.
Read more in our guide to sewing machine needles
Use quality, thin pins – and pin only in the seam allowance
Likewise, you should make sure to use extra thin pins or head pins, preferably new ones. All to ensure you don't create larger holes than absolutely necessary.
As mentioned, satin is quite unforgiving when it comes to needle marks. So, while your first instinct may be to pin this slippery fabric heavily, we would not recommend you do so.
Instead, use your pins in the seam allowance where possible – and use extra fine dressmaking pins that are thinner and much sharper.
Satin-Sewing-Tip No. 3:
Be mindful of the Fabric Grain
As satin is a lively fabric, you need to be meticulous about the fabric grain when laying out your pattern pieces. Your sewing project will look off if your pieces don't follow the fabric grain.
Also, you'll notice that the sheen of your satin changes slightly from one angle to the next when you hold it up to the light. So, if your cut pattern pieces don't run in the same direction, you risk the appearance of colour differences in your finished project.
This also brings us to the next tip:
Satin-Sewing-Tip No. 4:
Pin your pattern
We recommend you pin your pattern to your satin fabric. This will prevent slipping and causing you to cut your pattern pieces off size. Simultaneously, it makes it easier to be meticulous with your fabric grain.
And when it is time to cut your pattern pieces, keep the following in mind:
Satin-Sewing-Tip No. 5:
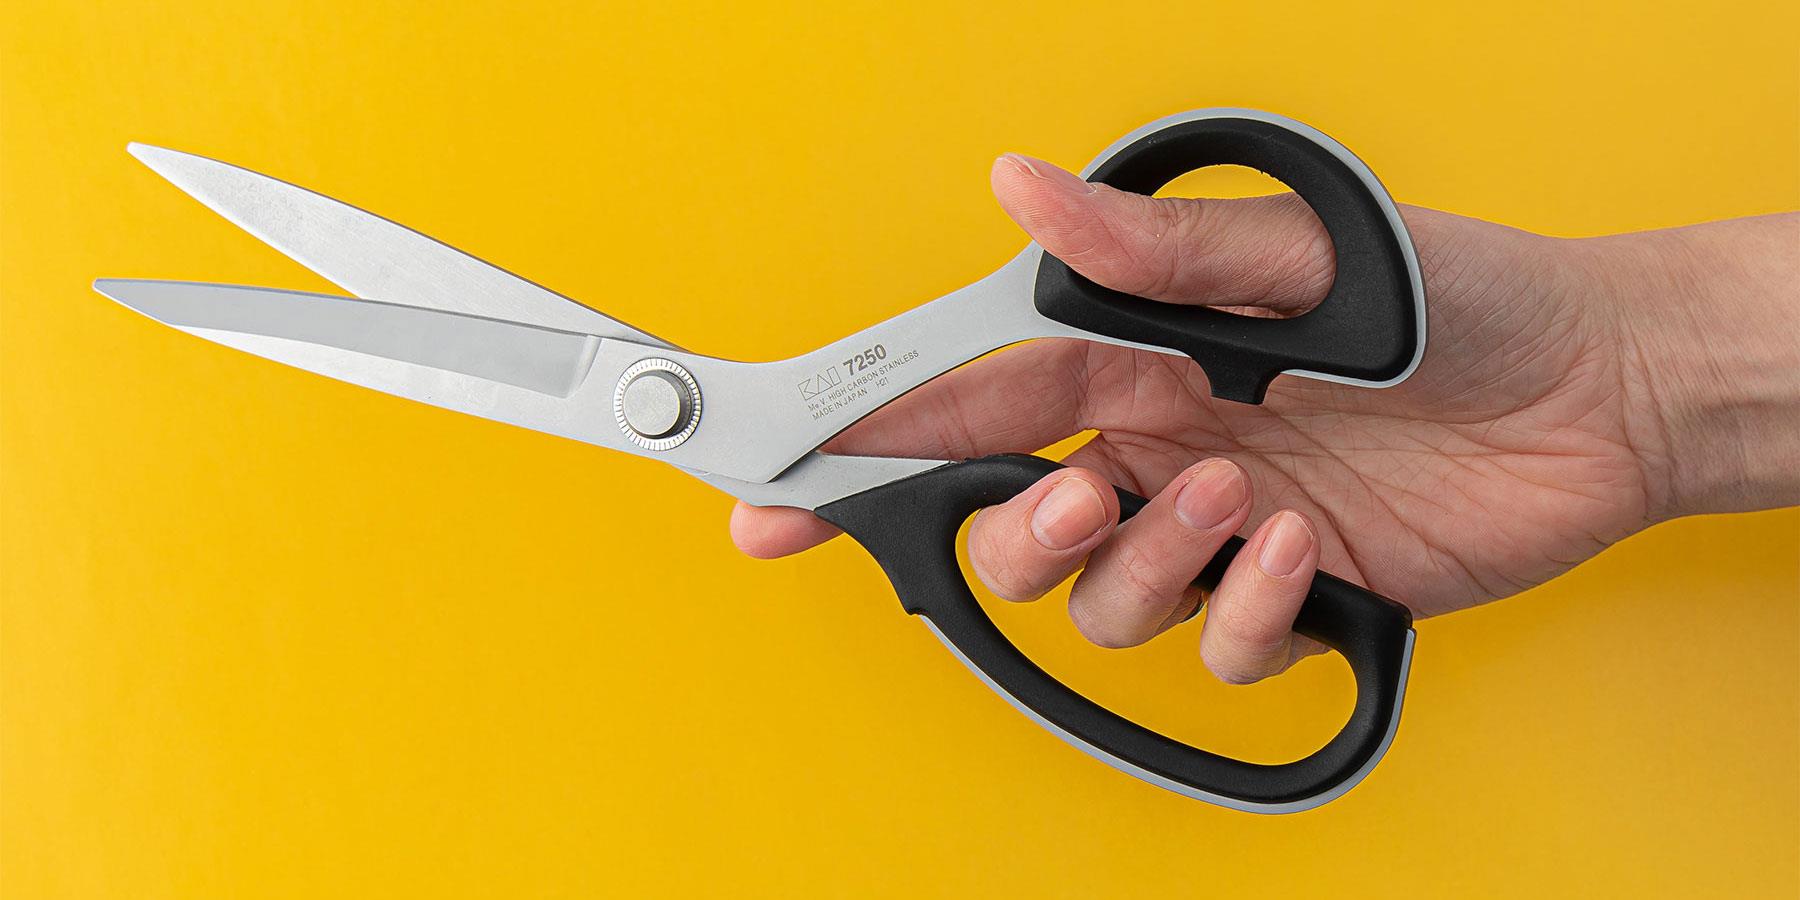
Use sharp fabric shears
Satin can be notoriously difficult to cut. As mentioned before, the fabric is very slippery, which makes cutting difficult. But you may also experience quite a bit of resistance while cutting the fabric. Which is why sharp scissors are a must.
Make sure you use quality fabric shears – you won't believe the difference they make! For even more convenience, use a -sharp! – rotary cutter.
Satin-Sewing-Tip No. 6:
Avoid water, steam, or water-based markers
The use of water tends to cause staining, so don't mark your satin fabric with anything that requires water to remove. We also recommend you don't steam your fabric. Firstly, to avoid water staining, but also because the higher temperature of steaming may cause the lustre of your material to change.
So, mark your fabric with tailor's chalk. Always draw on the wrong side of your material and test on a scrap piece first.
Clean, dry, and smooth surfaces only!
Make sure your work surface is completely dry and that its surface is smooth. That also goes for your hands and nails, by the way, as satin fabric can even snag on callouses and nails. But avoid using hand cream just before handling satin, as it shows oil stains just as badly as water stains.
Satin-Sewing-Tip No. 7:
Loosen up! (the thread tension)
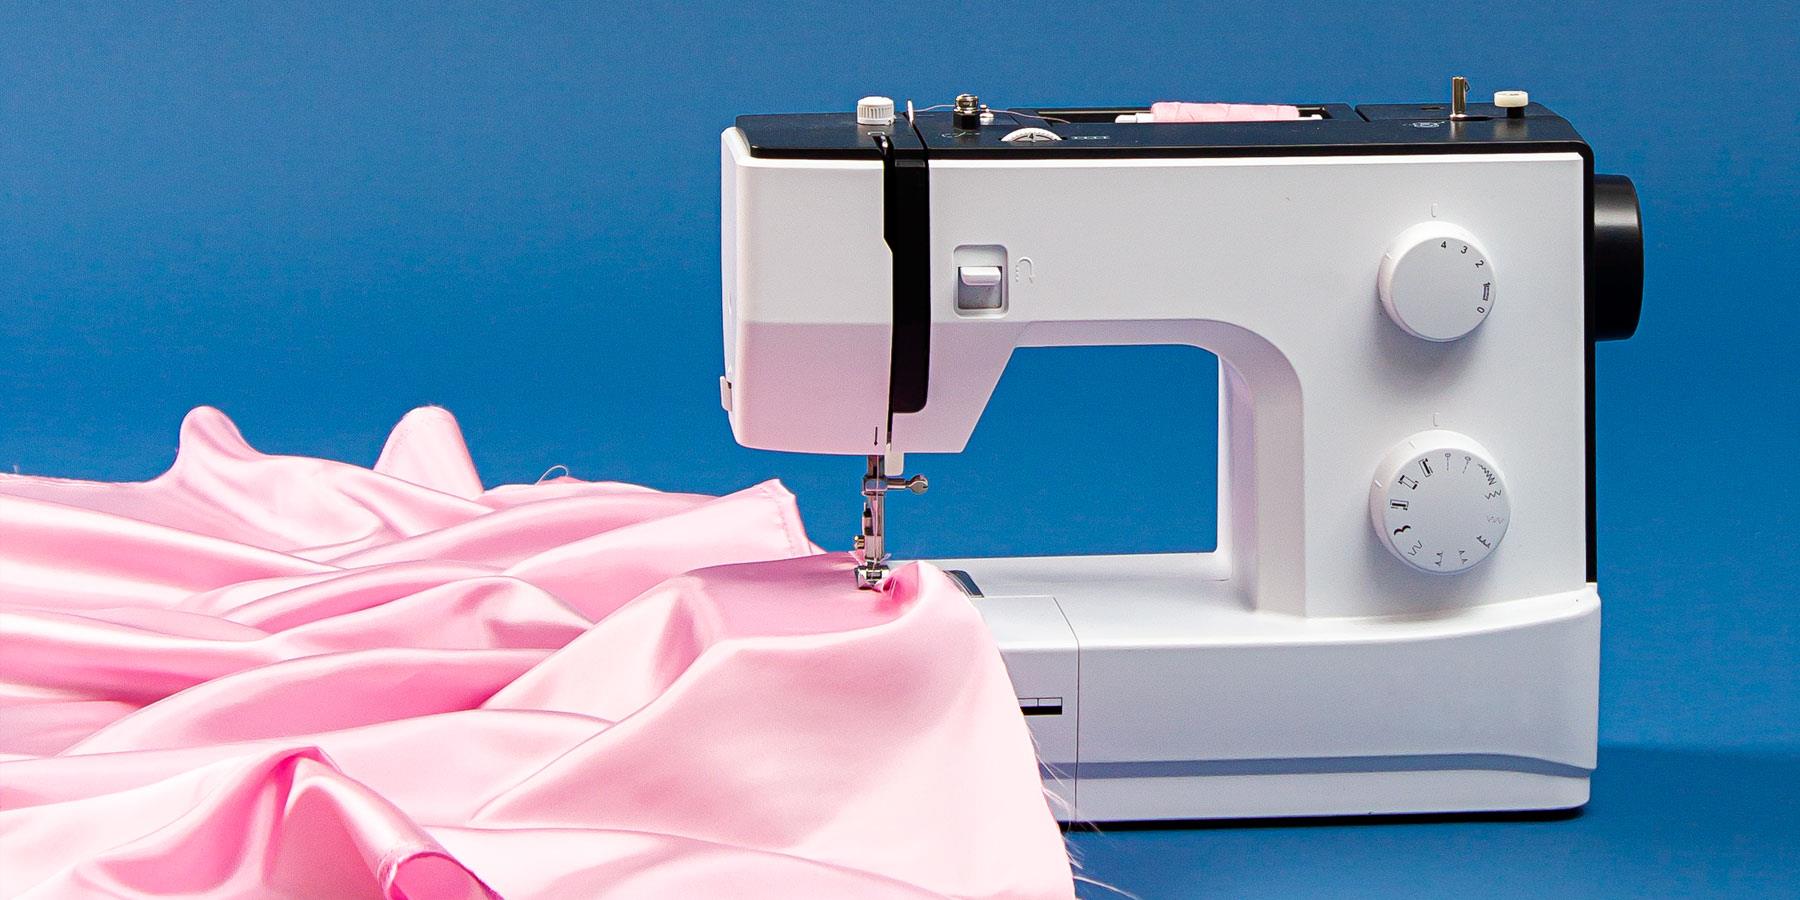
Make sure to check your thread tension on a trial piece. If your fabric is stretched or your thread forms loops, you might want to loosen the thread tension.
This part is quite a bit of trial and error – there is no default setting. As mentioned, a satin weave can be made in different fibres. The settings for your thread tension and stitch length are also different from one fabric to another.
Satin-Sewing-Tip No. 8:
Finish your seams
Satin frays dreadfully. So, make sure you always finish your seams. You might even consider using a wider seam allowance to secure your seams.
You can use a serger or overlock stitch to finish your seams. But make sure to stitch some test seams on a scrap piece to make sure what finishing technique gives the best result for your satin fabric. Because the material is so light, bulky seams can easily show through. And we wouldn't want that to happen on your finished piece!
Satin-Sewing-Tip No. 9:
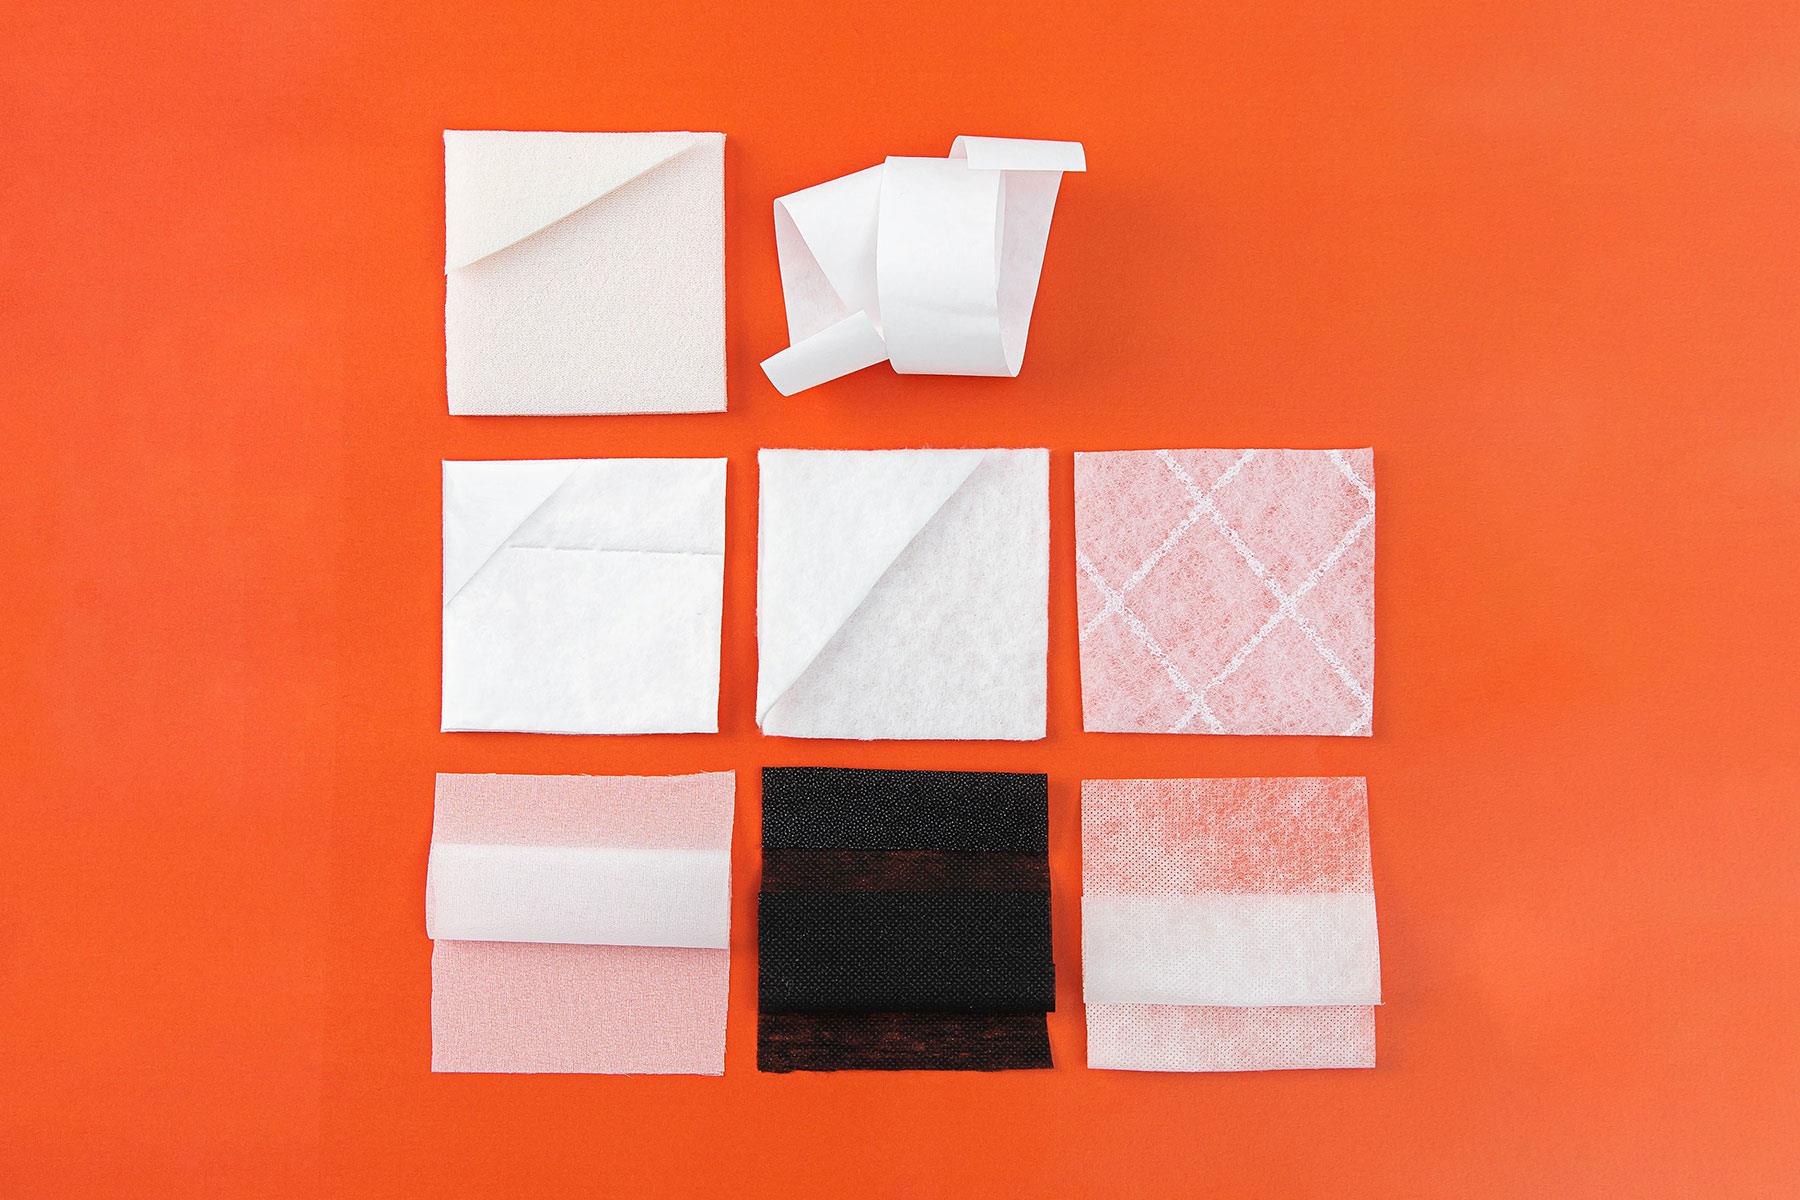
Use quality interlining
Especially on the smaller parts, such as collars and cuffs, we recommend using good-quality interlining to stabilize your garments. In addition, we recommend ironing on the interlining before you cut your pattern pieces – remember, without steam!
Our light interlining from Freudenberg is perfect for the job.

Sewing with satin is tricky, but worth it!
While sewing satin certainly is trickier than most other fabrics, you’ll be just as pleased with your results once you’ve had a bit of practice!
Have fun!
Patchwork
One of this Fall’s greatest fashion trends.How to make a handmade heating pad for the microwave oven
Let us show you how you can easily make your own heating pad using kernels or seeds as filling, easy to heat up in the microwave oven. Perfect as a gift.10 tips for sewing with denim
We've listed the 10 best tips and tricks for sewing with denim and jeans. Get off to a good start on your DIY jeans, jean skirt, denim jacket, or more.Pojagi patchwork technique
A how to guide to Pojagi - the beautiful Korean patchwork technique. Read in 3-4 minutes.

