
Snap buttons for clothes are an alternative to regular buttons, and they are practical for closing different DIY-projects. When to use snap buttons and when to use regular buttons is often a matter of opinion and taste.
Snap buttons give a professional look, and they are easy to mount with the right tools. Everyone can do it! Often, snap buttons are used for body stockings for the little ones or for bed linen, as they are very durable. Snap buttons are fast and easy to close, and often you use snap buttons for outdoor clothes, bags and pockets. Actually, snap buttons are perfect for most clothes.
Selfmade's snap buttons
At Selfmade®, we have snap buttons in metal and plastic, they come with or without cape. The function is the same, so whether you choose metal snap buttons or plastic snap buttons depends on your project and the quality, in which you mount. Both types of snap buttons are durable, and we have a great selection in more sizes.
A snap button with cape has a closed surface. Typically, the surface is smooth. We have snap buttons with shiny, oxidised surfaces and surfaces of mother of pearl. Snap buttons are perfect as decoration or as part of a design.
Snap buttons with capes are suitable for larger projects and thicker fabrics like e.g. denim, canvas and coarse woven cotton fabrics. The sizes are indicated on the snap buttons, so you easily can find the snap button for your project. The bigger snap button, the thicker fabric. This means the larger snap buttons are perfect for projects like aprons, jackets, pockets or as a bag closing. If you work with jersey or thinner fabrics the like, you can use the regular sized snap buttons, e.g. bed linen or bibs. When you use snap buttons, you can fold your fabric twice or triple, when mounting the snap buttons to make it more stable.
Use the right tools
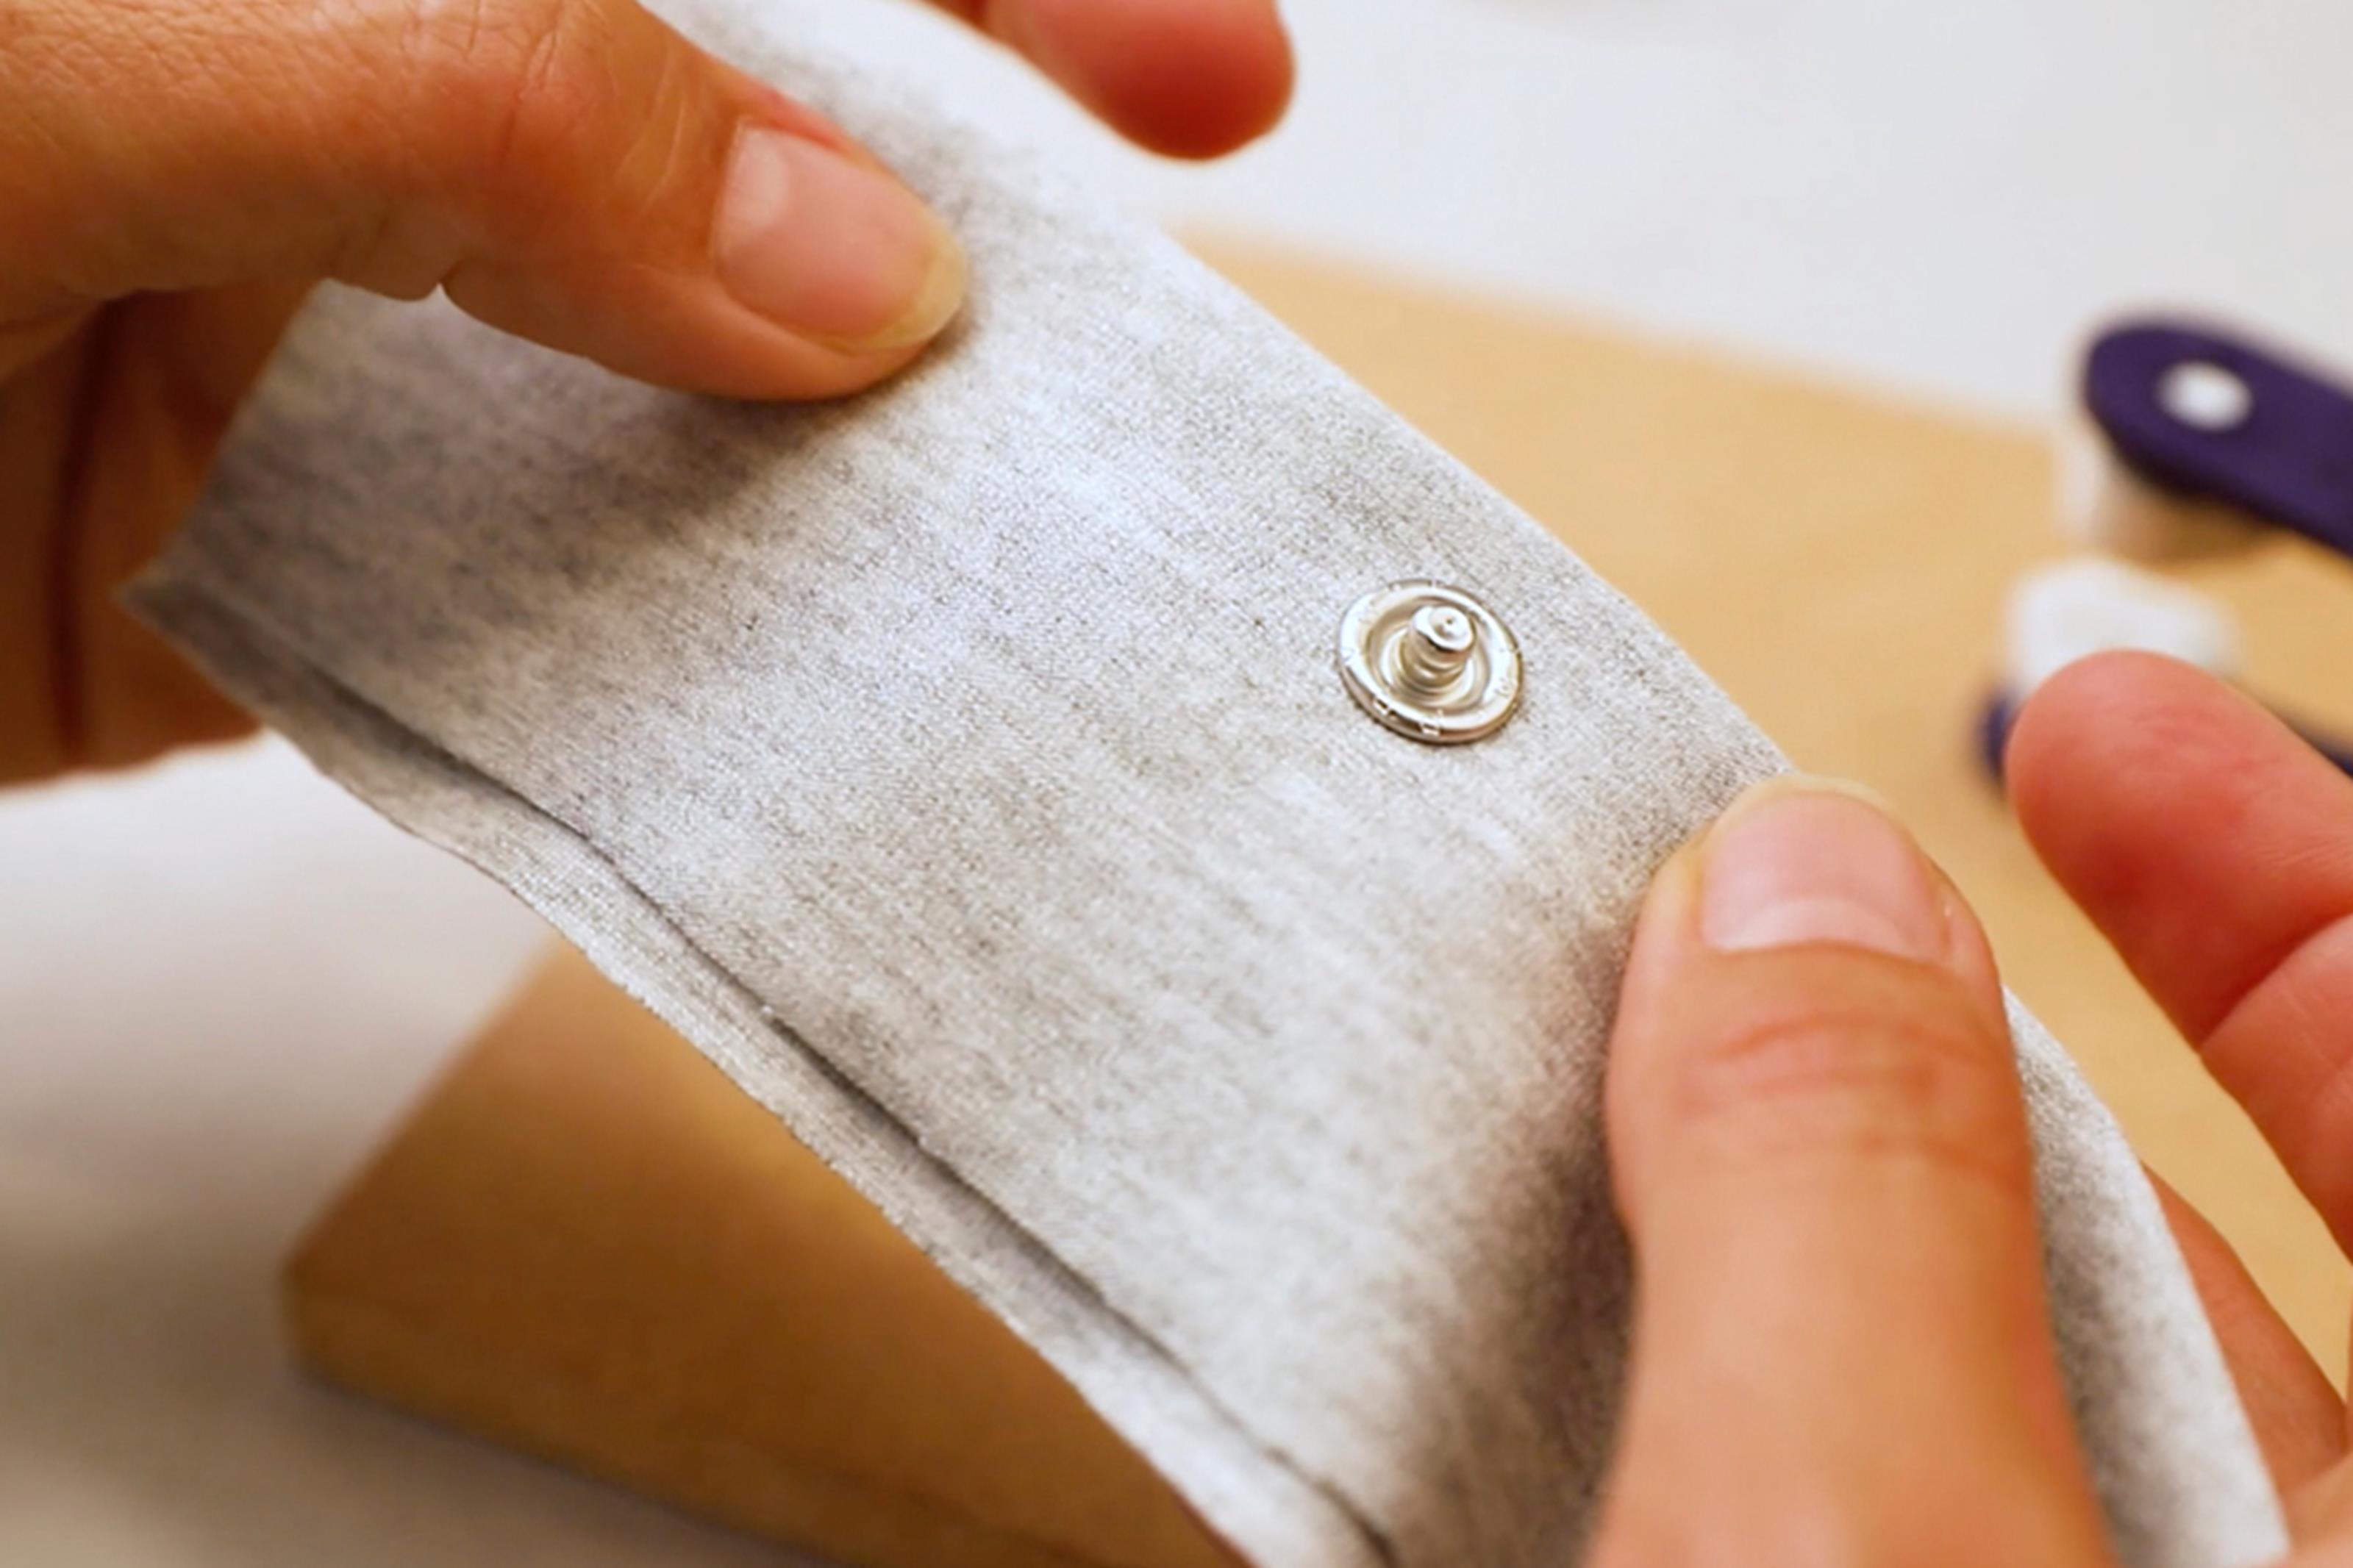
Snap buttons have four parts and are not sewn into your fabric. You mount them with a hammer or apply them with a pair of pliers.
First, you make a tiny hole, where the upper part of the snap buttons is inserted. When you make the hole, you can use a surface which tolerates marks, e.g. a wooden chopping board. Afterwards, you make a hole for the lower part of the snap buttons. Use a hammer and mount the parts together.
Follow the instructions on the packages or see our video on how to mount snap buttons.


For some of our snap buttons, the tools for mounting are enclosed. For others, you must find a hammer and a pair of pliers to mount the snap buttons. Be aware of this, when you buy your snap buttons, so you have everything, when you start your project.
Tip!
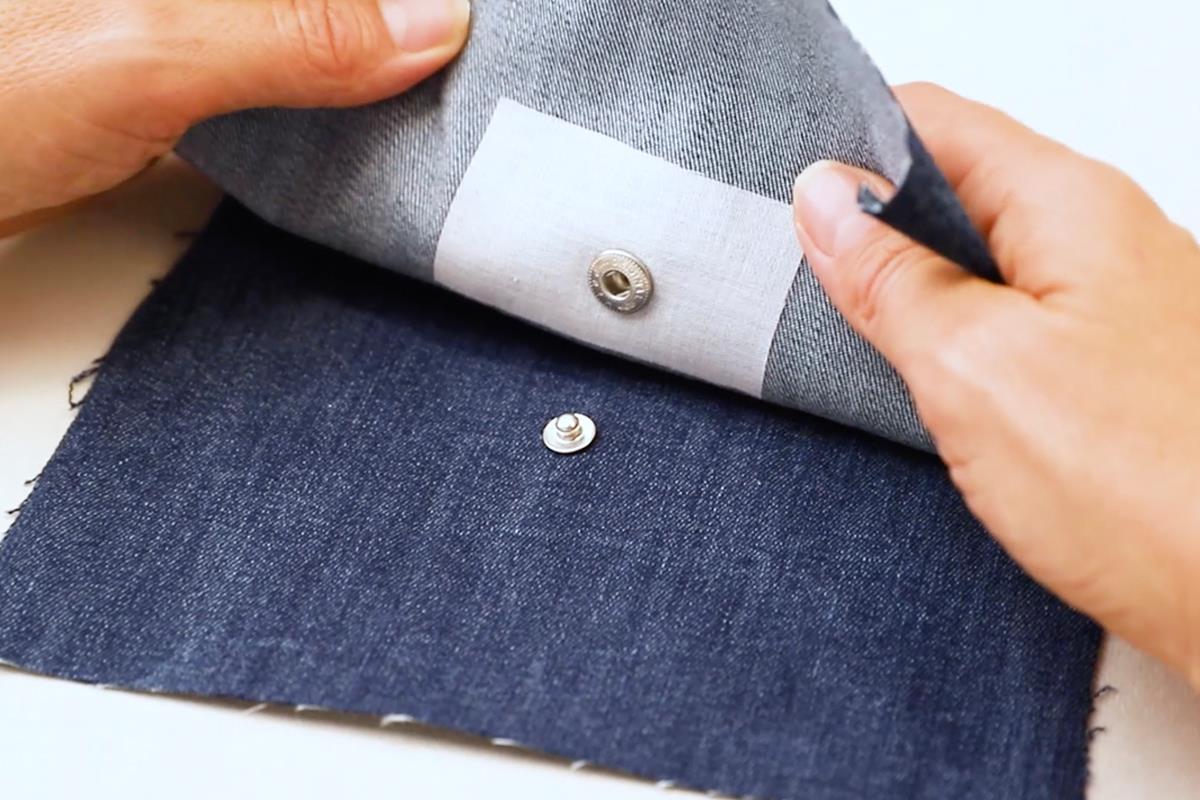
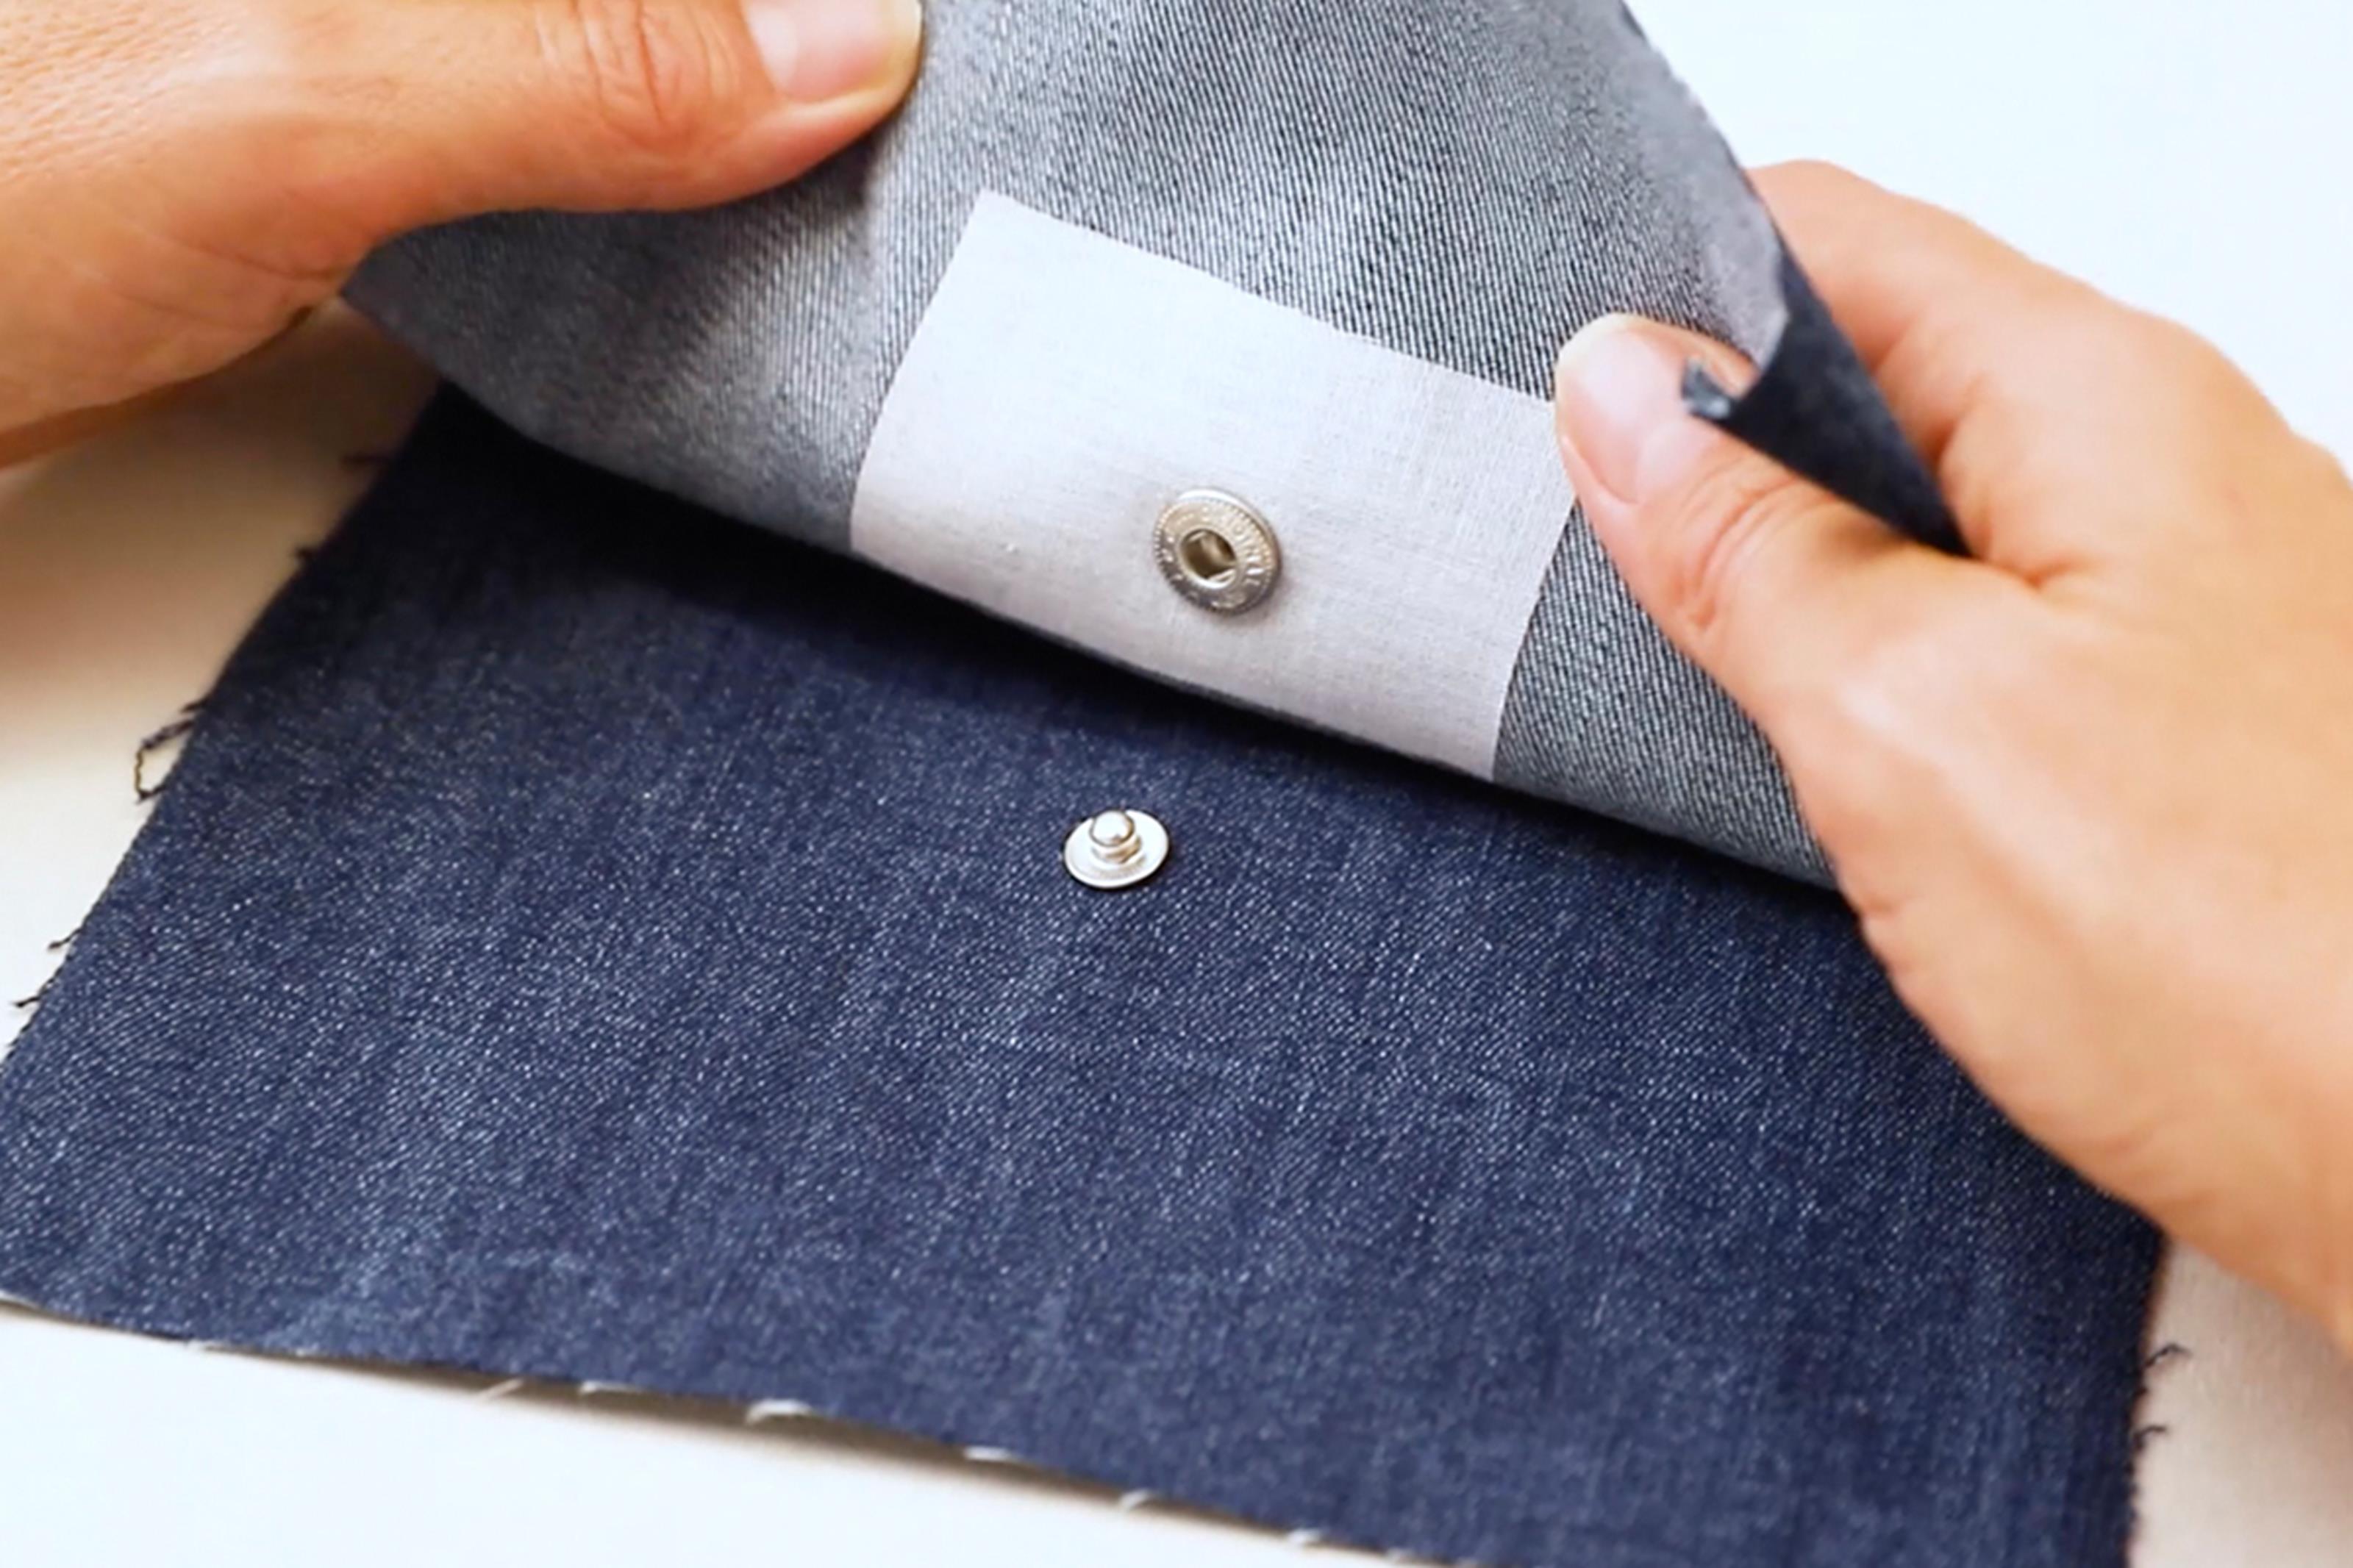
Strengthen the interlining on the backside of your fabric, where the snap buttons are placed. Your fabric gets looser for each time, they are opened and closed. Before mounting the snap button, the interlining must be ironed, as shown in the video.
Always make a test before you mount your snap buttons on your final project.
If you have any questions regarding tools for snap buttons or which snap button to choose for your project, you are welcome to contact our Customer Service. They are always ready to give you Tips and Tricks.