Can be used on the following pattern:
63062 : Flounce dress
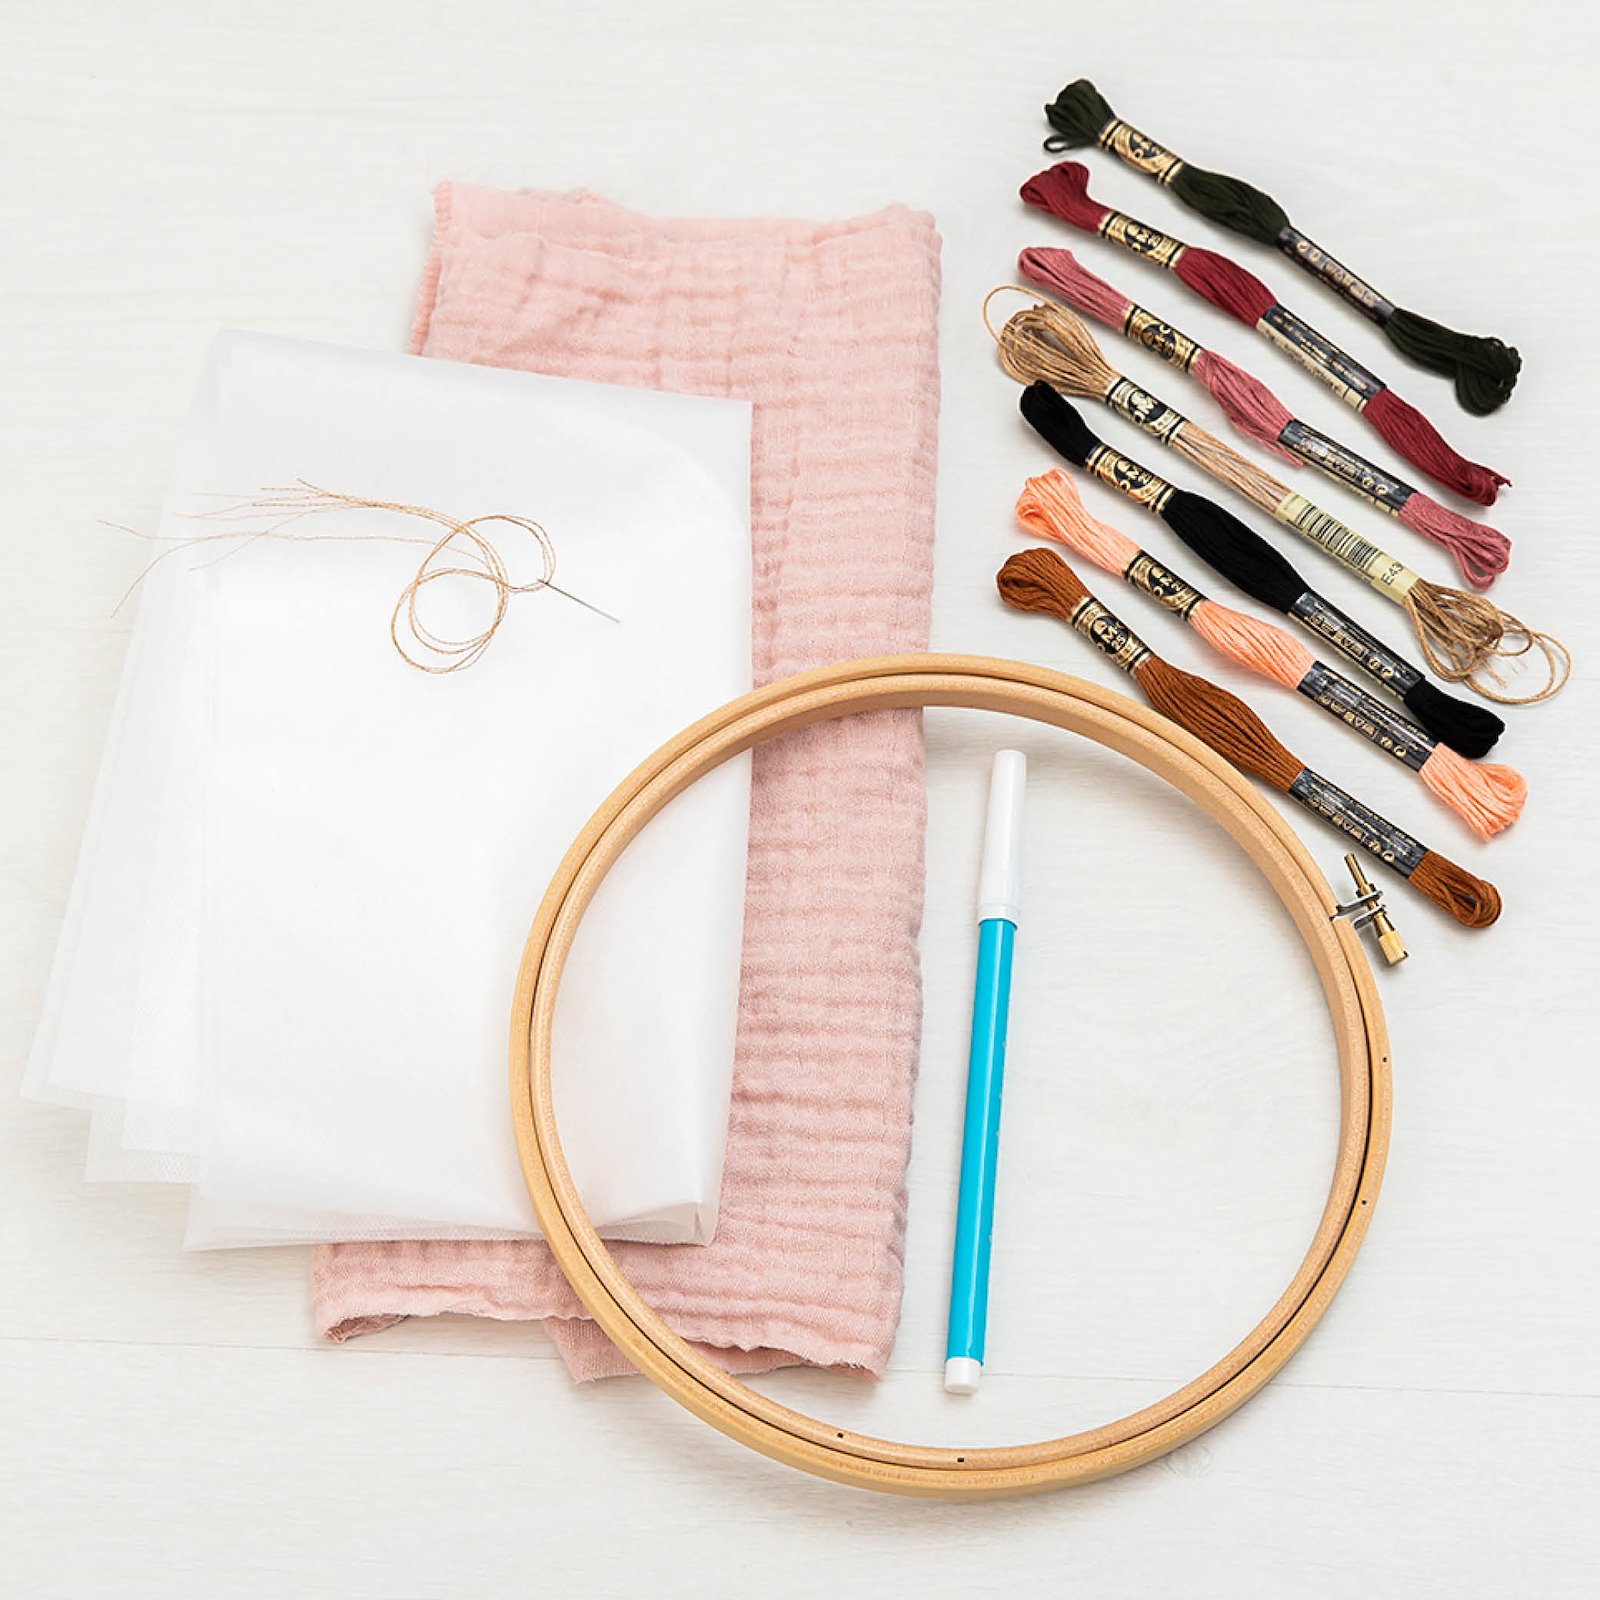
1.Make sure you have all the materials you need. Print the pattern. To make work easier, print in colour. The length of your fabric depends on the size of the garment or project. 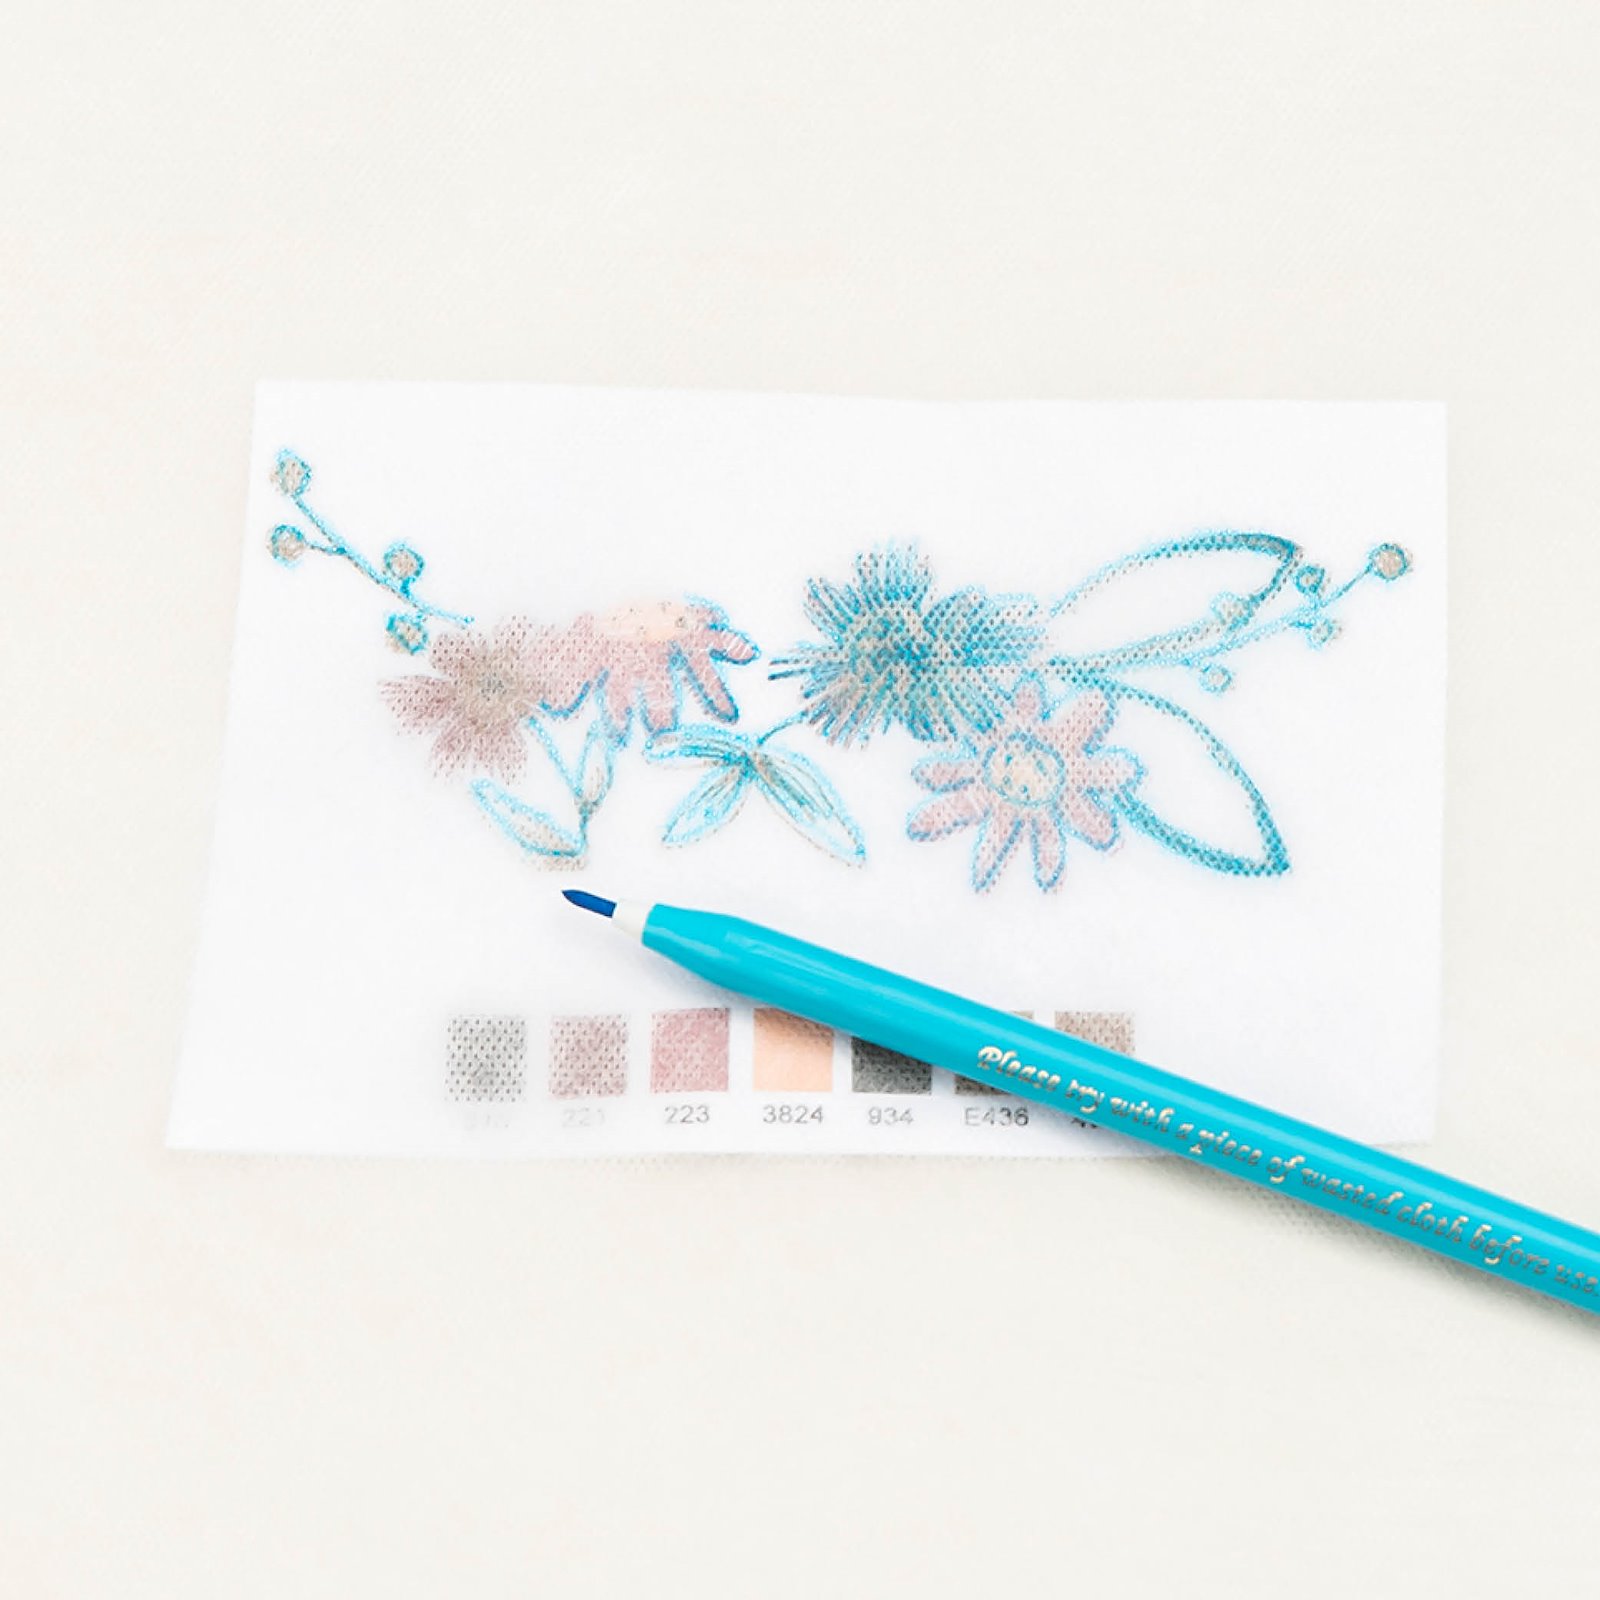
2.Select colours. There are 7 colours in our embroidery. Lay the water-soluble interfacing over the print and trace the design using the marker. The marker lines dissolve in water. 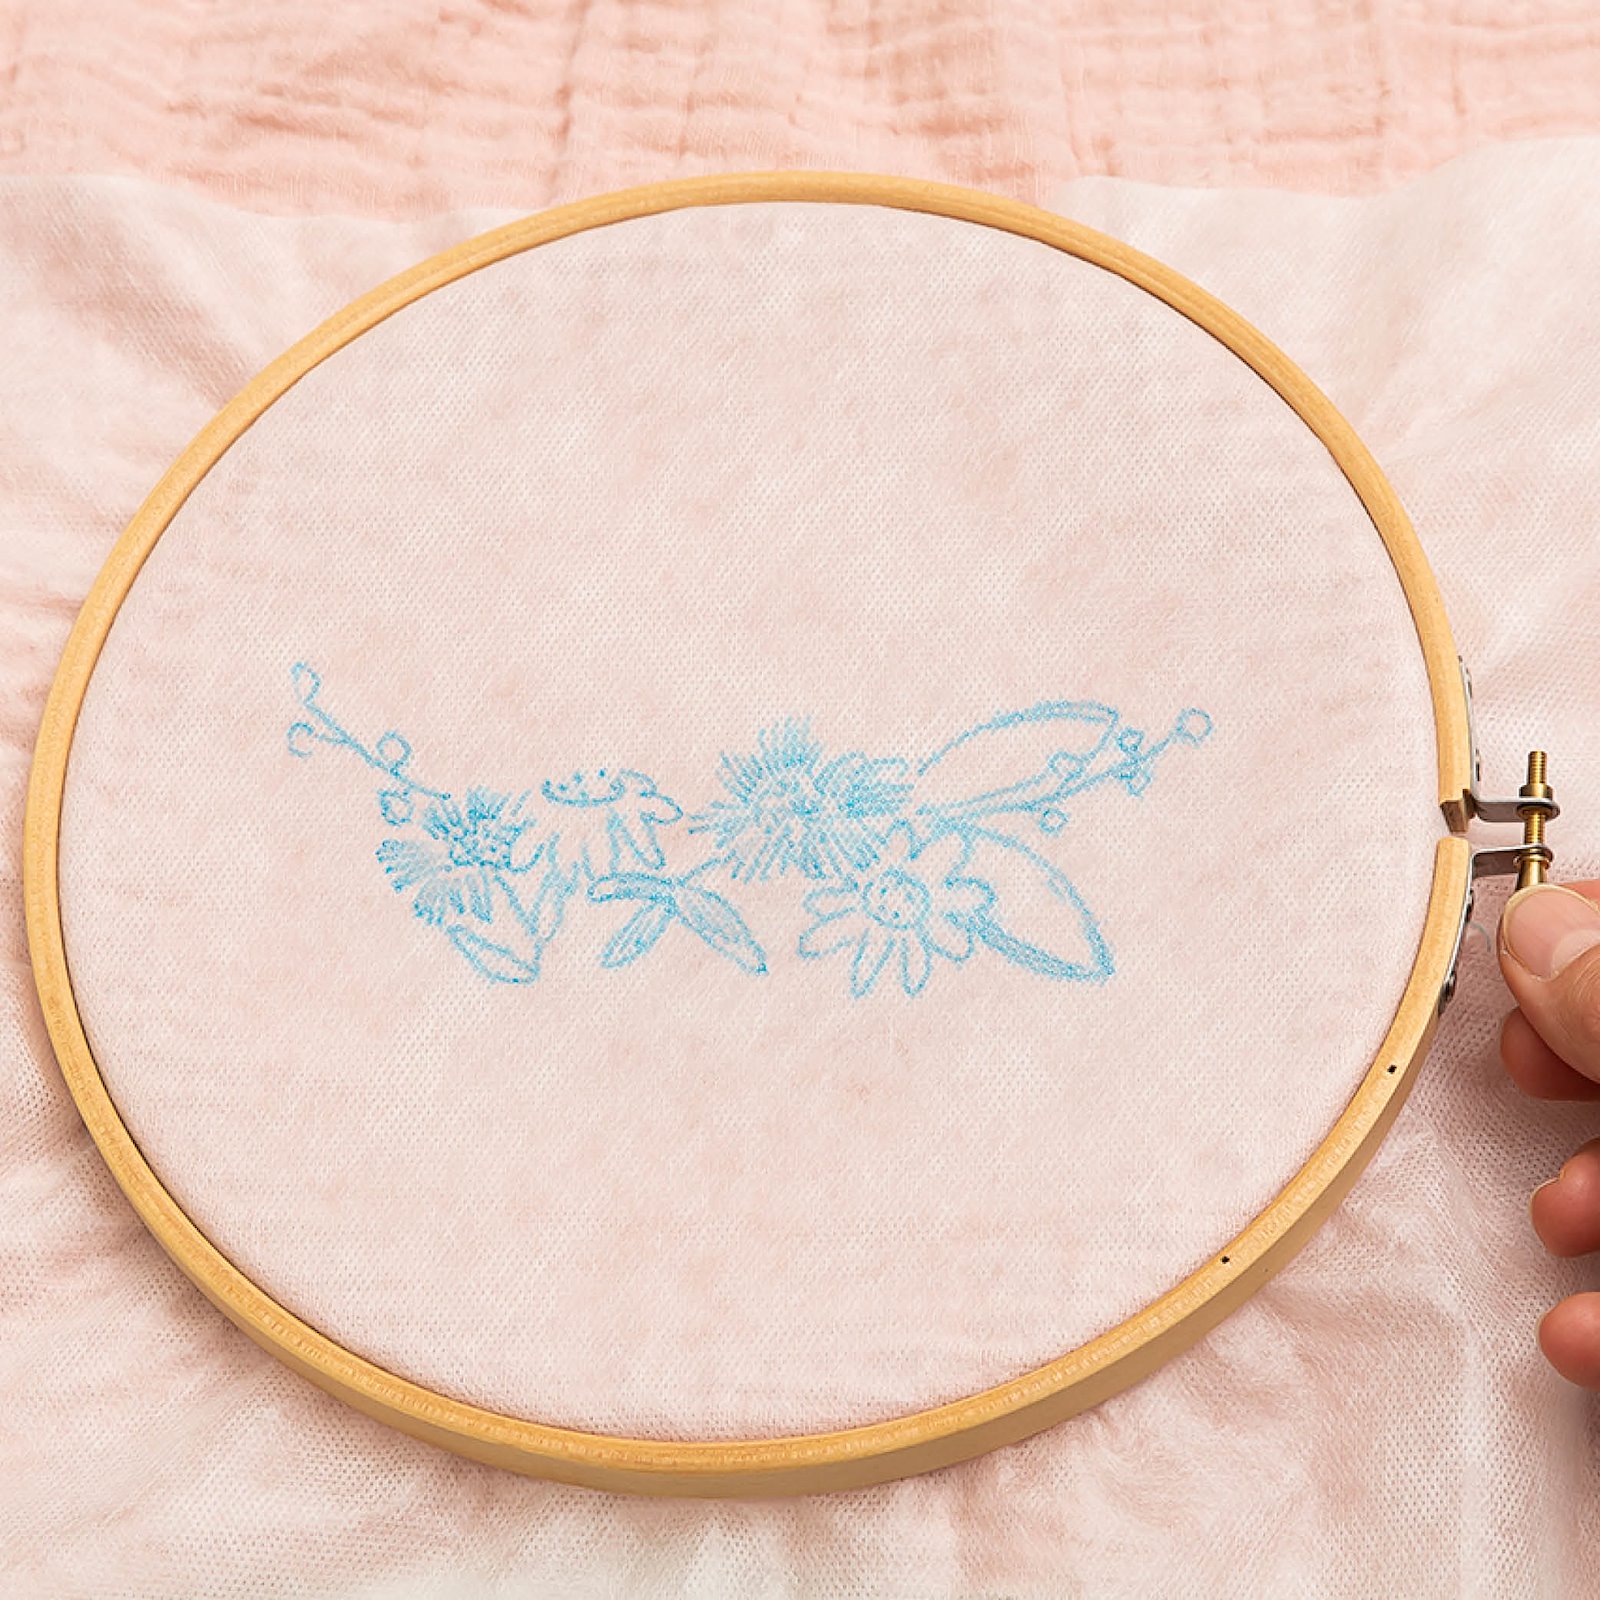
3.Use a wooden hoop or embroidery frame. Secure the fabric and interfacings in the hoop/frame. Water-soluble interlining is a boon as you avoid drawing directly onto the fabric. 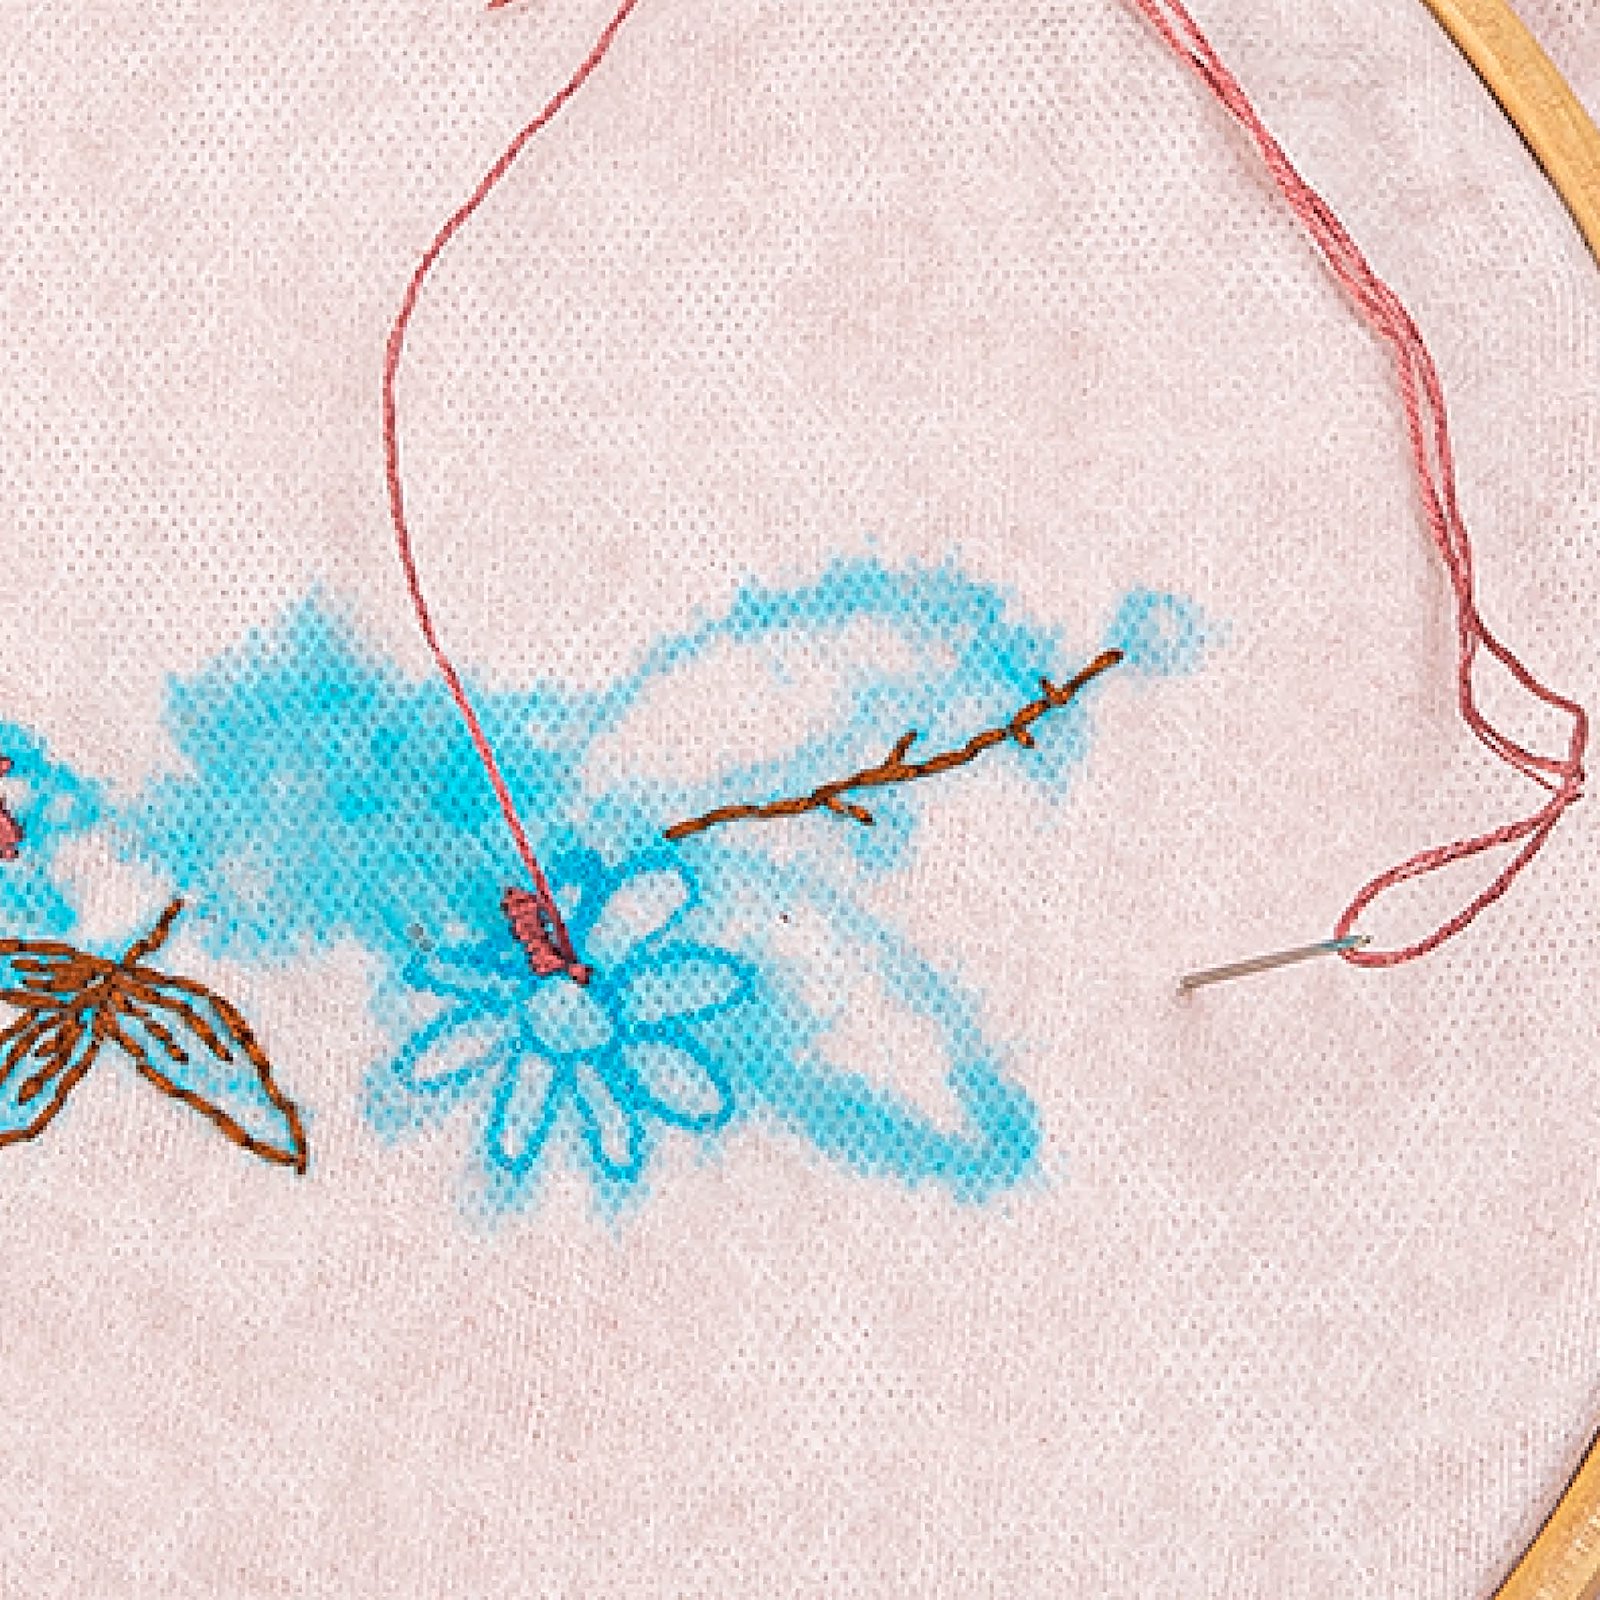
4.Embroidery stitches used: satin stitch, back stitch, French knot and chain stitch. We used 2-3 threads of each colour. To embroider, follow the pattern. Make sure you have the printed version at hand to guide you. Tip: If the lines disappear before you are finished, redraw. 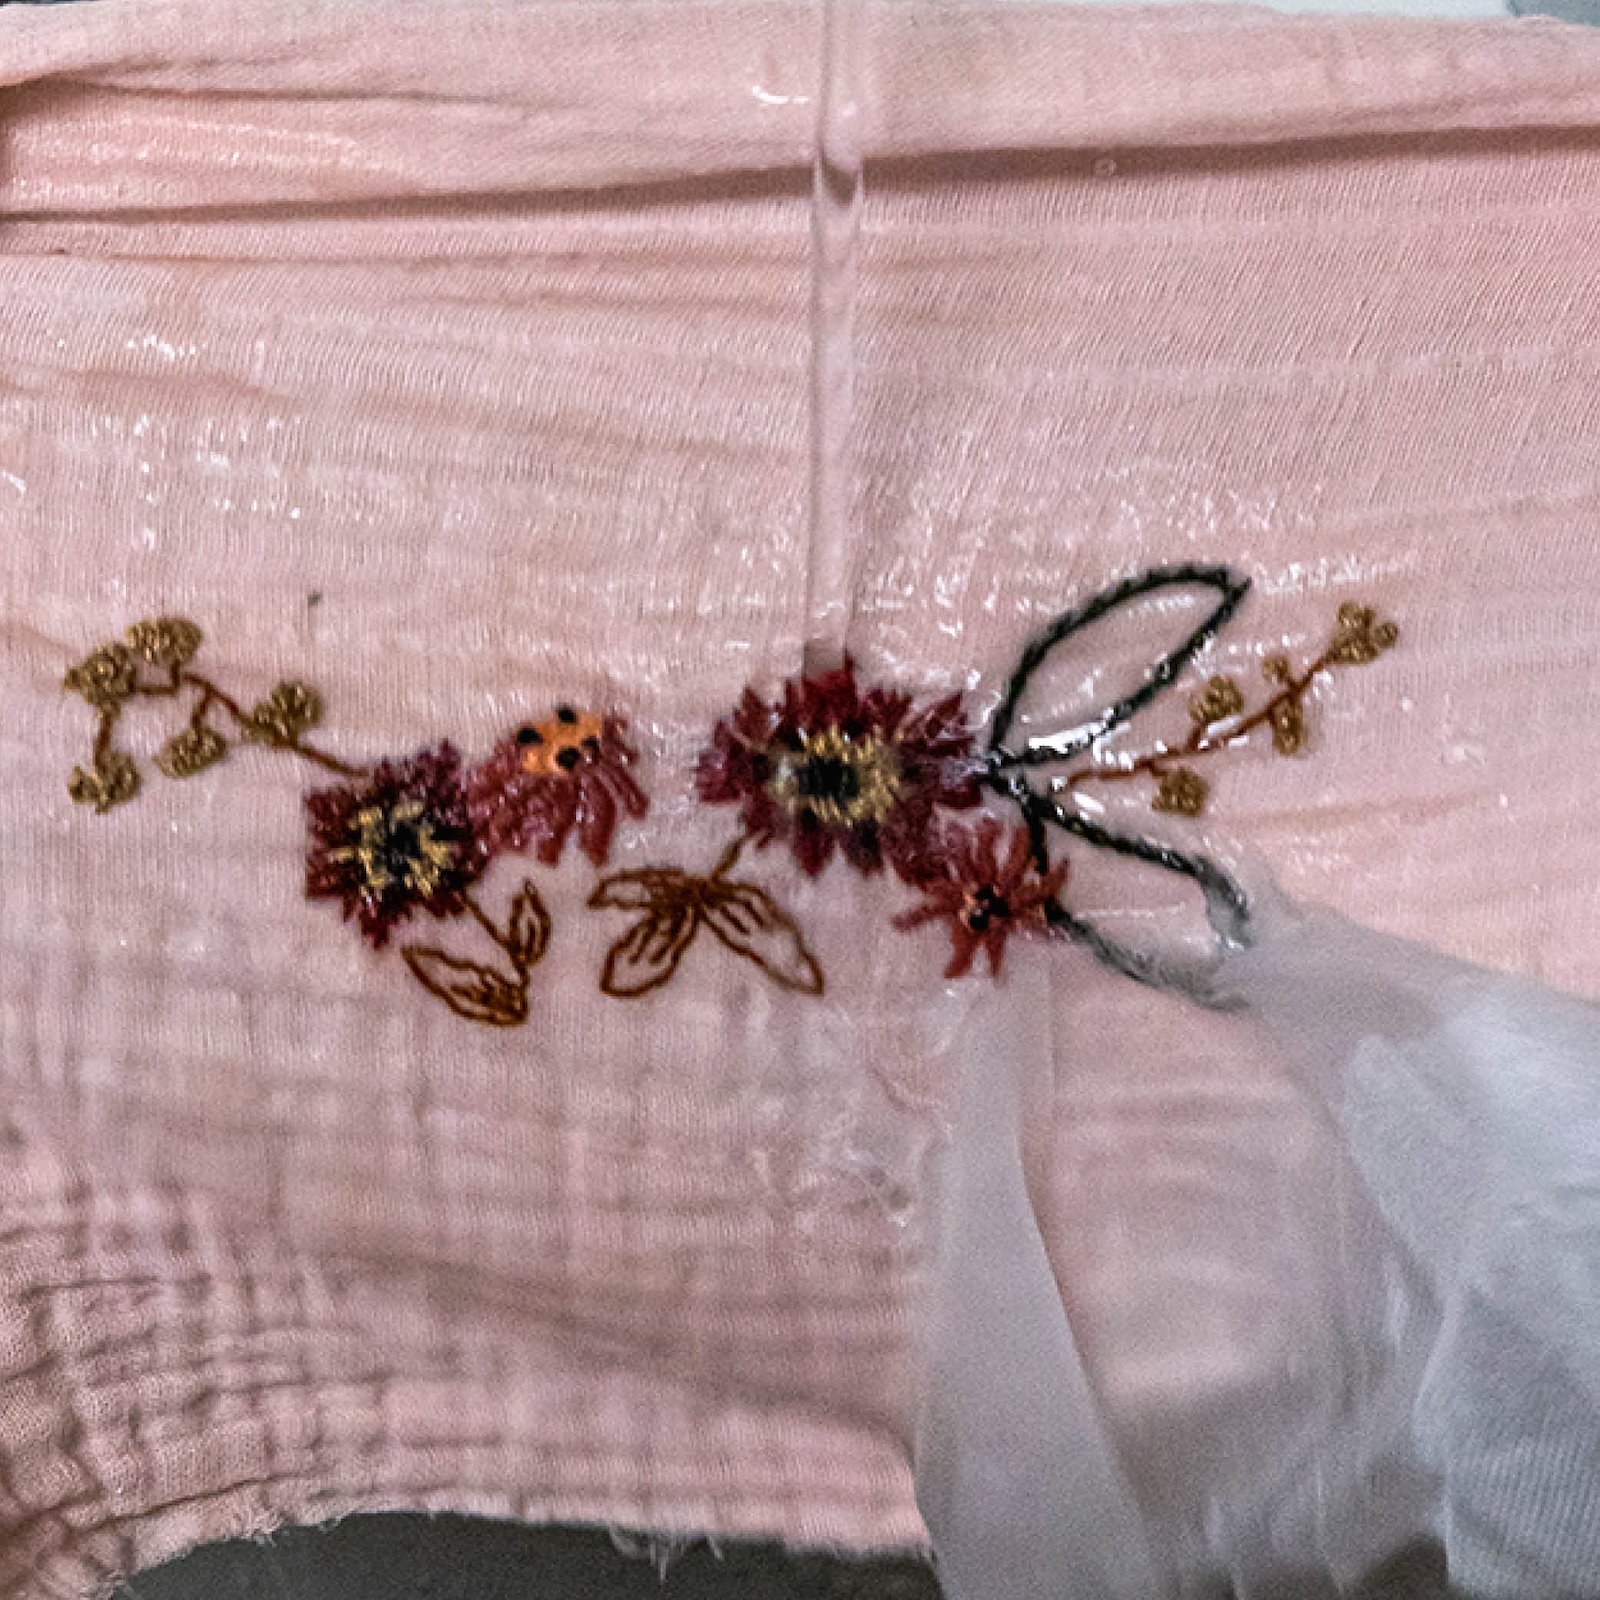
5.Remove the fabric from the embroidery hoop. Rinse in cold water. The marker lines and the water-soluble interfacing dissolve. 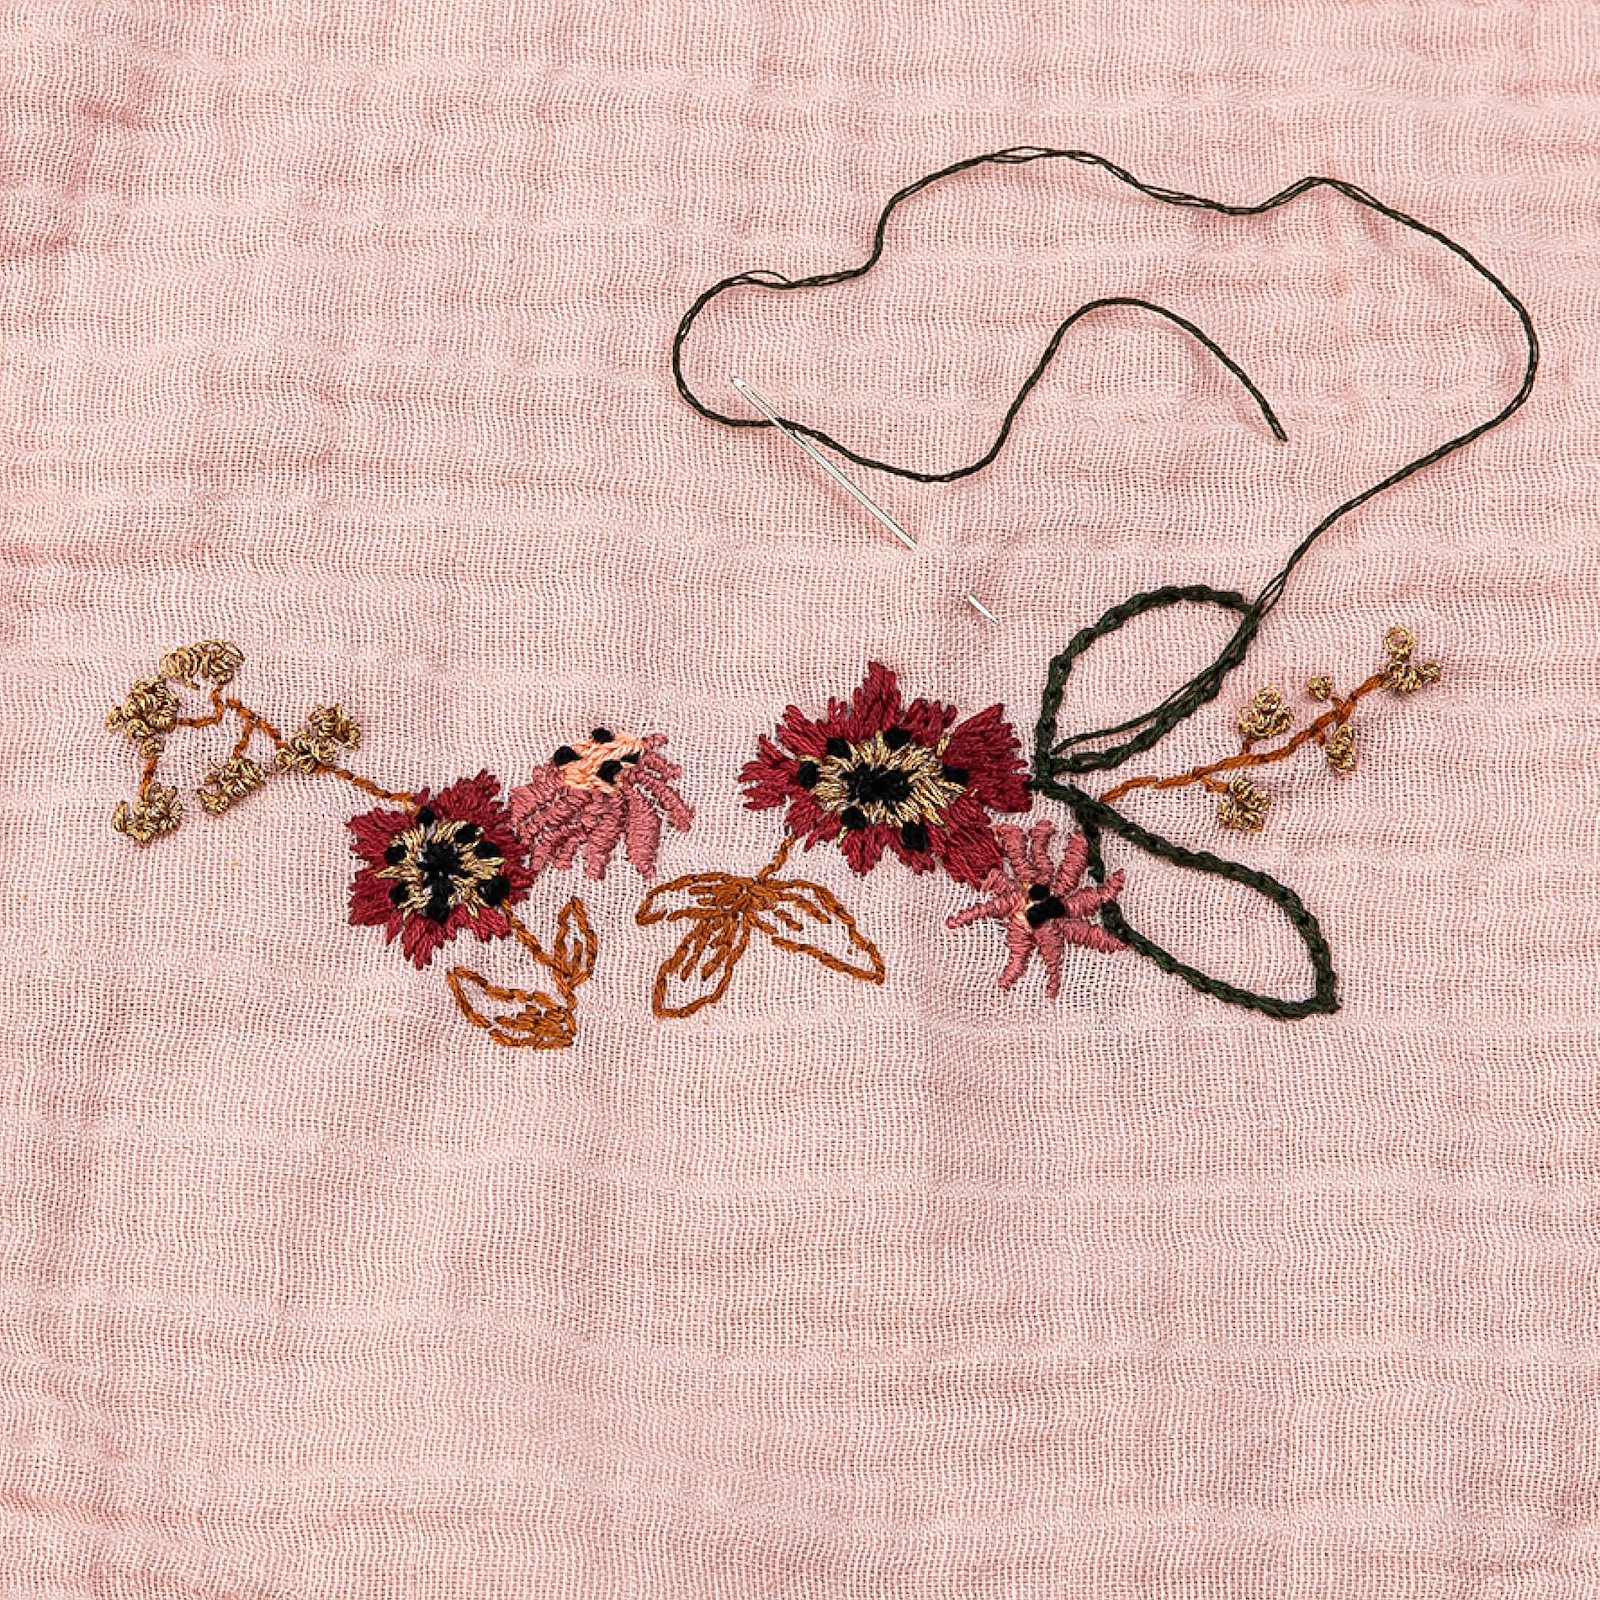
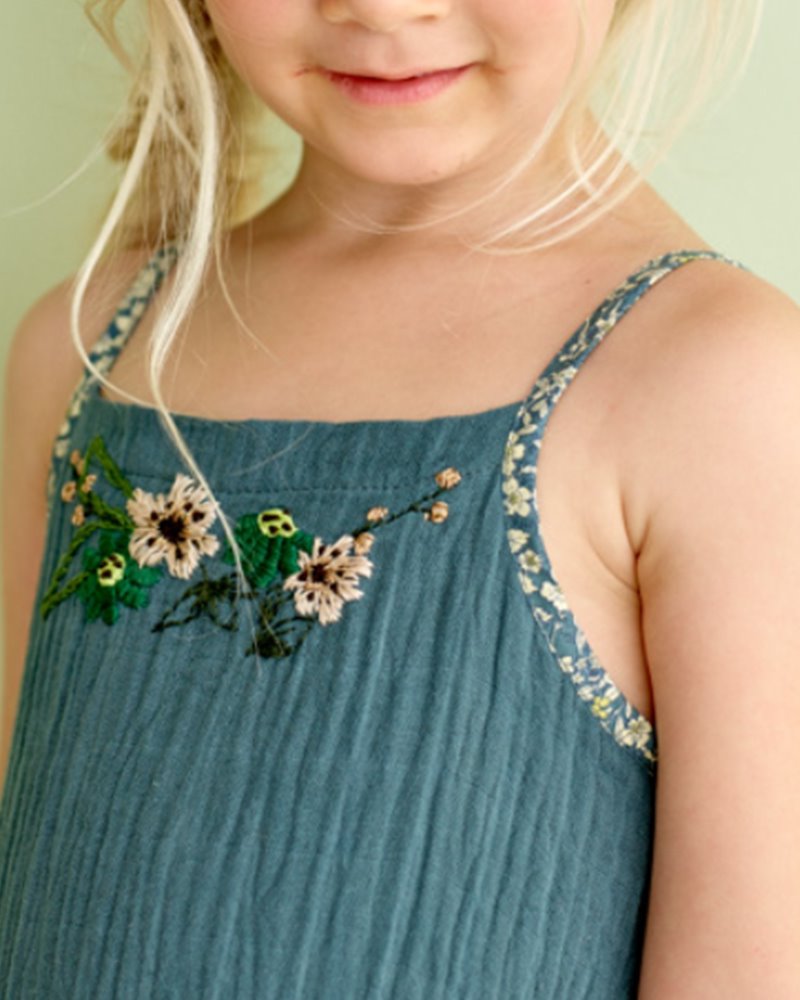
6.Here is the finished embroidery. For a more ambitious project, you could choose to repeat the pattern, e.g. in a row.


