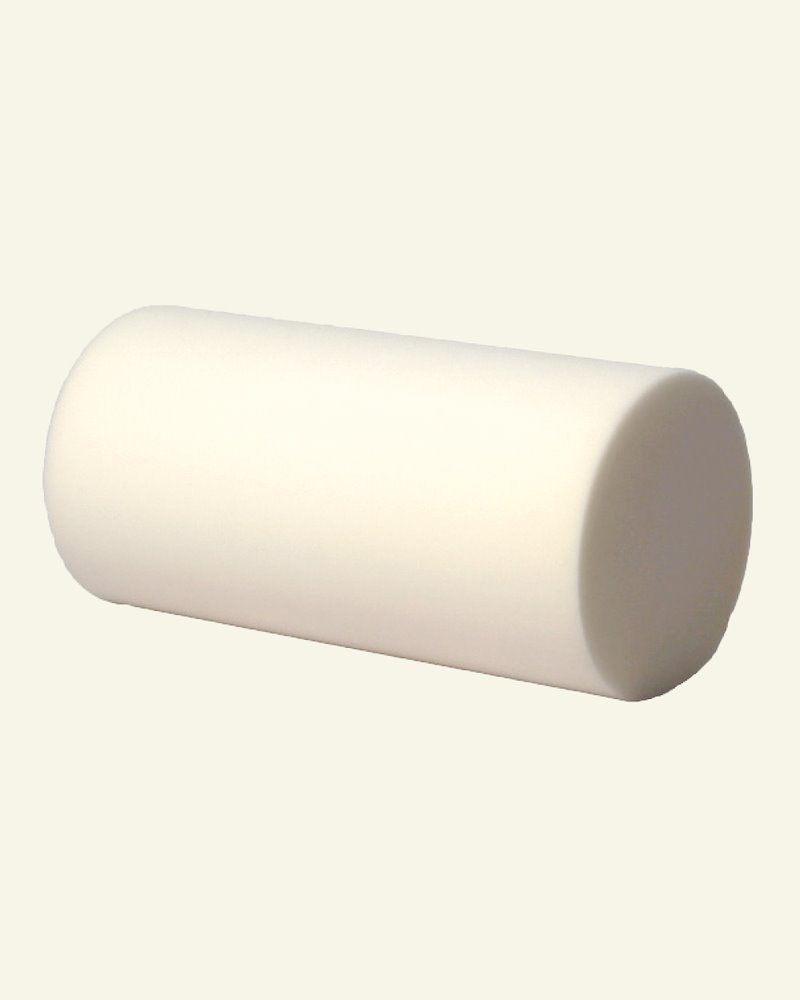


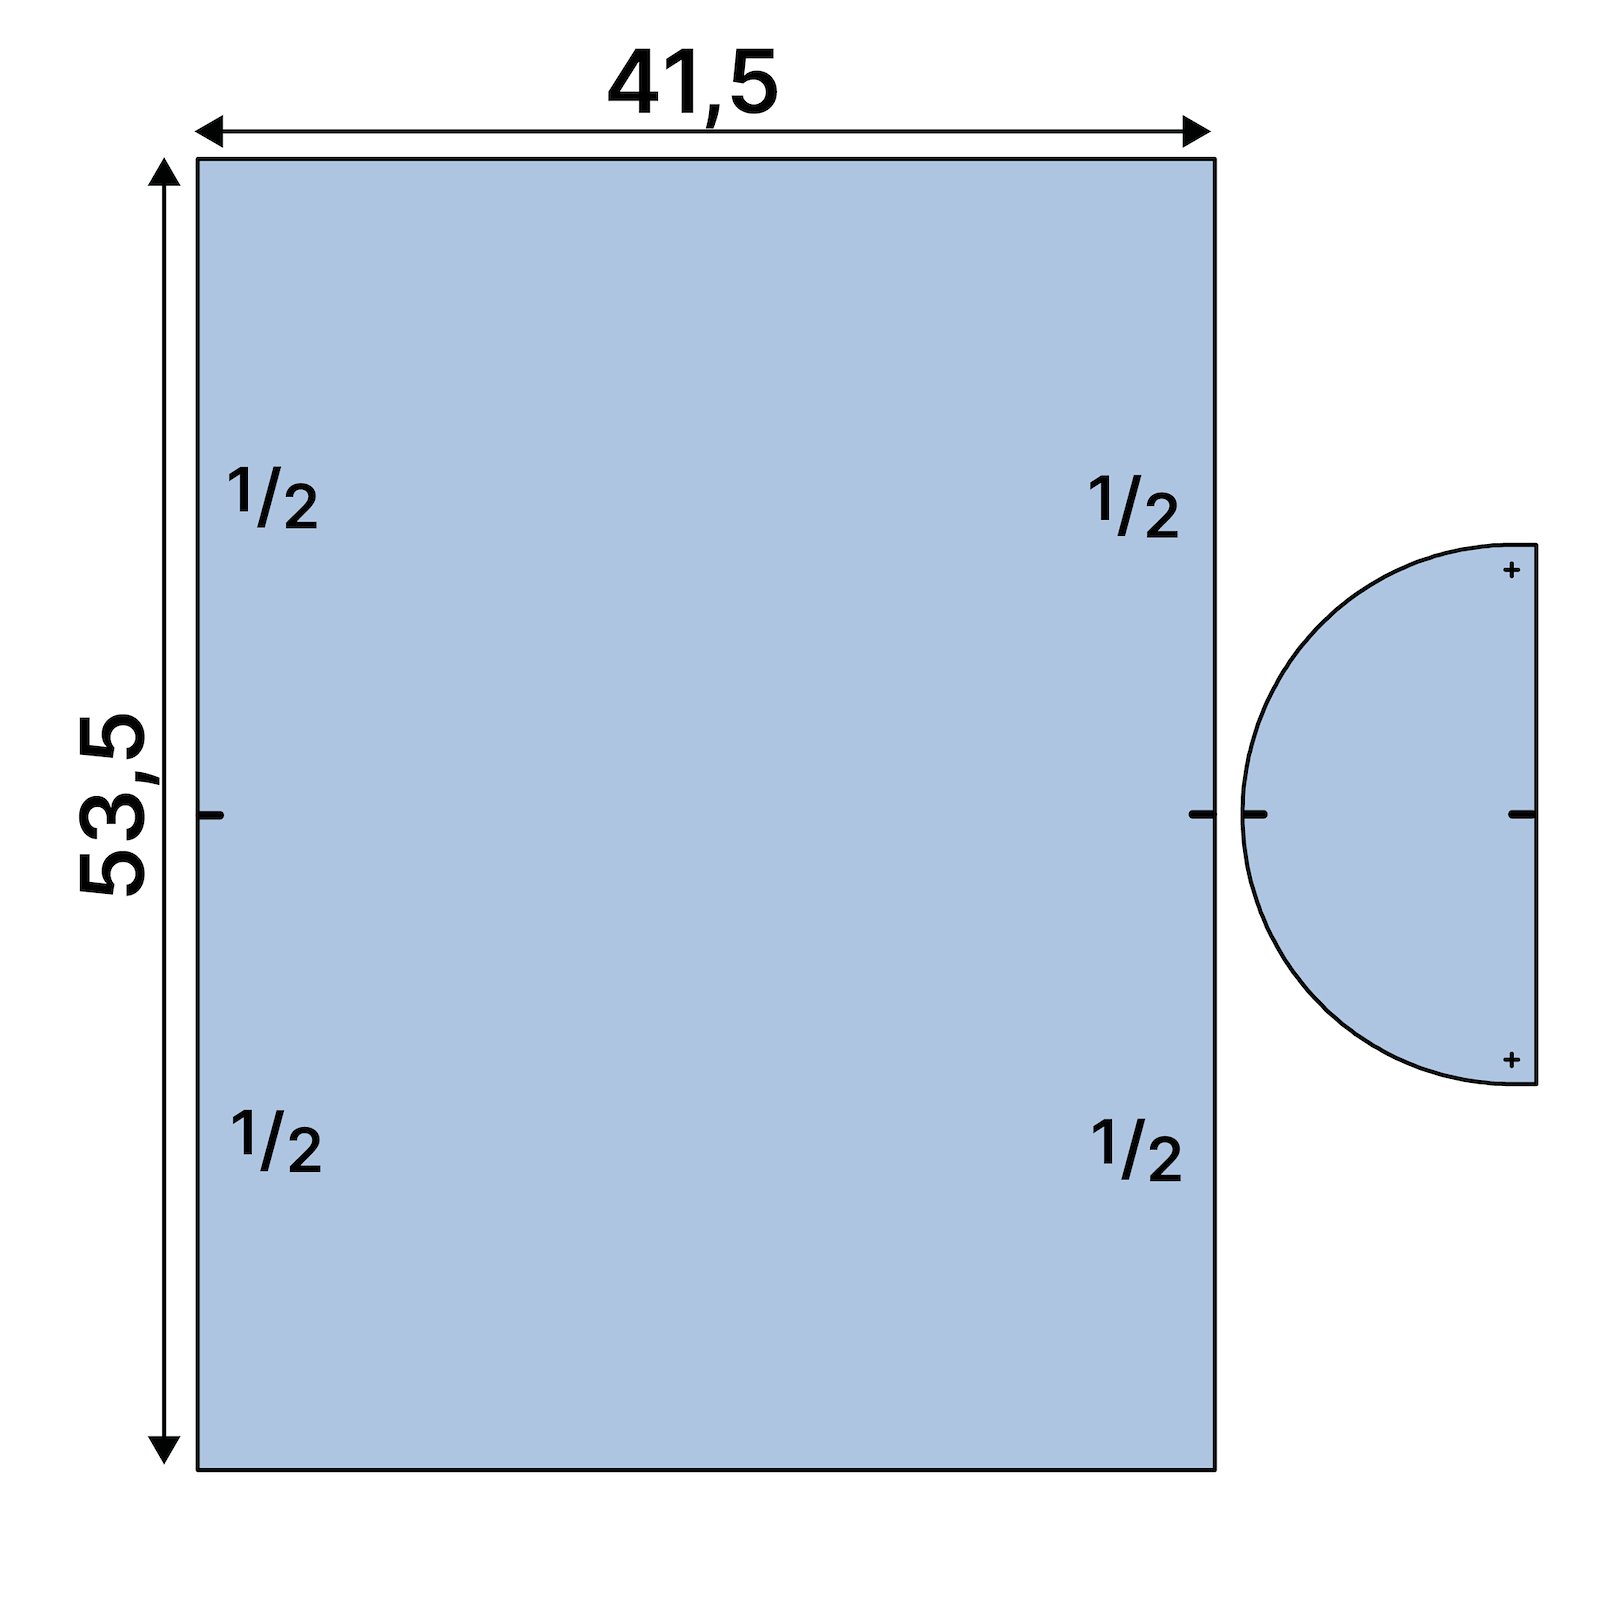
1.1. Cut 4 semicircles using the template and 2 pieces of fabric each measuring 41.5 x 53.5 cm (incl. 1 cm seam allowance). Snip a small notch at the centre point of the long side (53.5 cm). This notch aligns with the notch on the arc of the semicircle. 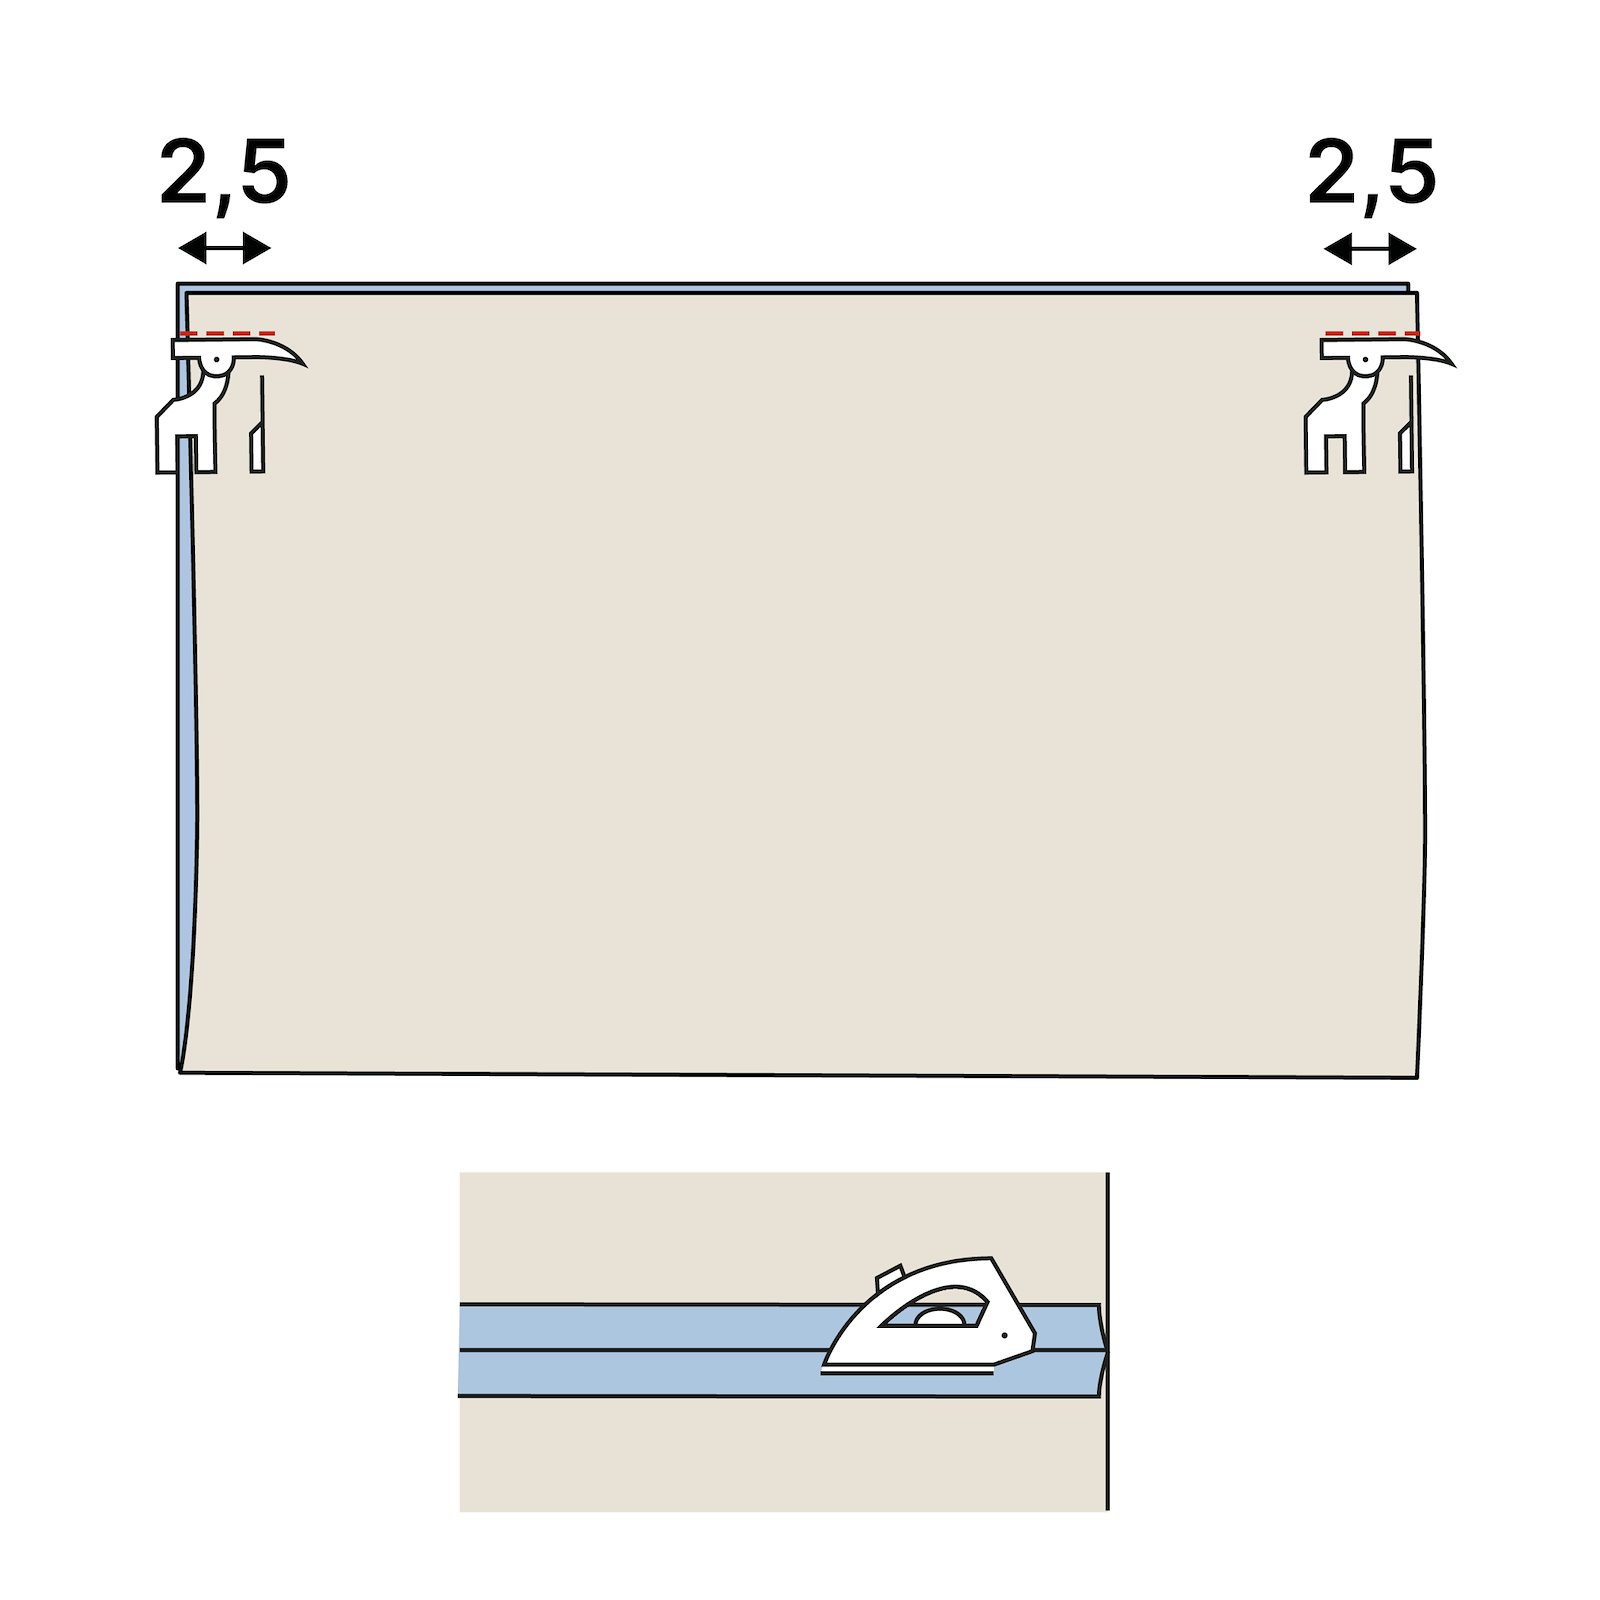
2.2. Fold the square piece of fabric in half lengthwise. Sew 2.5 cm in from both sides, leaving a gap for the zip (the gap measures 36.5 cm). Press. 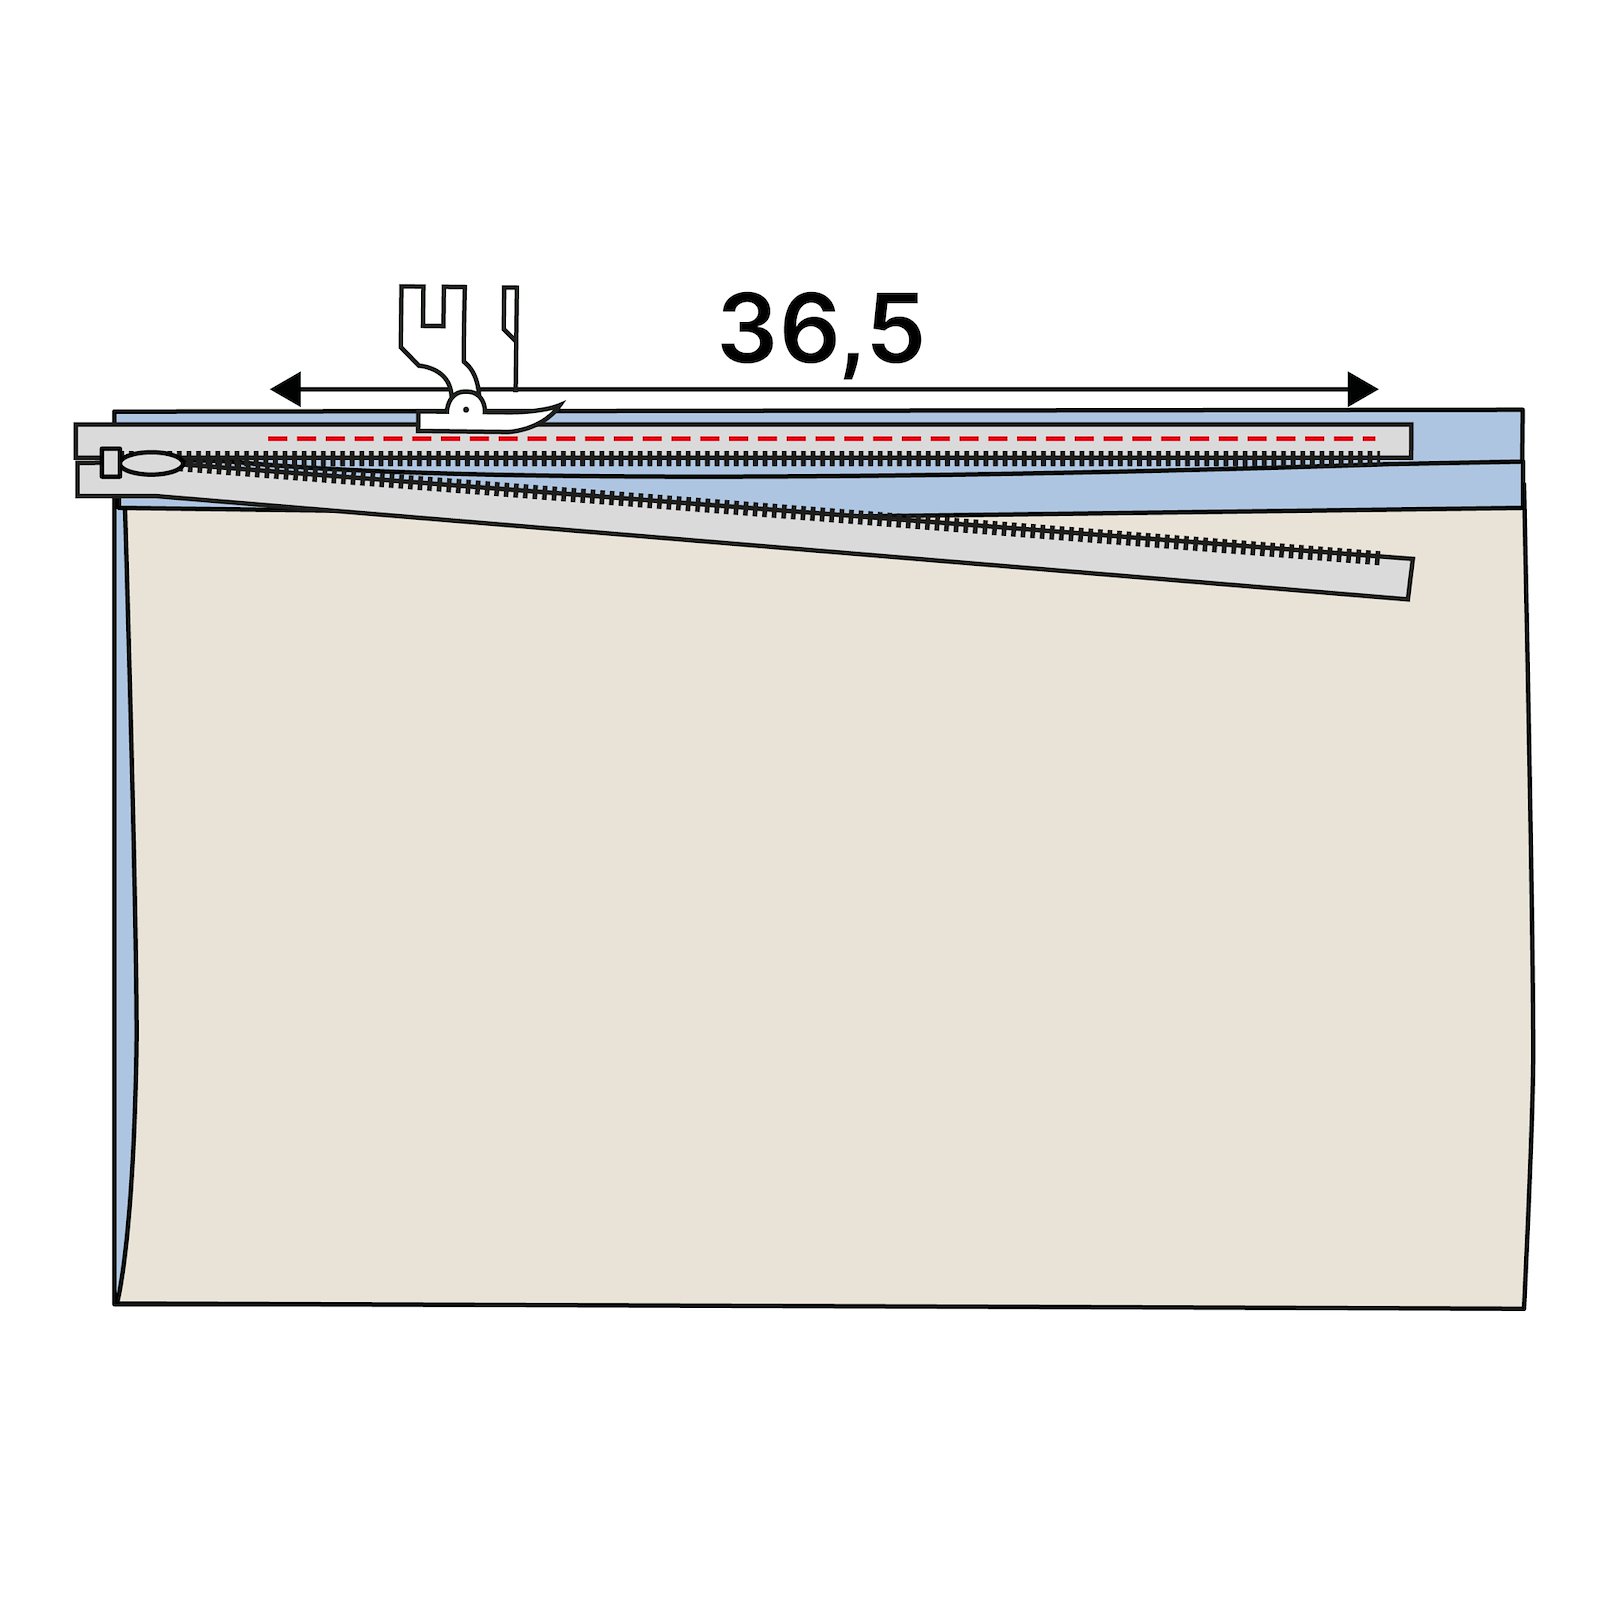
3.3. Open the zipper. Sew each side of the zipper into the seam allowance of the 36.5 cm gap. The zipper is about 4 cm too long. 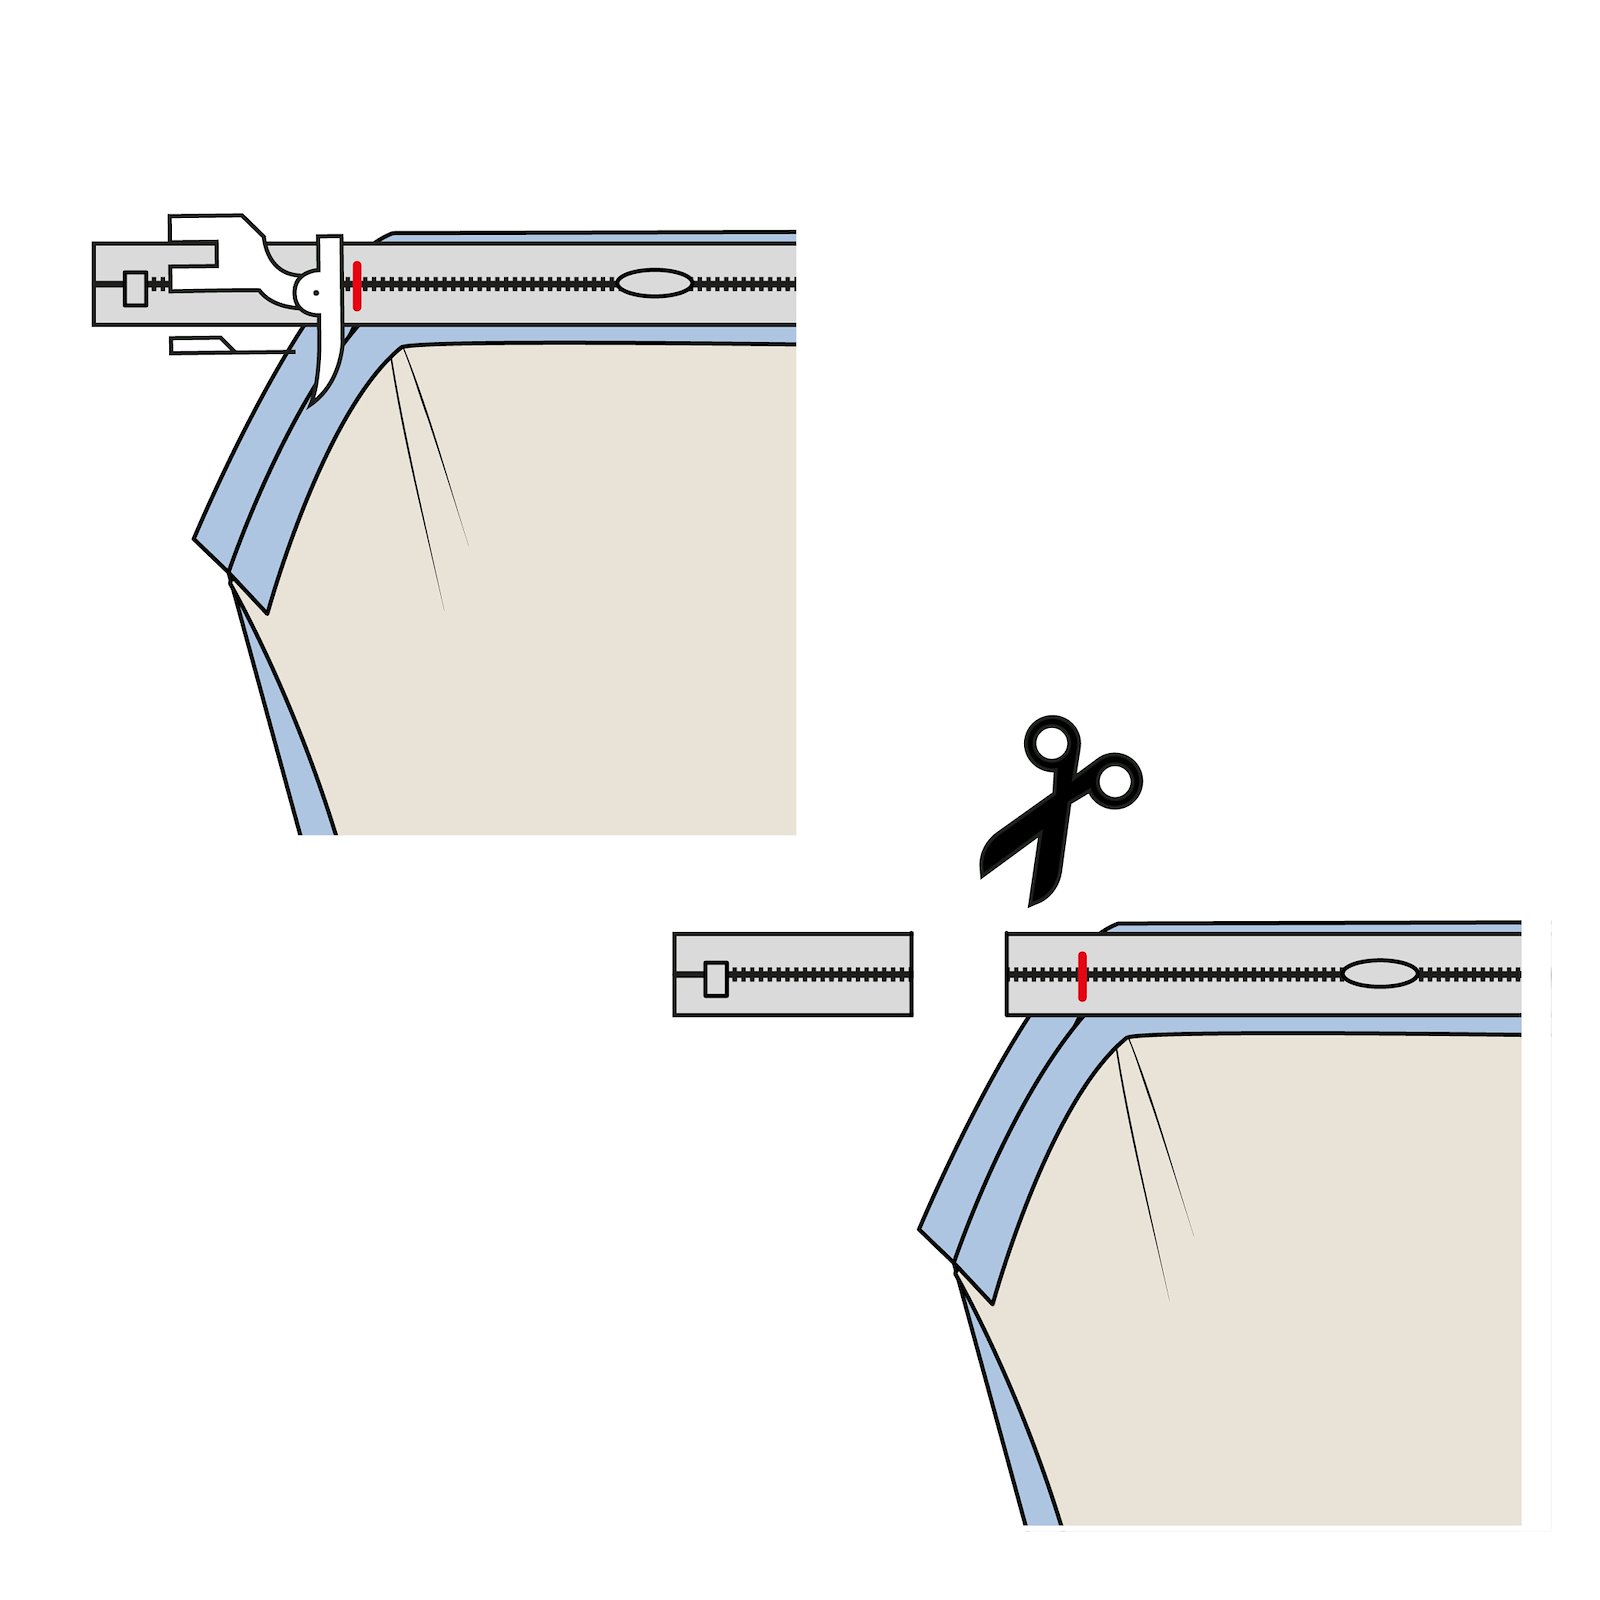
4.4. Zip the zipper just a small way up. Sew across the zipper a couple of times 3 cm from the end. Cut off the end so that only about 1 cm remains. 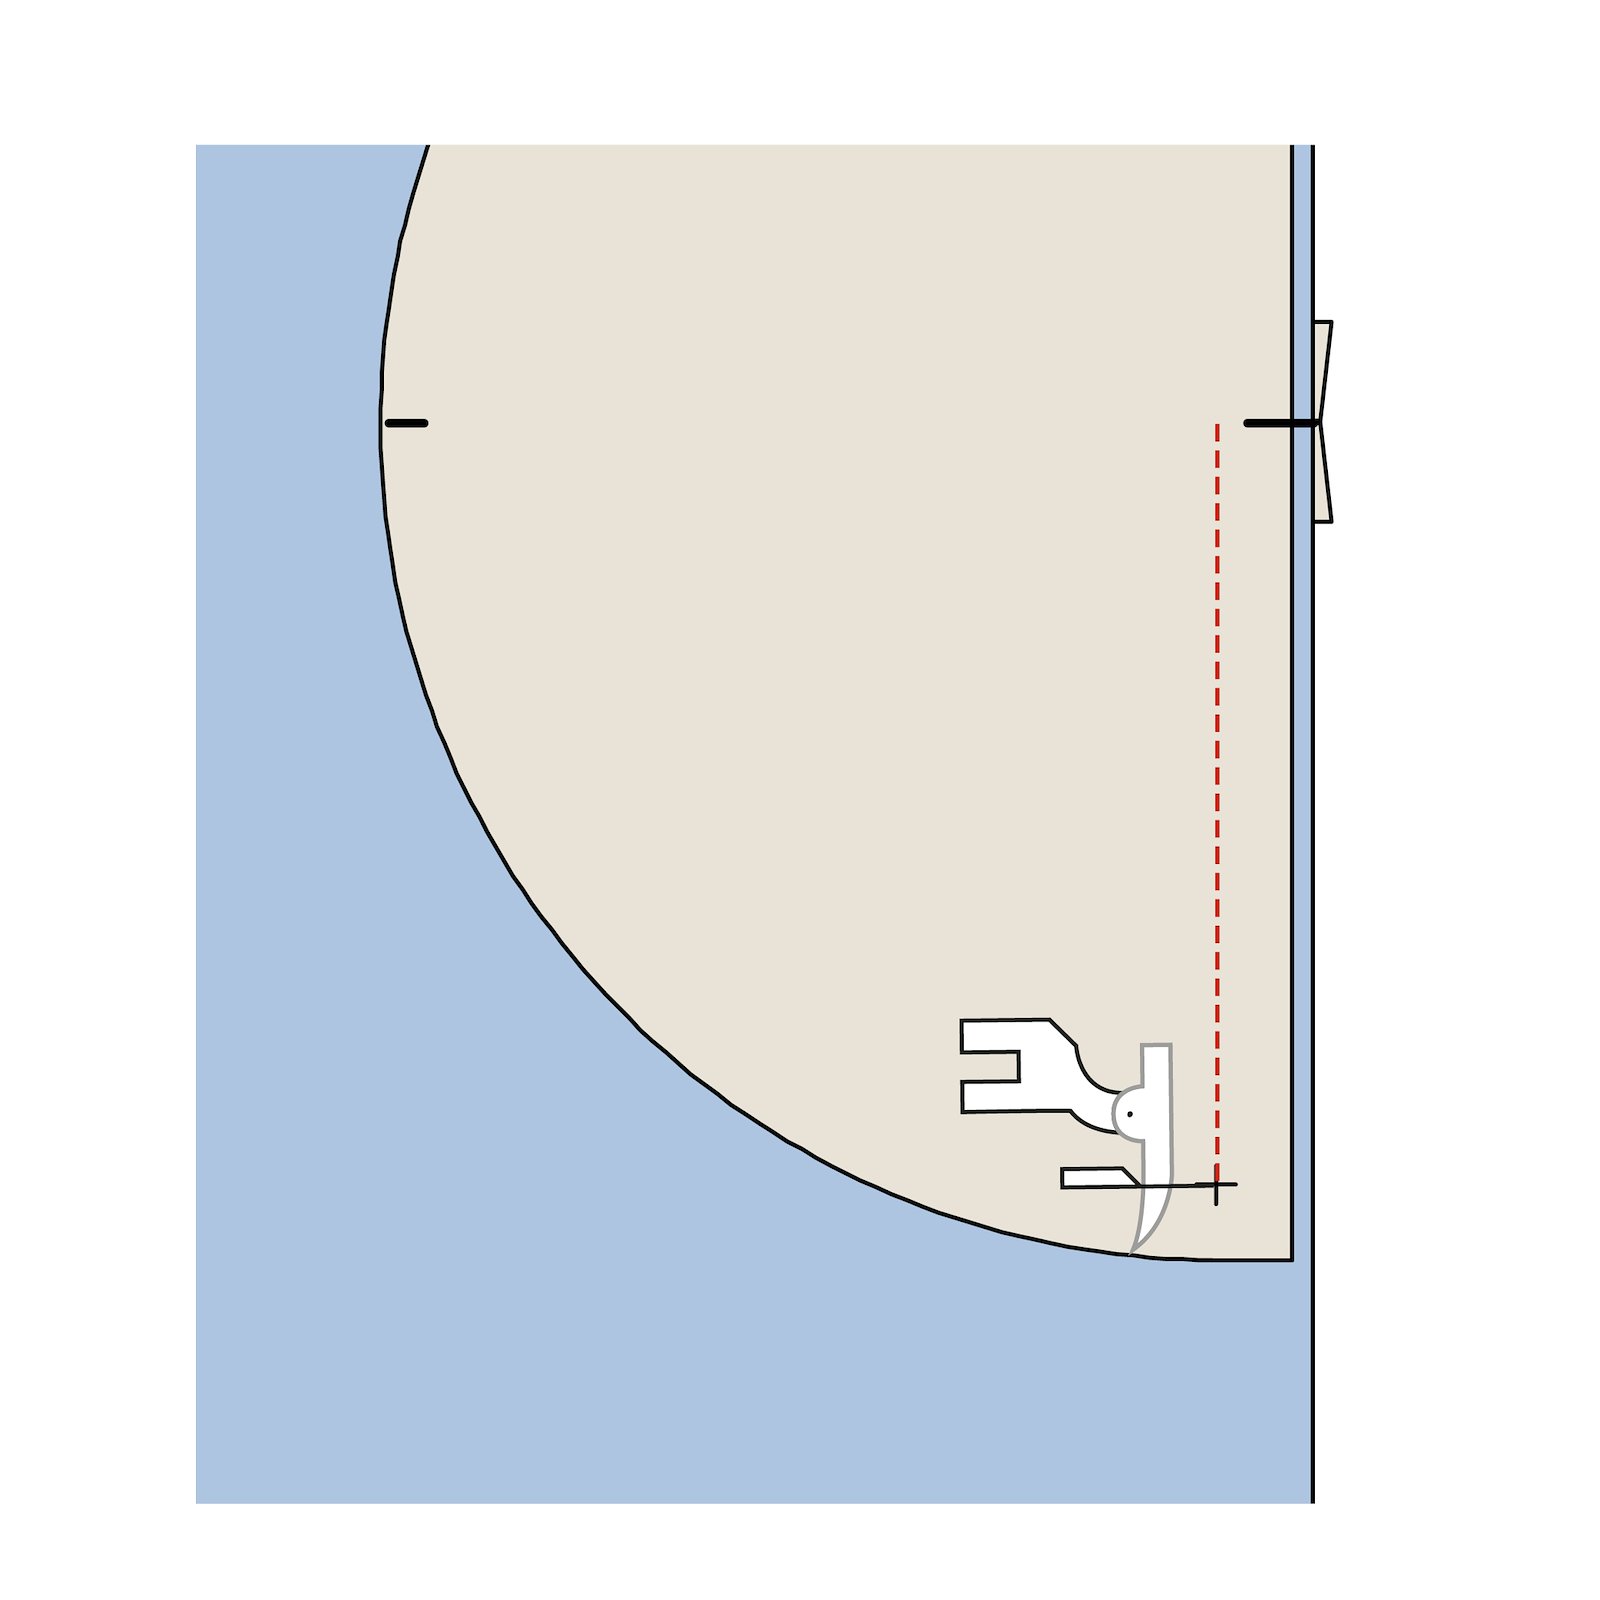
5.5. Sew the semicircles together, right sides facing. Align the notch on the straight side of the semicircle with the zipper seam. Sew from the notch to the mark on the semicircle. Stop sewing with the needle down in the fabric. Lift the presser foot. 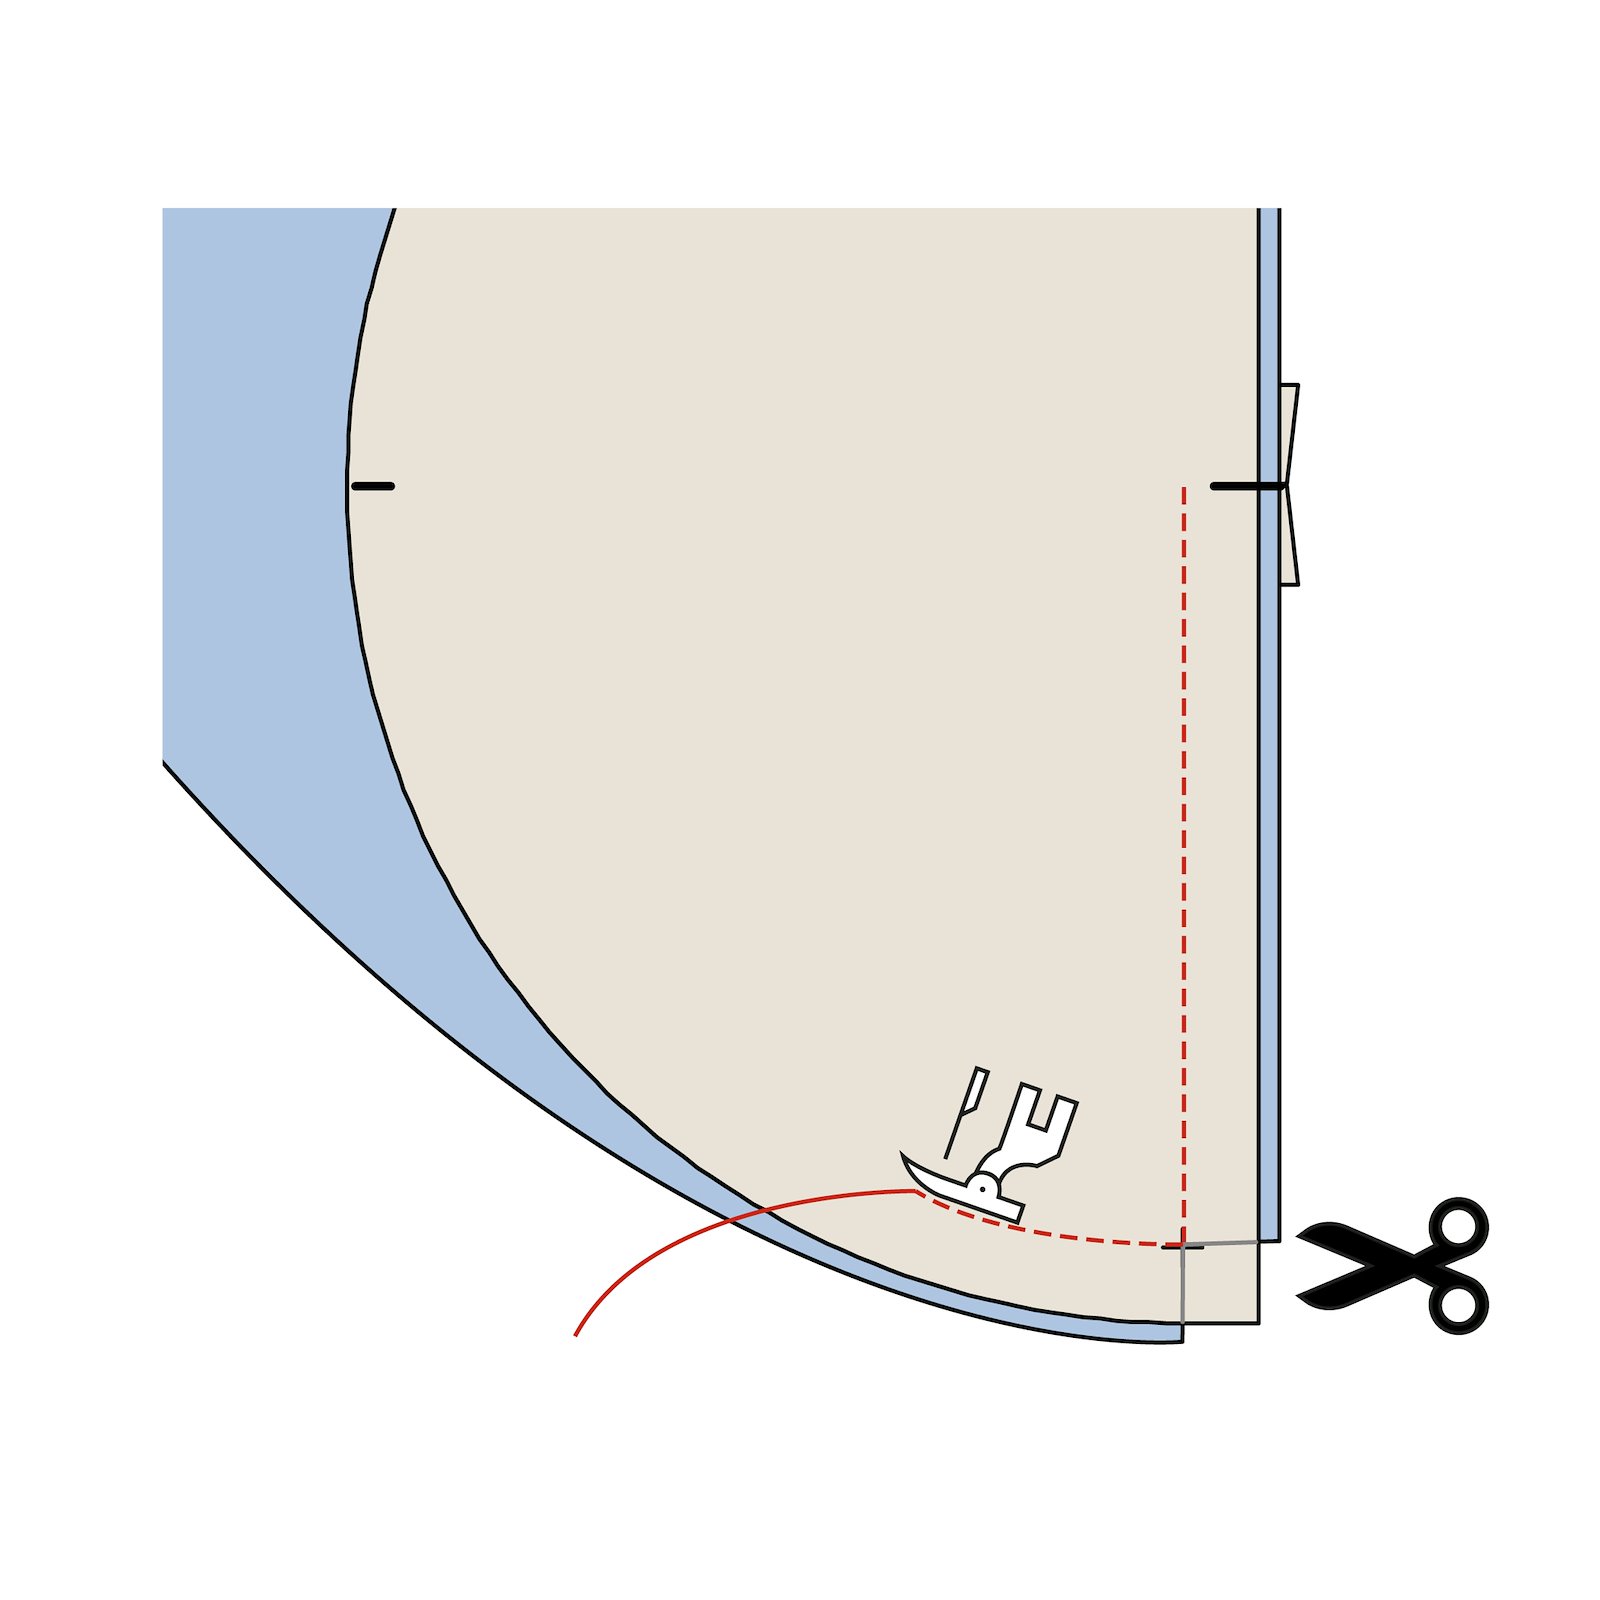
6.6. Trim the square piece of fabric right back to the sewing machine needle. Turn the square piece so that it lies edge to edge with the arc of the semicircle. Continue sewing, passing the mark at the centre, to the next marker, and again trim the seam right back to the sewing machine needle as before. Now sew to the notch at the zipper. 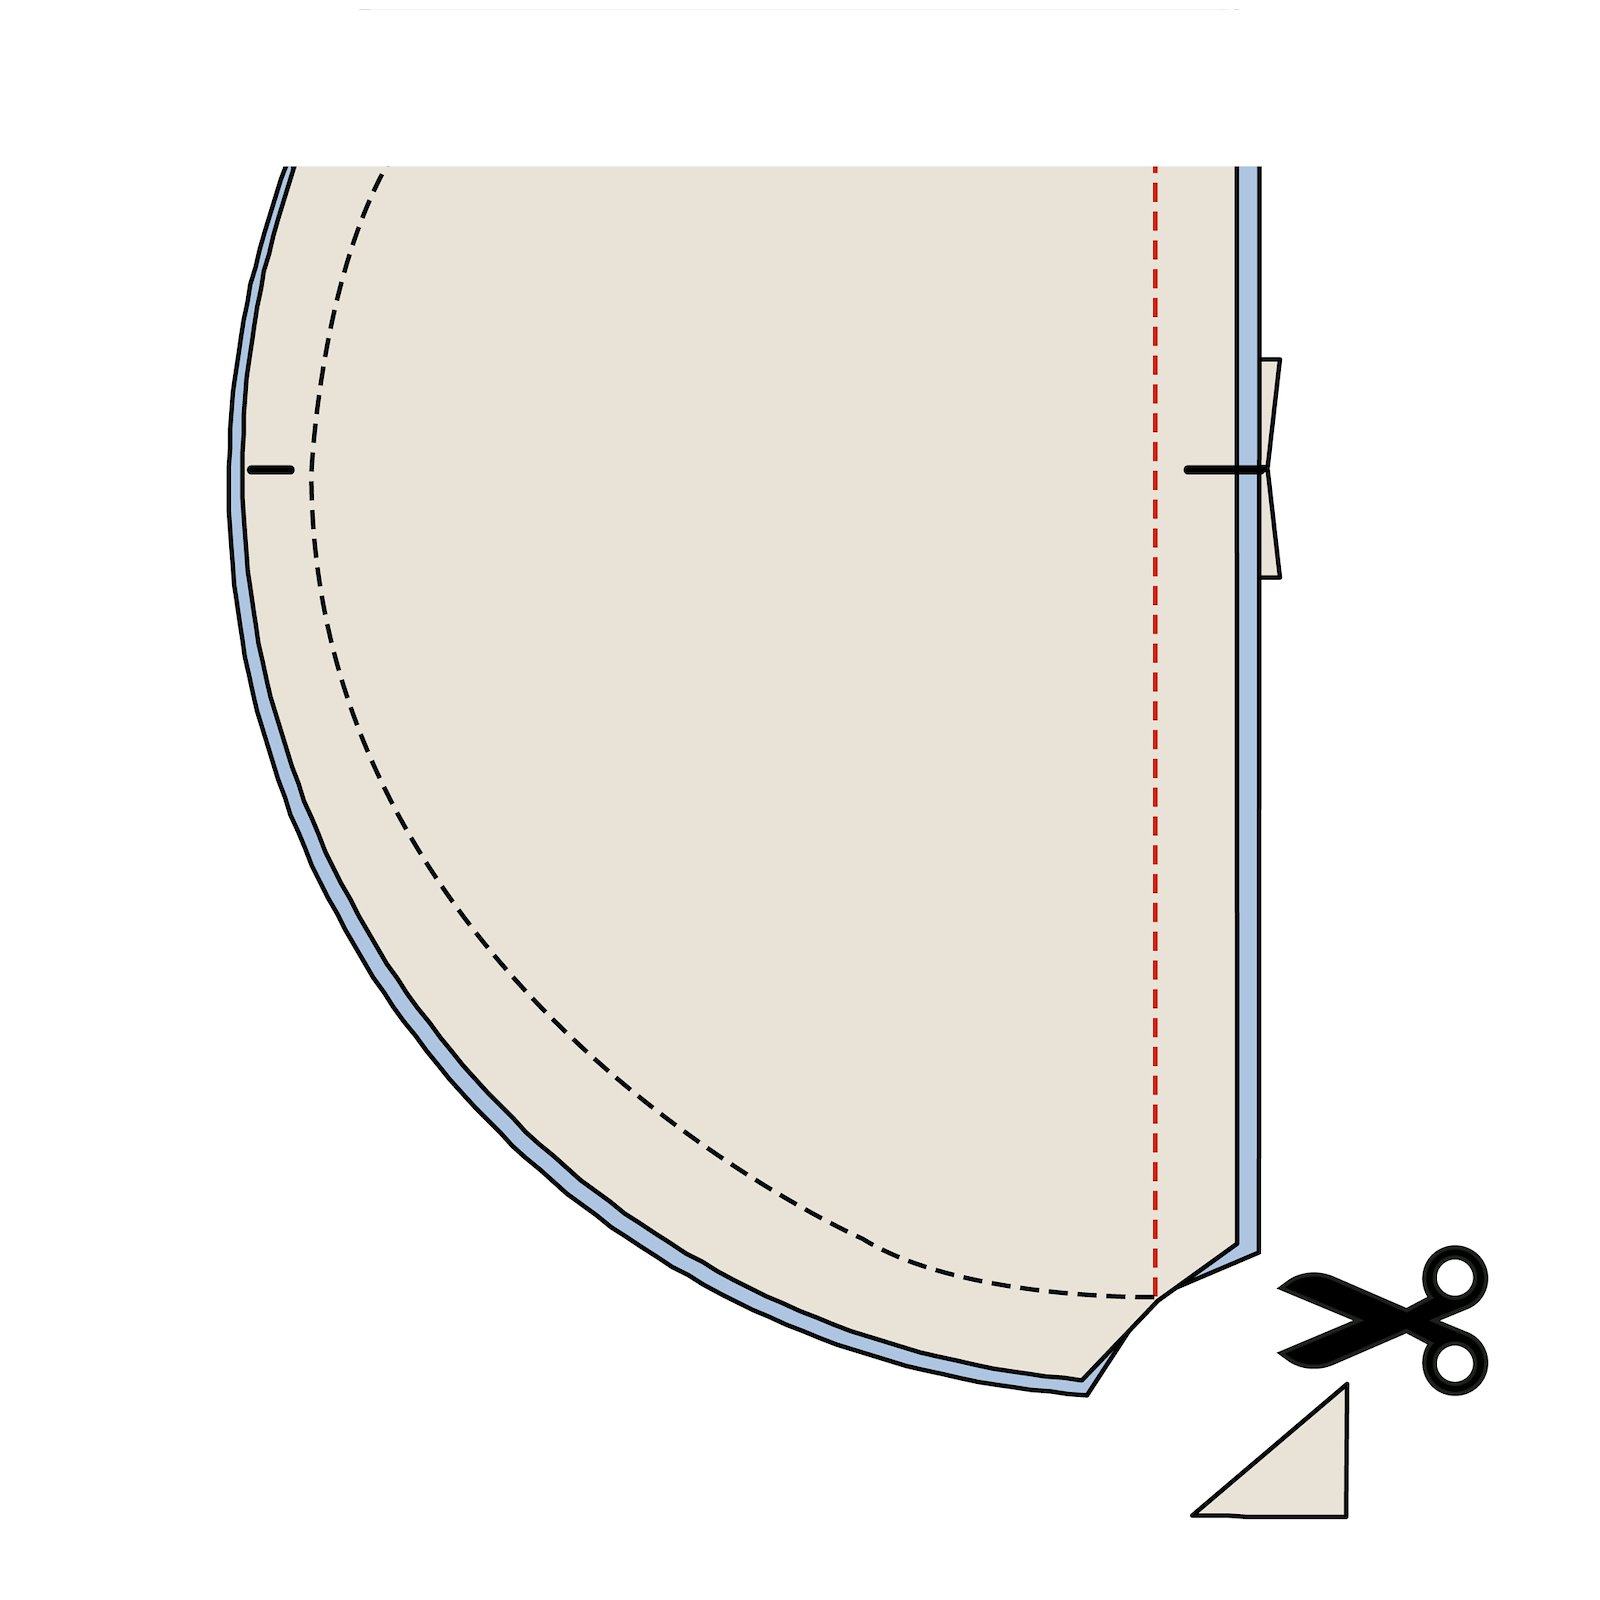
7.7. Mitre the corners of the semicircle. 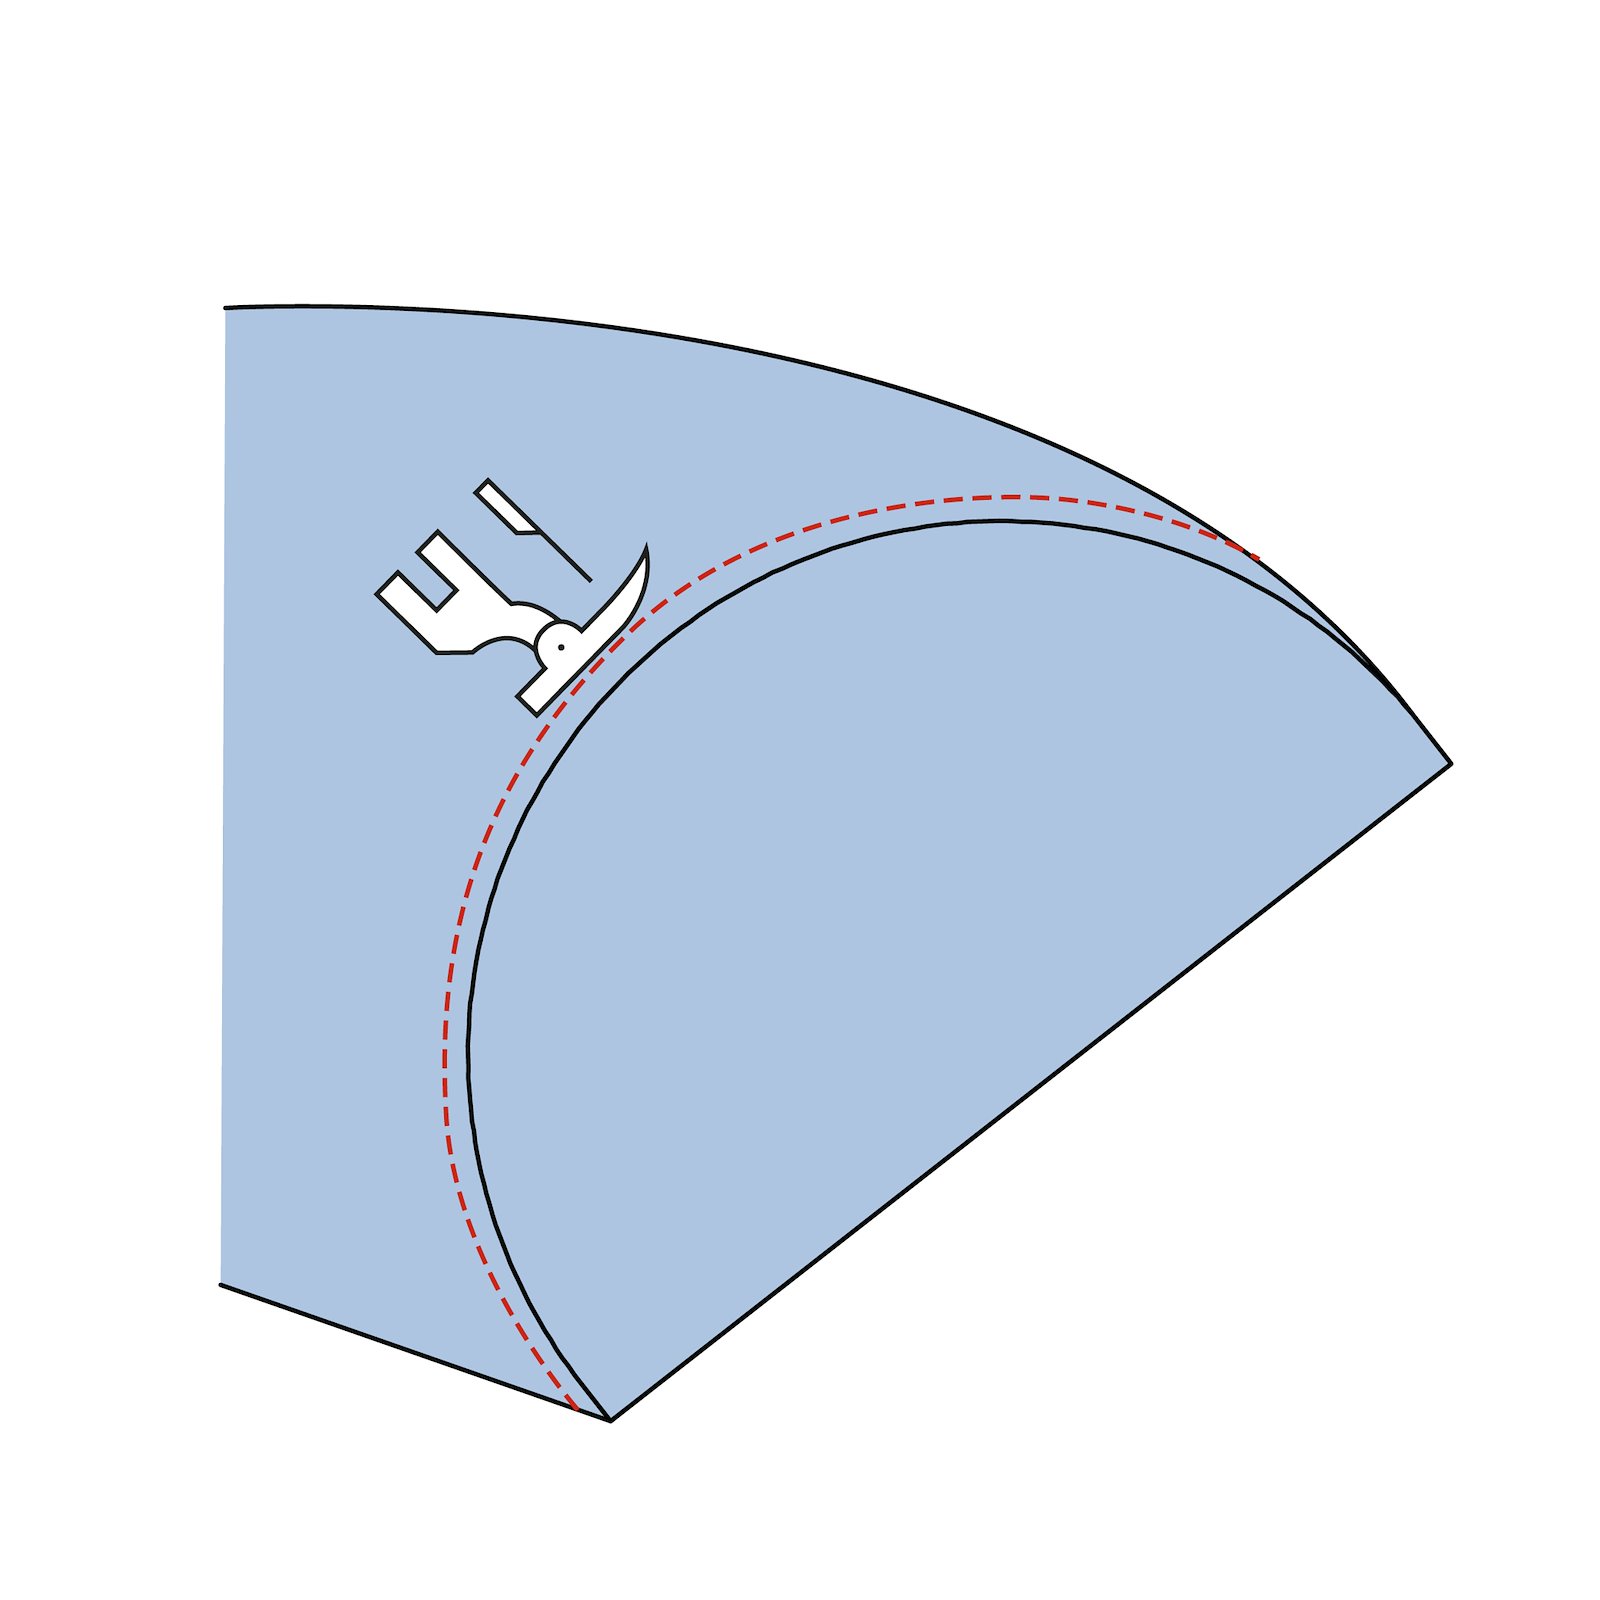
8.8. Turn to the right side. Turn the seam allowance towards the square piece. Topstitch 0.5 cm from the edge. Insert the bolster cushion into the cover. 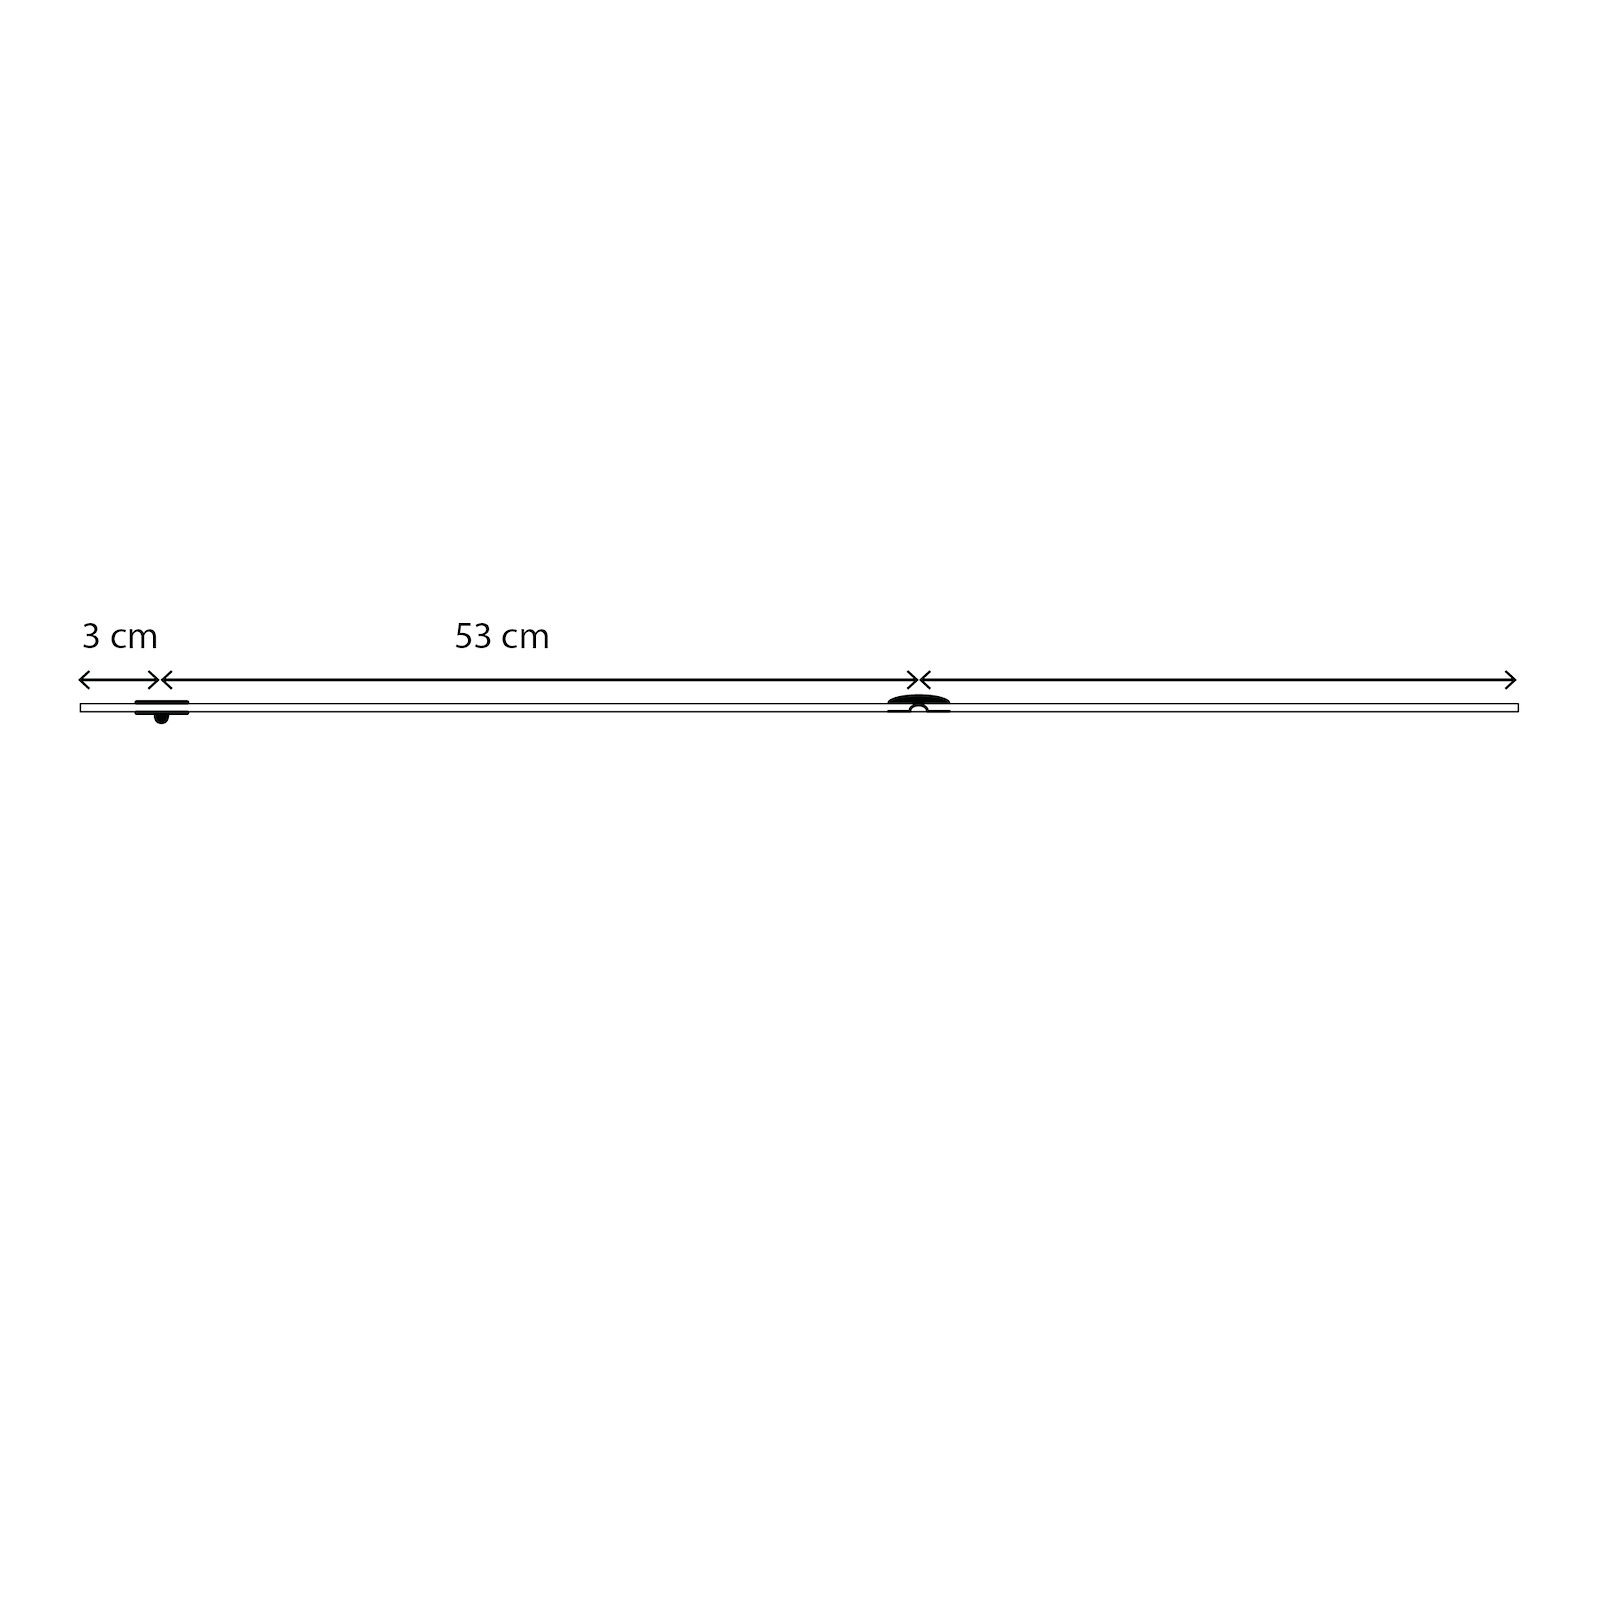
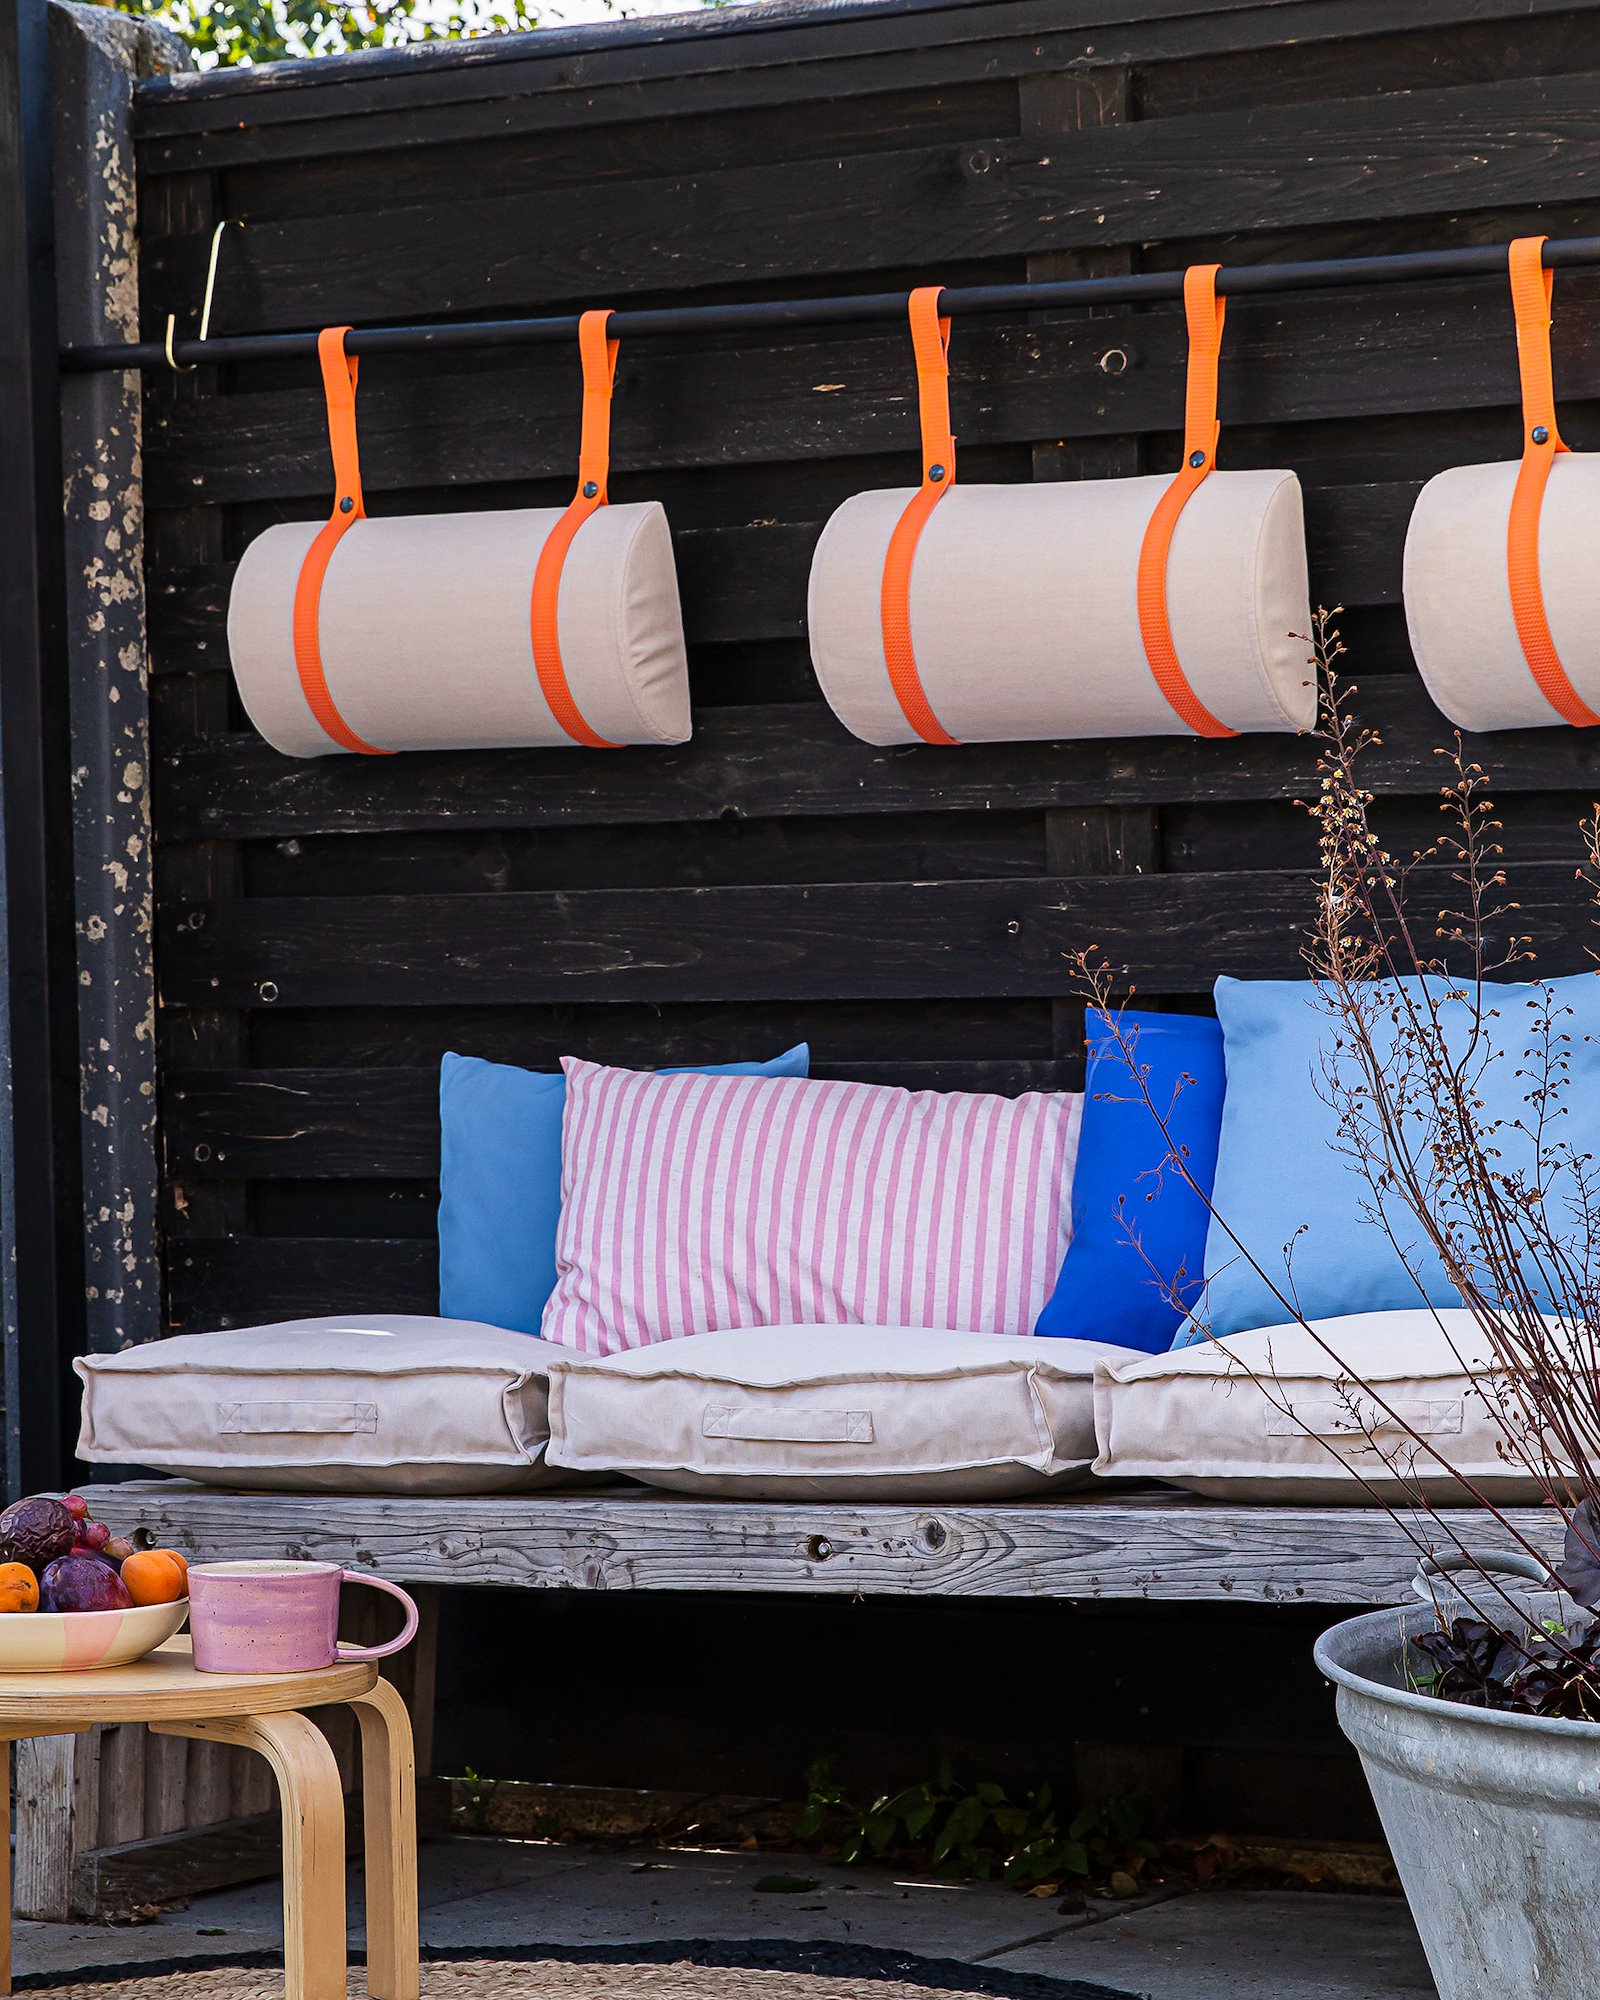
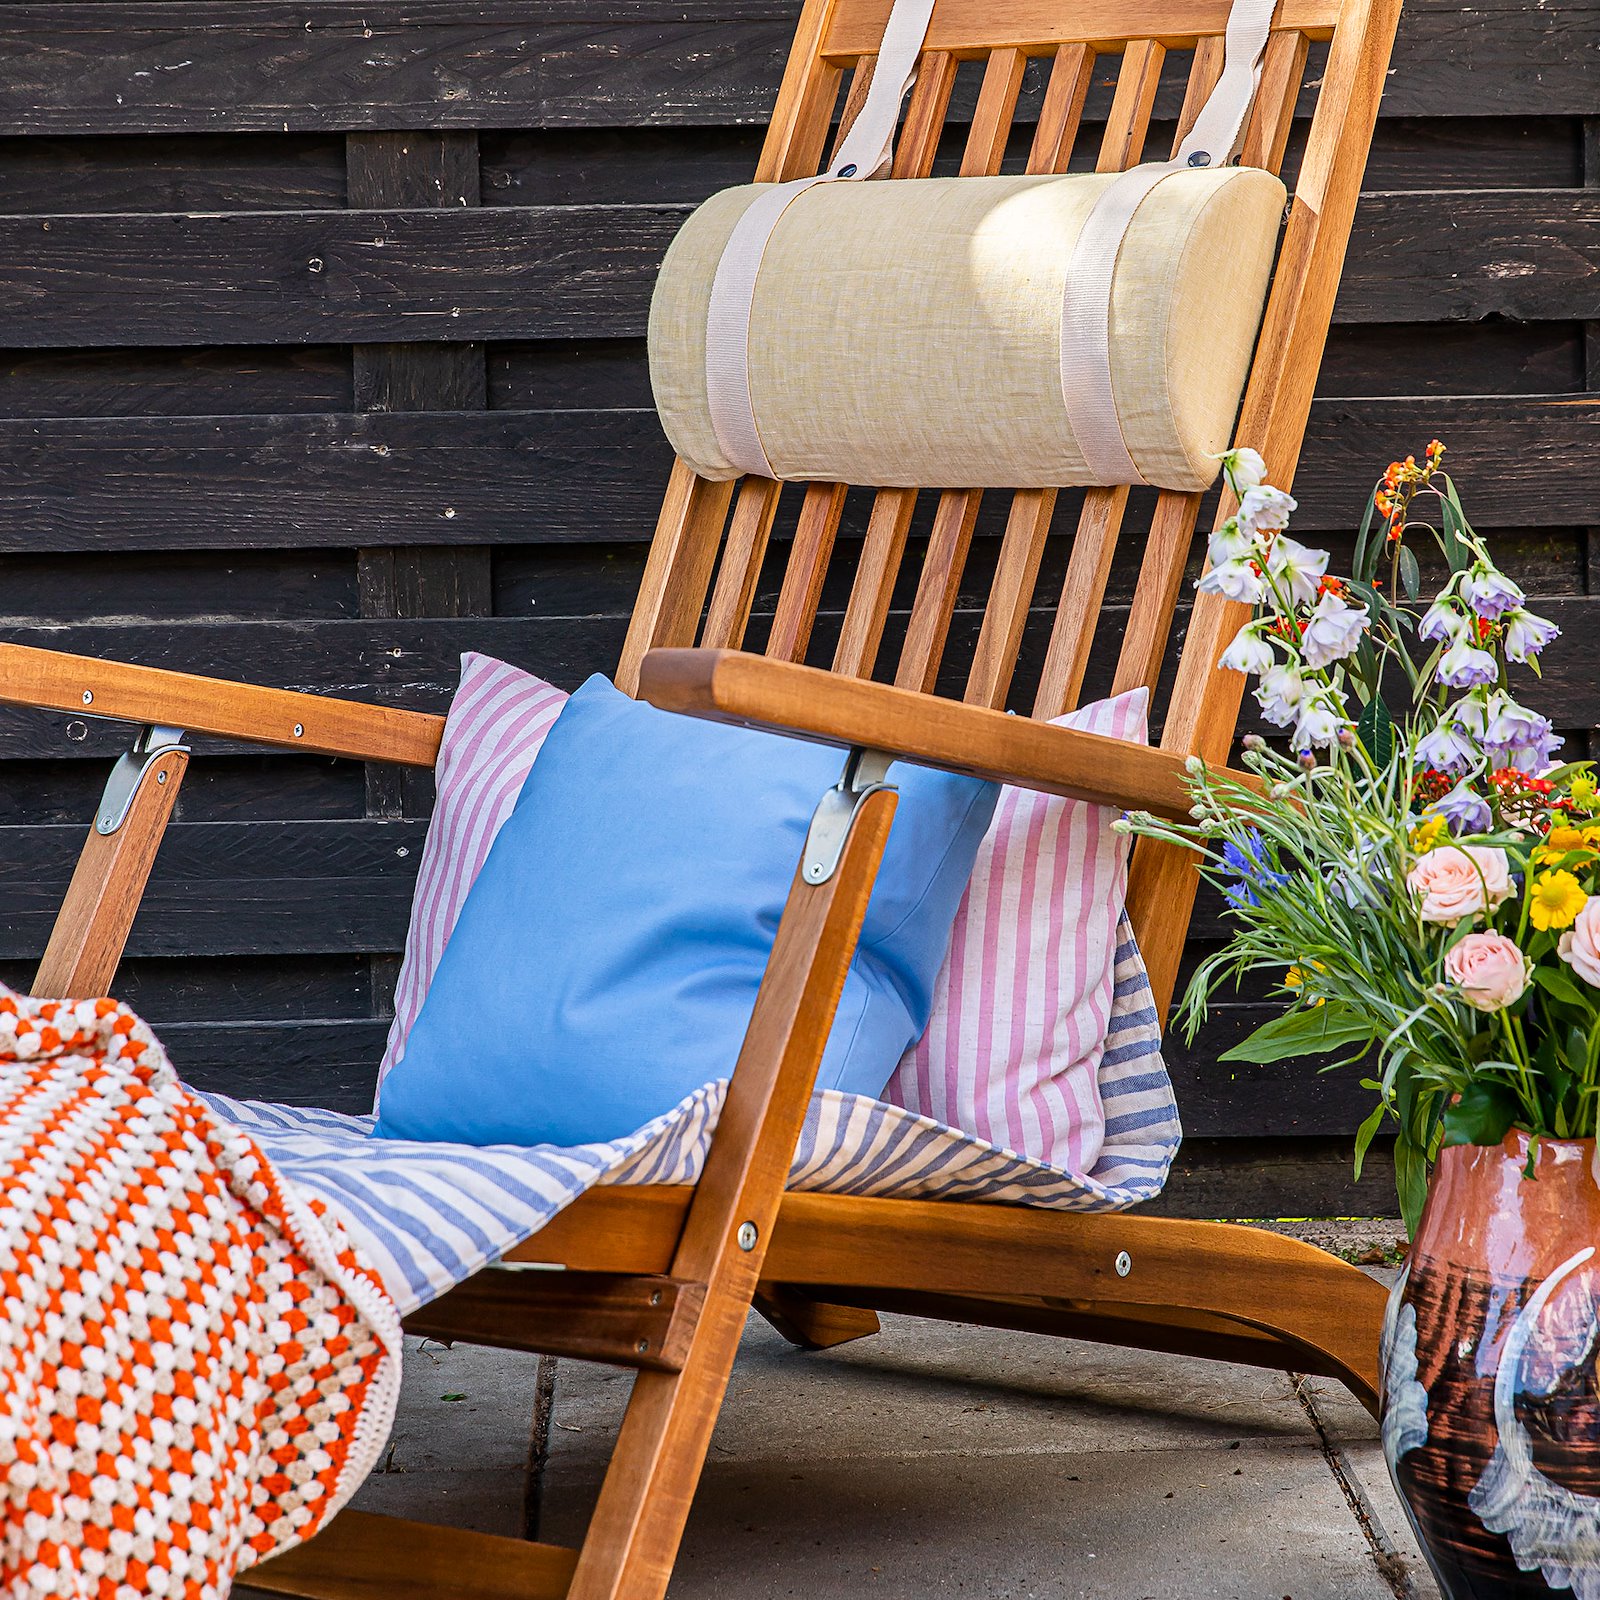
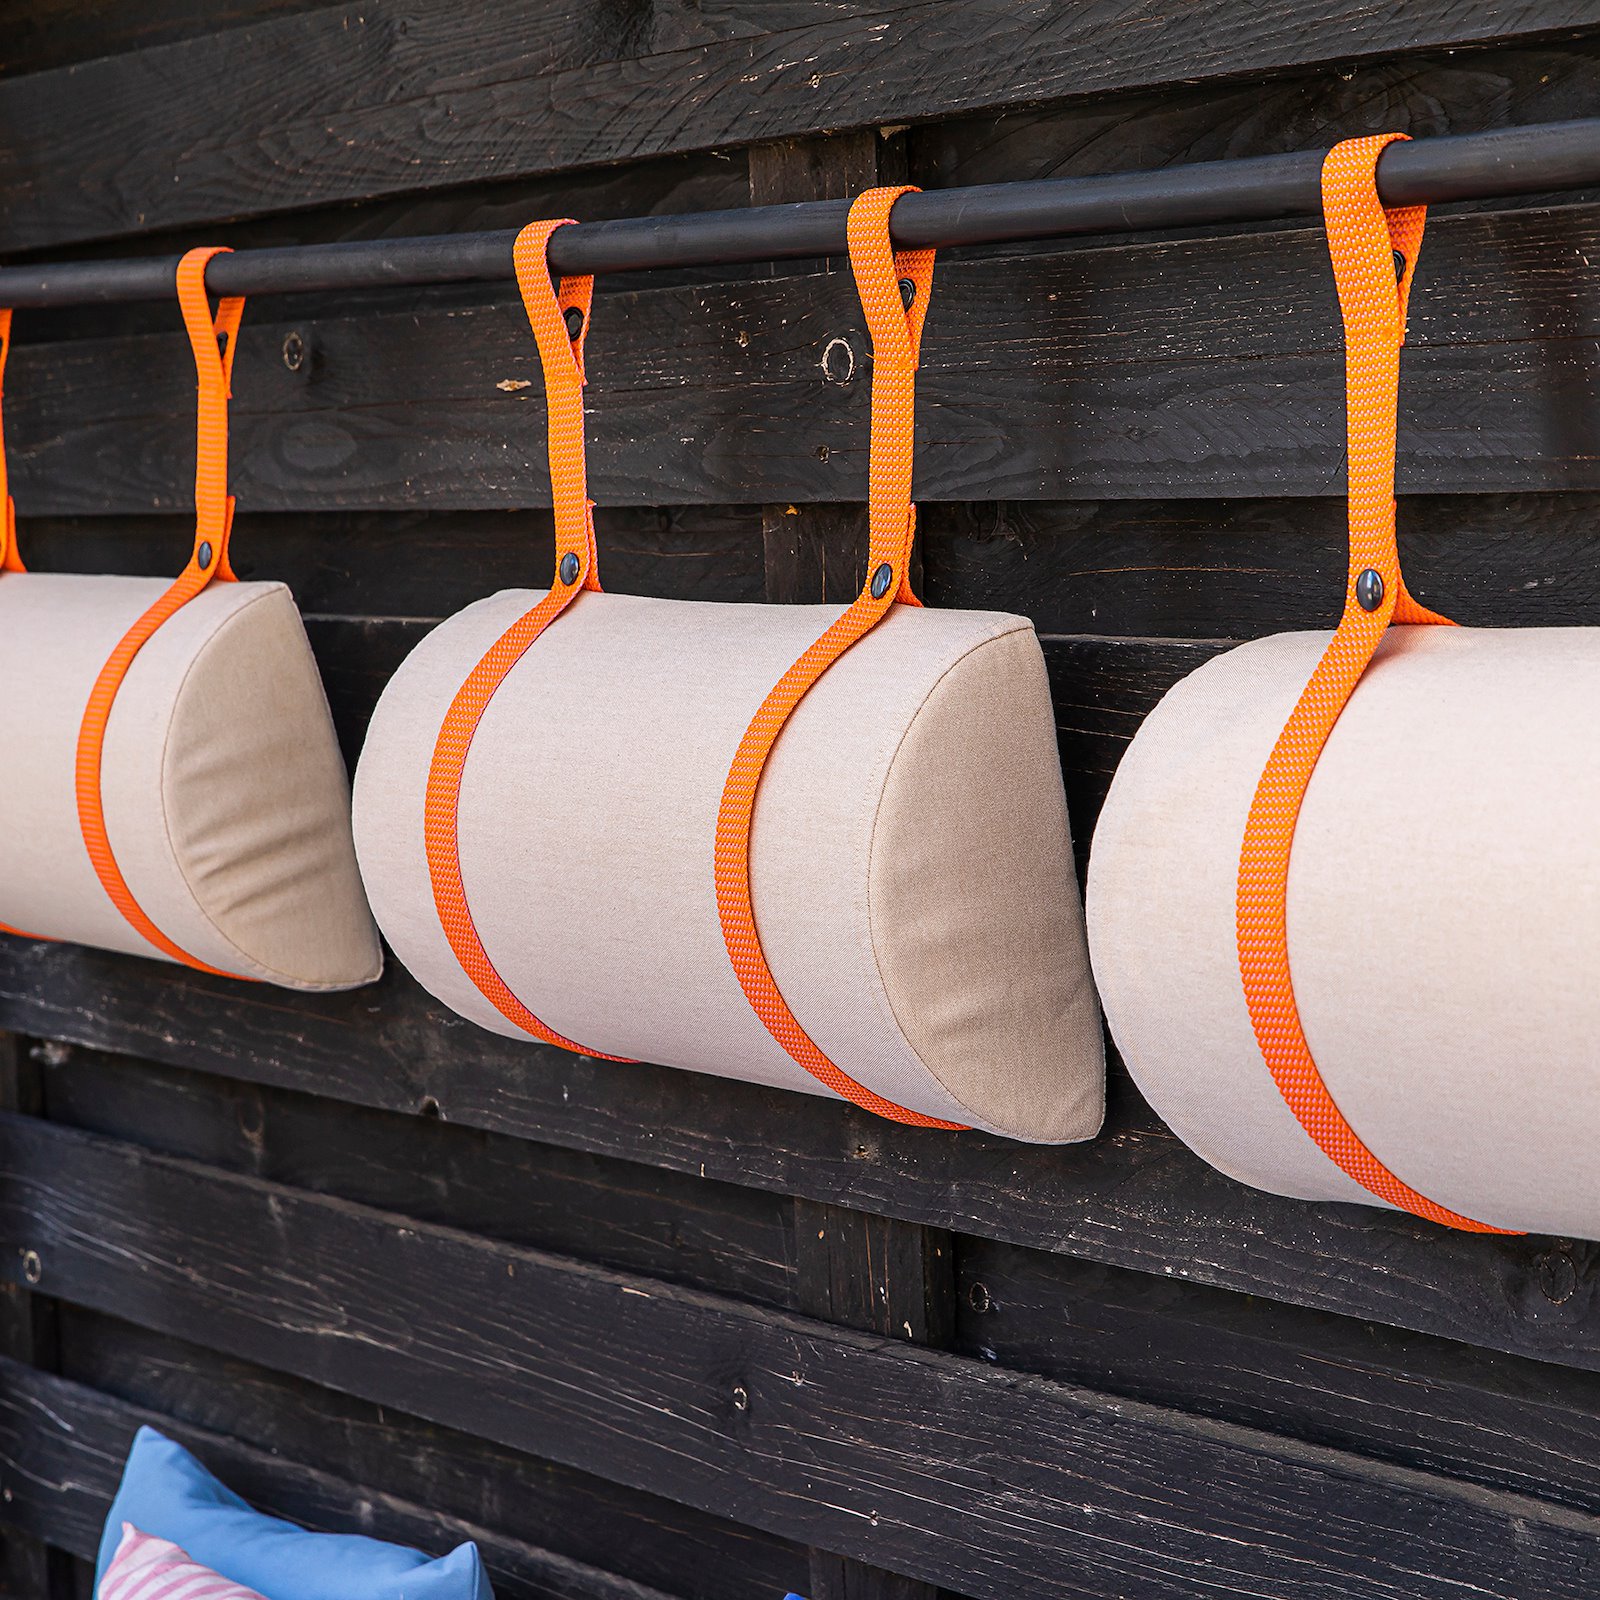
9.9. Measure the webbing ribbon. You will need 53 cm + 3 cm around the cushion + the length of strap needed from the wall fixture. Cut webbing ribbons. Melt the ends. Place a set of snap fasteners on each strap (these are to secure the cushion). 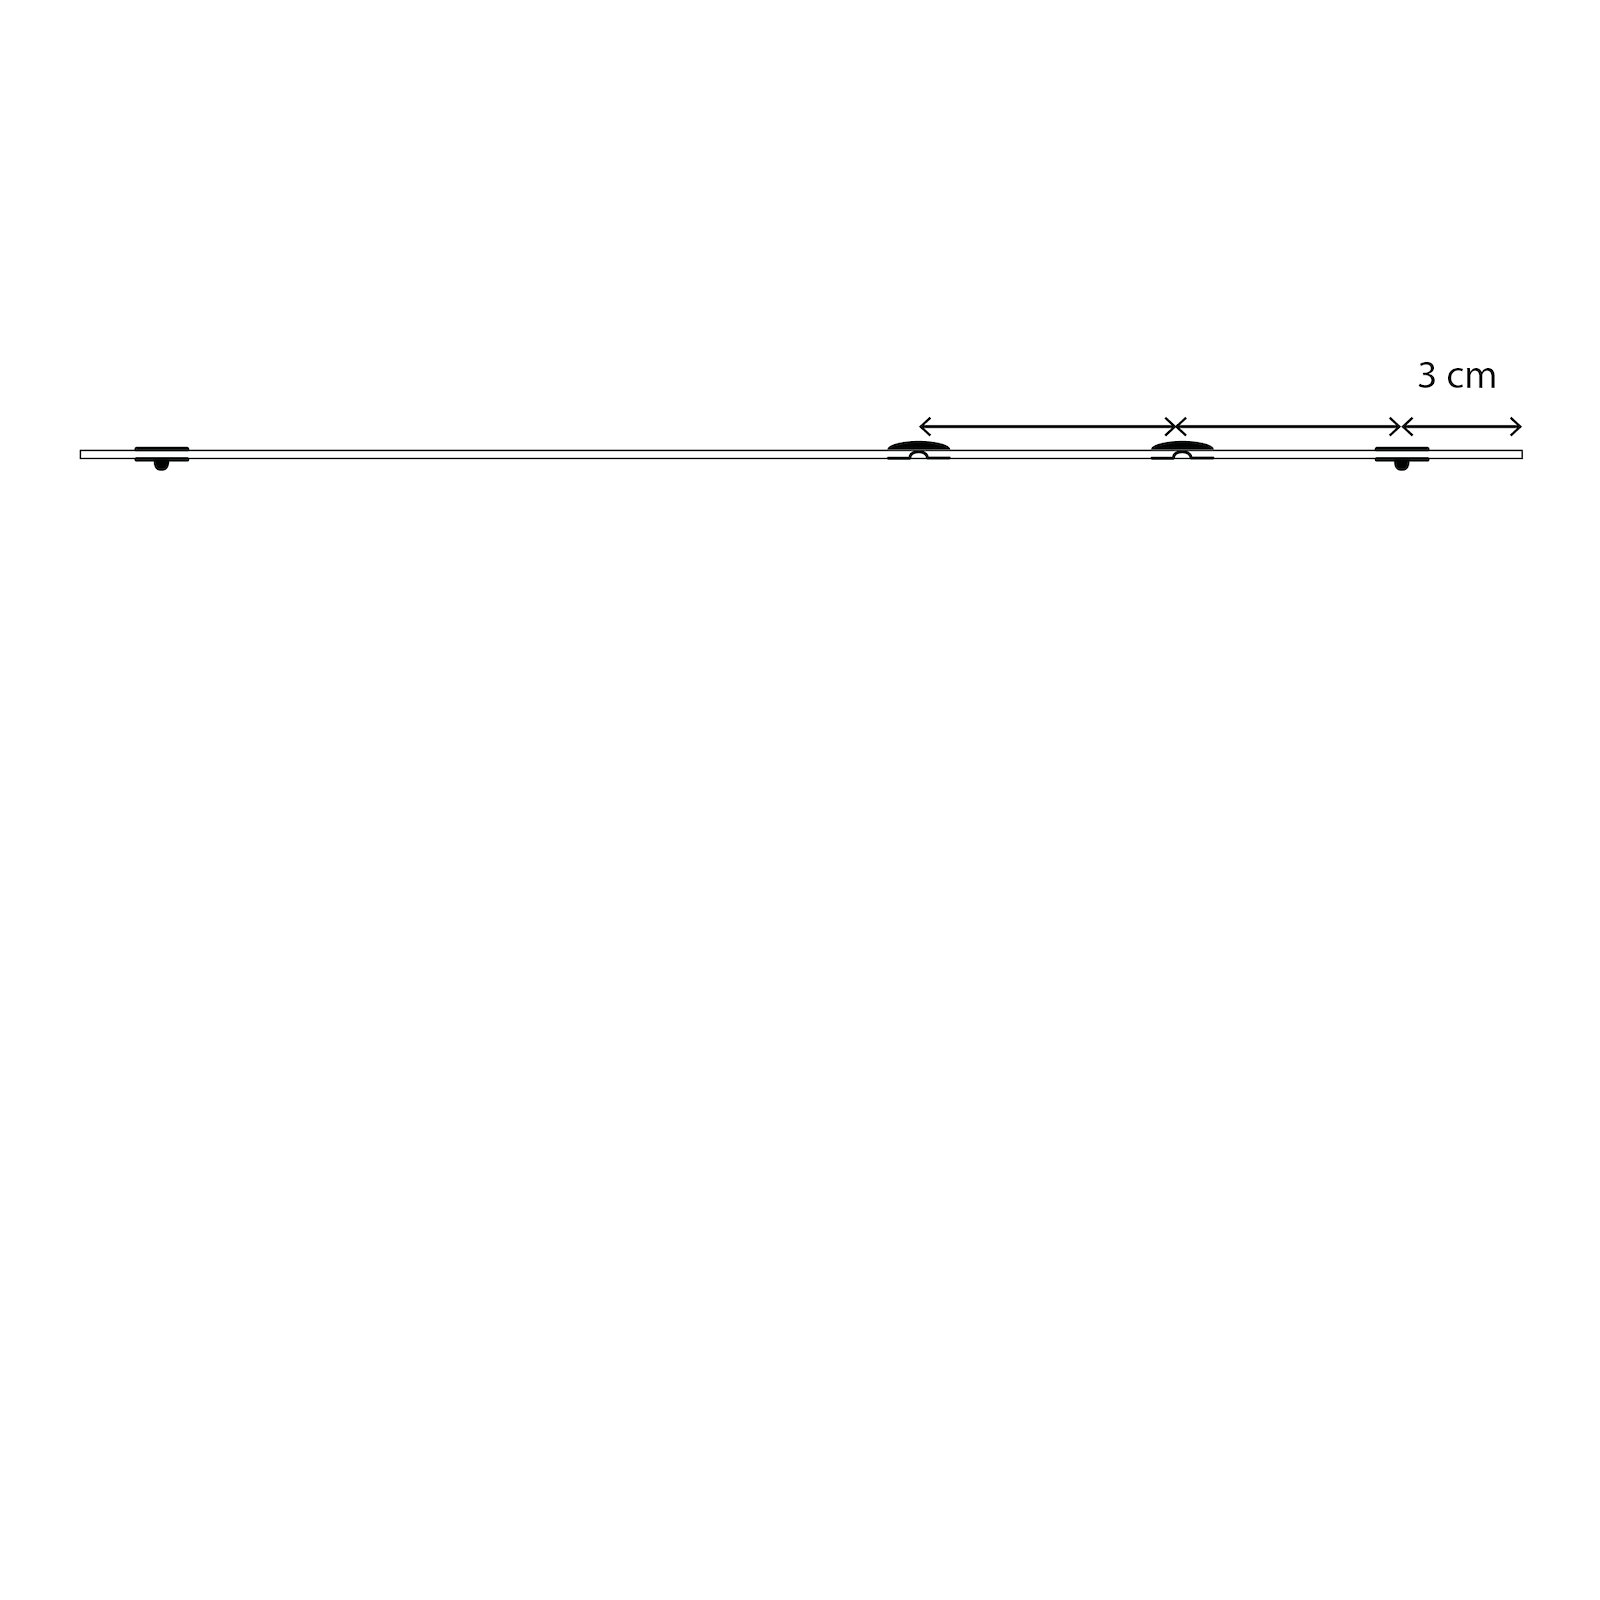
10.10. Now position a set of snap fastenings at the other end. These are used to attach the headrest cushion to the wall fixture.
